
 Looking to install Megan Racing Coilovers on your Scion FR-S / Subaru BRZ? Follow this simple step by step guide and we'll help you get the job done!
Contributed by Travis Tichelaar
Tools required:
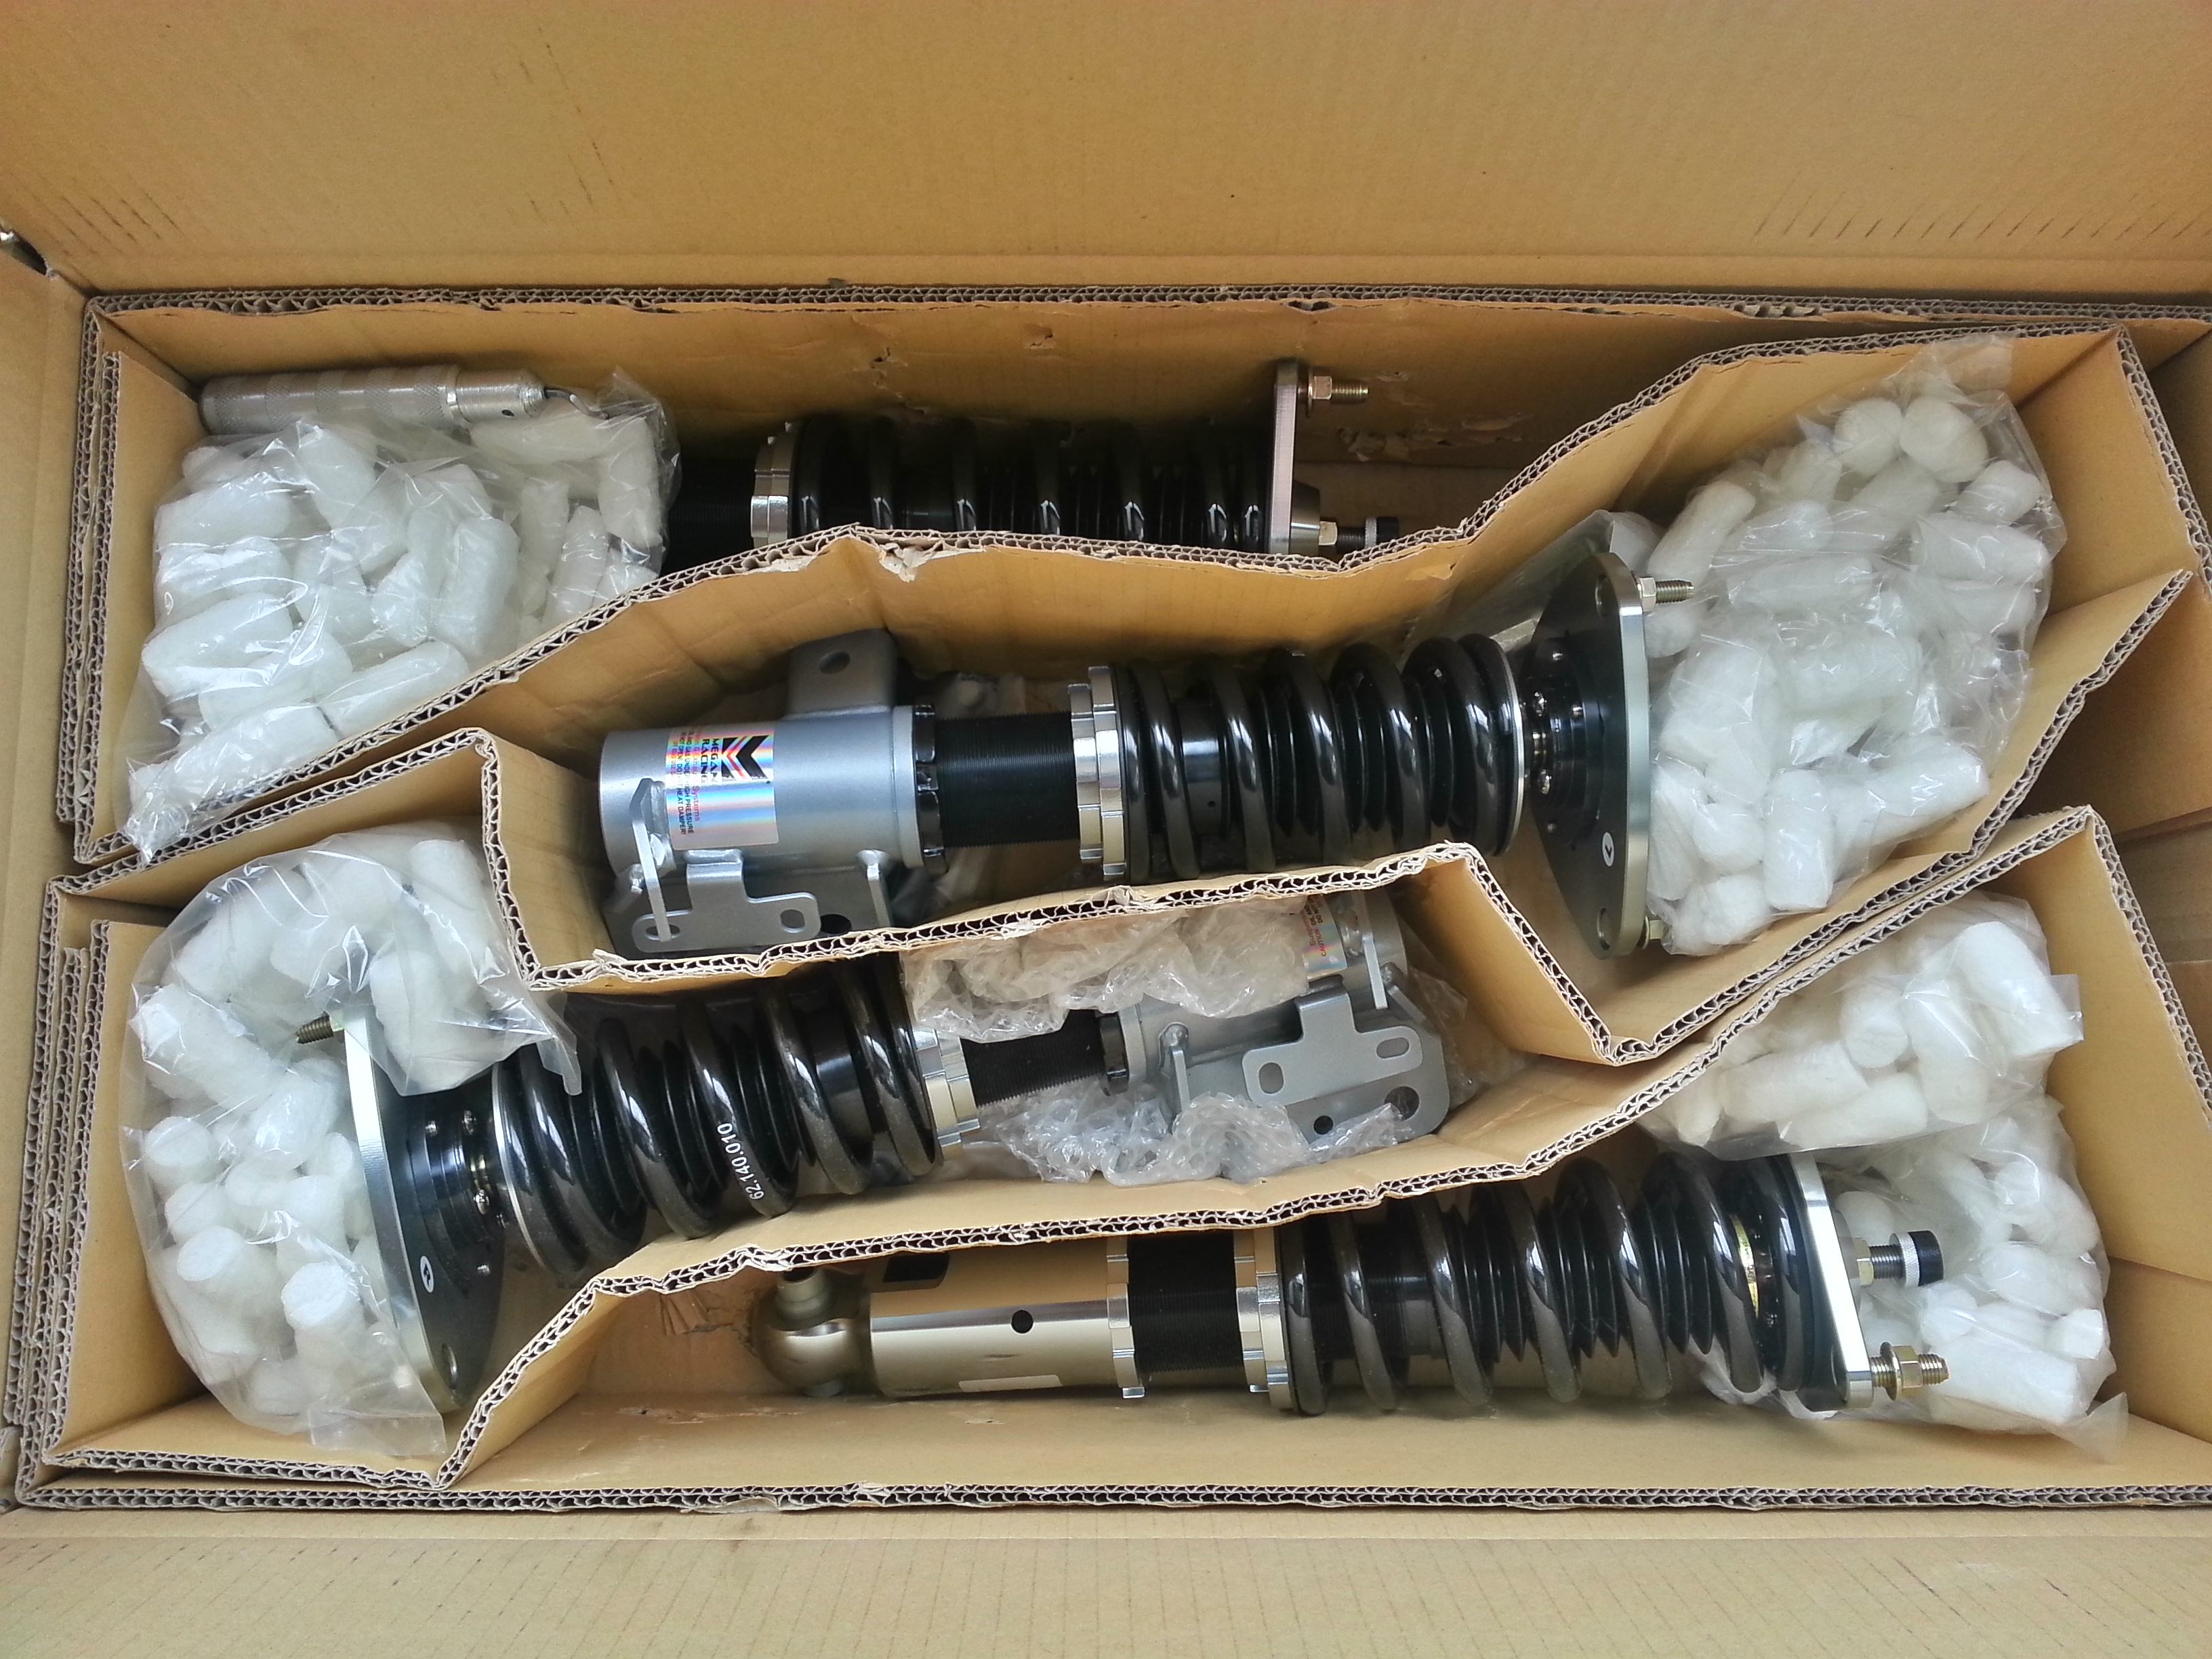
Wrenches: 12mm, 17mm, 19mm Sockets: 12mm, 14mm, 17mm, 19mm Small Extension, small flat blade screwdriver, and penetrating fluid.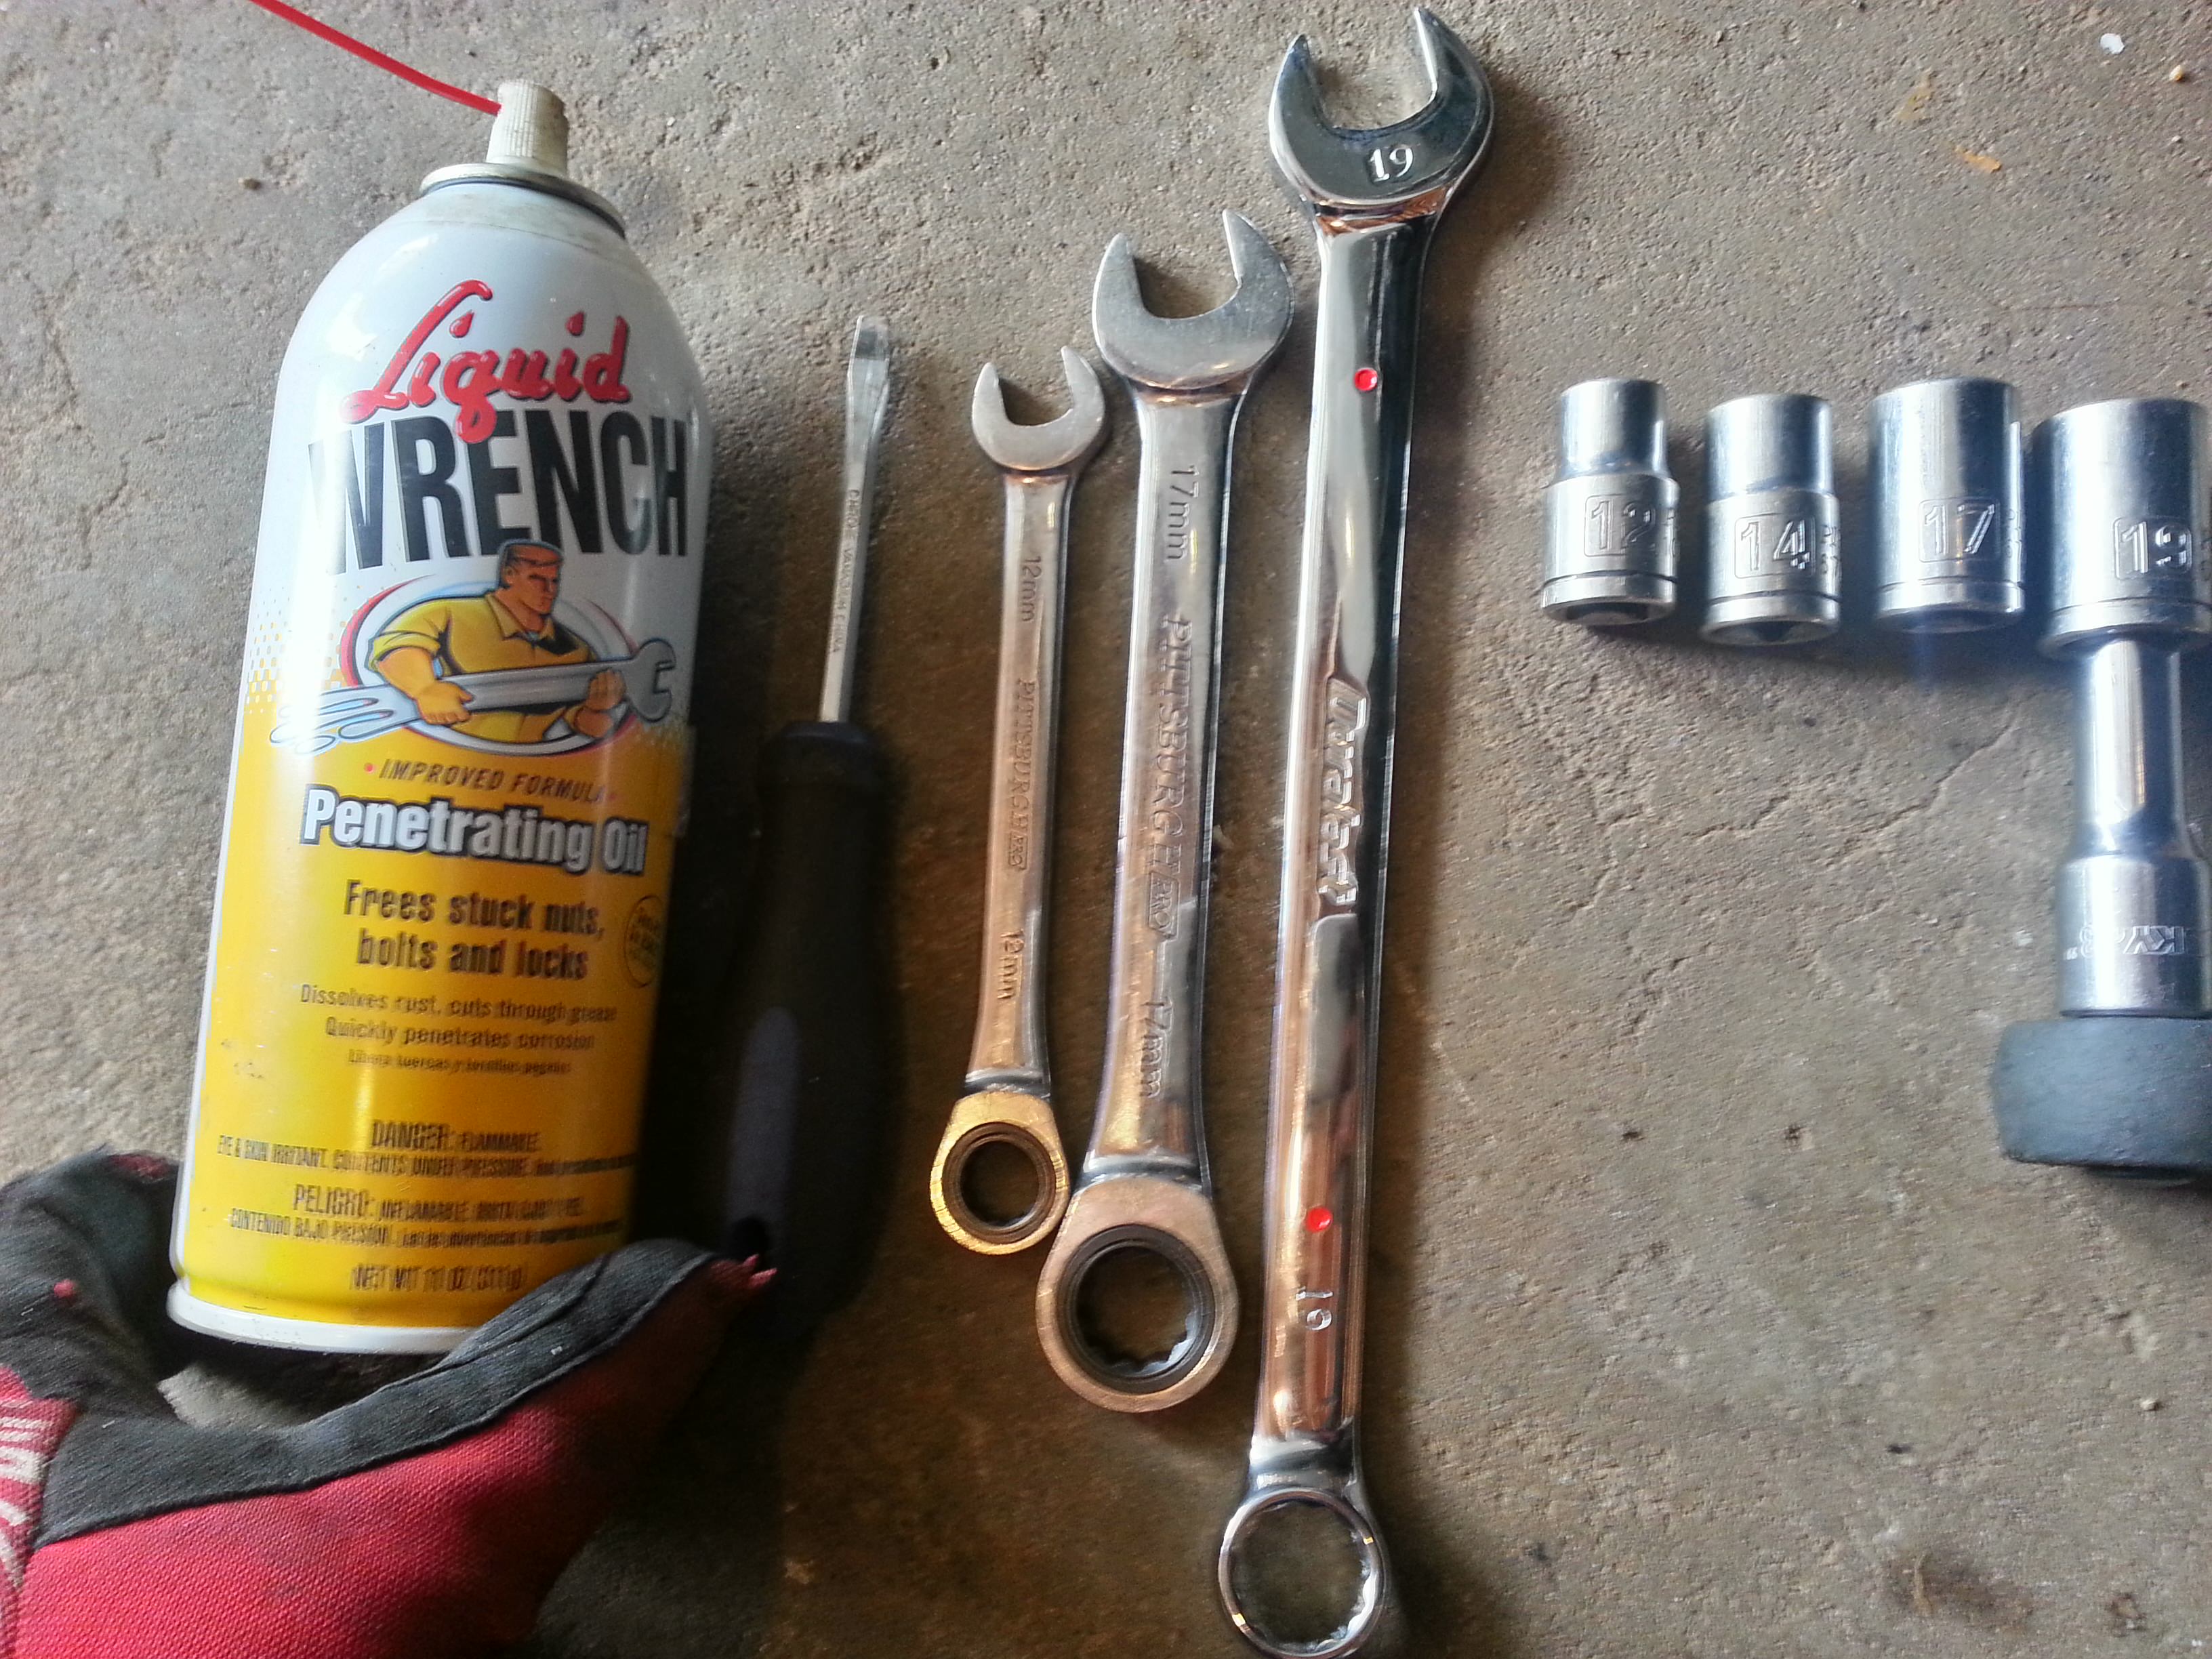 First inspection of the parts, everything appears well packaged and in great shape. Further inspection confirms that: these things are well packaged and are without defects. Your box should include two front and two rear coilovers, two front adjustable sway bar end links, two different sized locking collar wrenches, and an allen wrench. On to the install!
 **Please read the ENTIRE Guide before attempting this install yourself, and refer back to it if you're having issues with anything as it's probably addressed in this write-up. Do this install at your own risk, knowing that you are working on an integral part of your car and if not done correctly, could easily cause accidents.**
First thing is to get your car in the air, secured by jack stands, and wheels removed! Don't EVER trust your jack, regardless of how nice it is, to hold up your car while you are underneath. This is a fantastic guide for lifting up your 86 safely. Please do not skip this step.
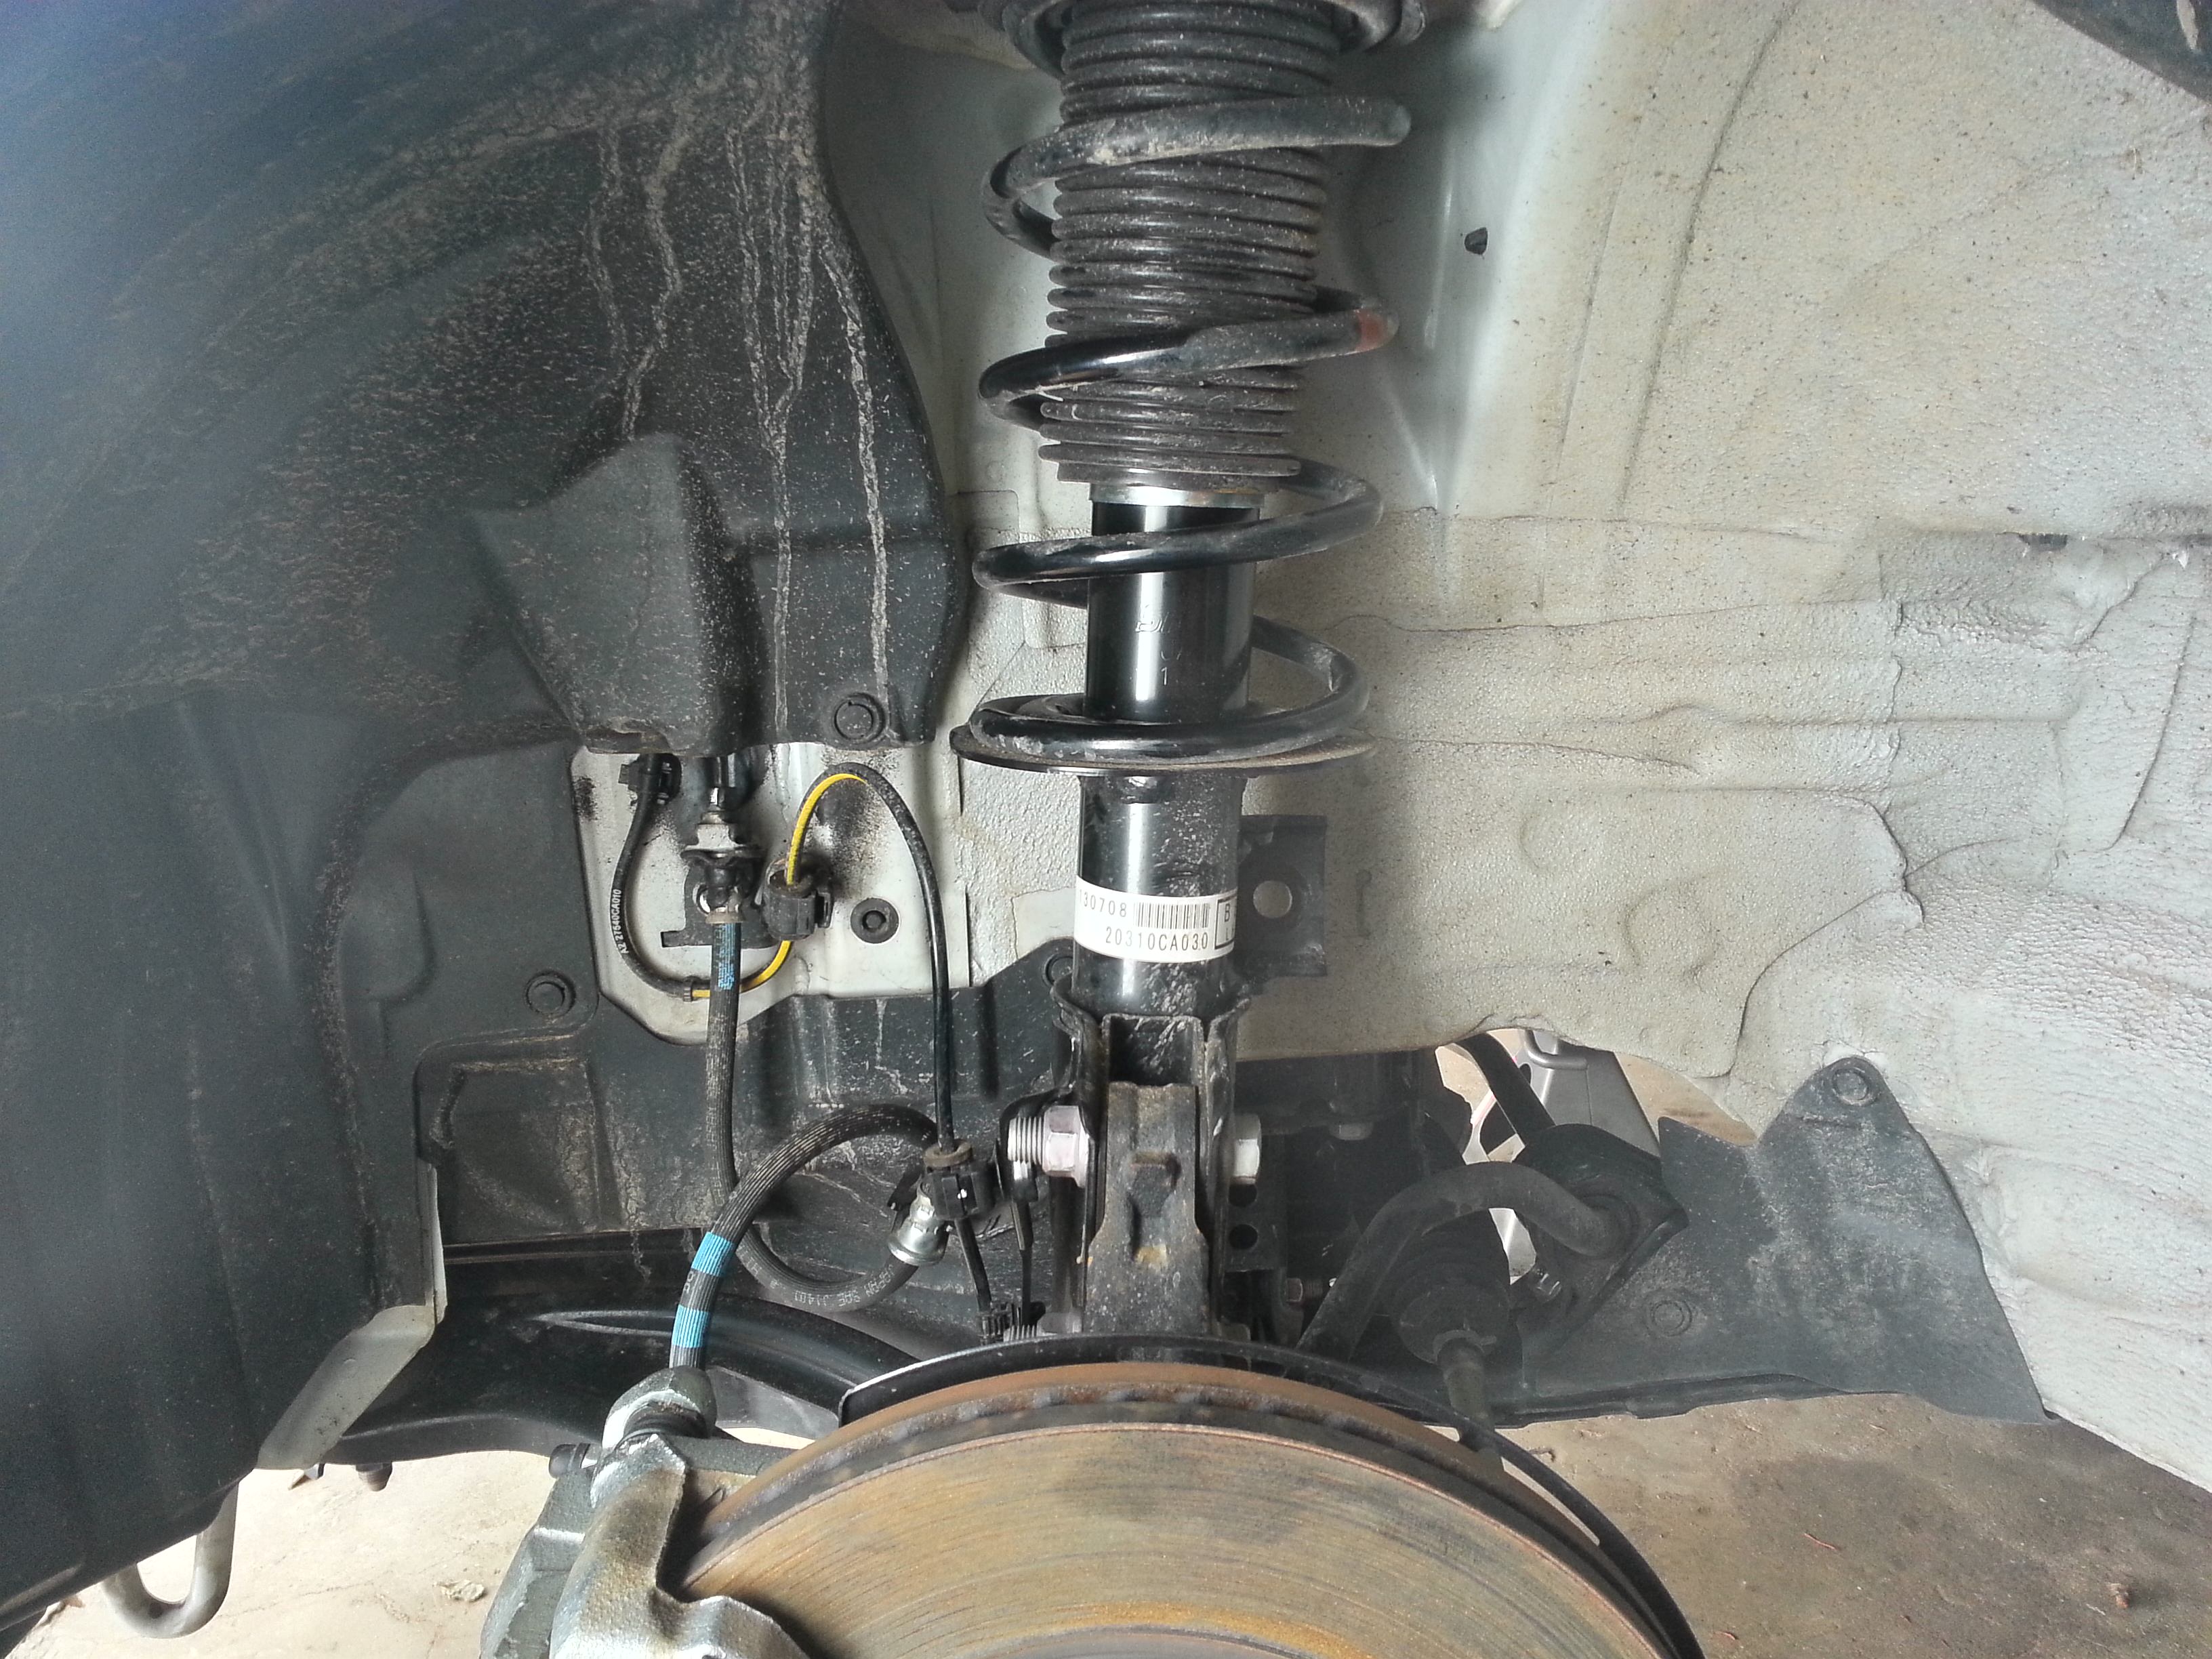
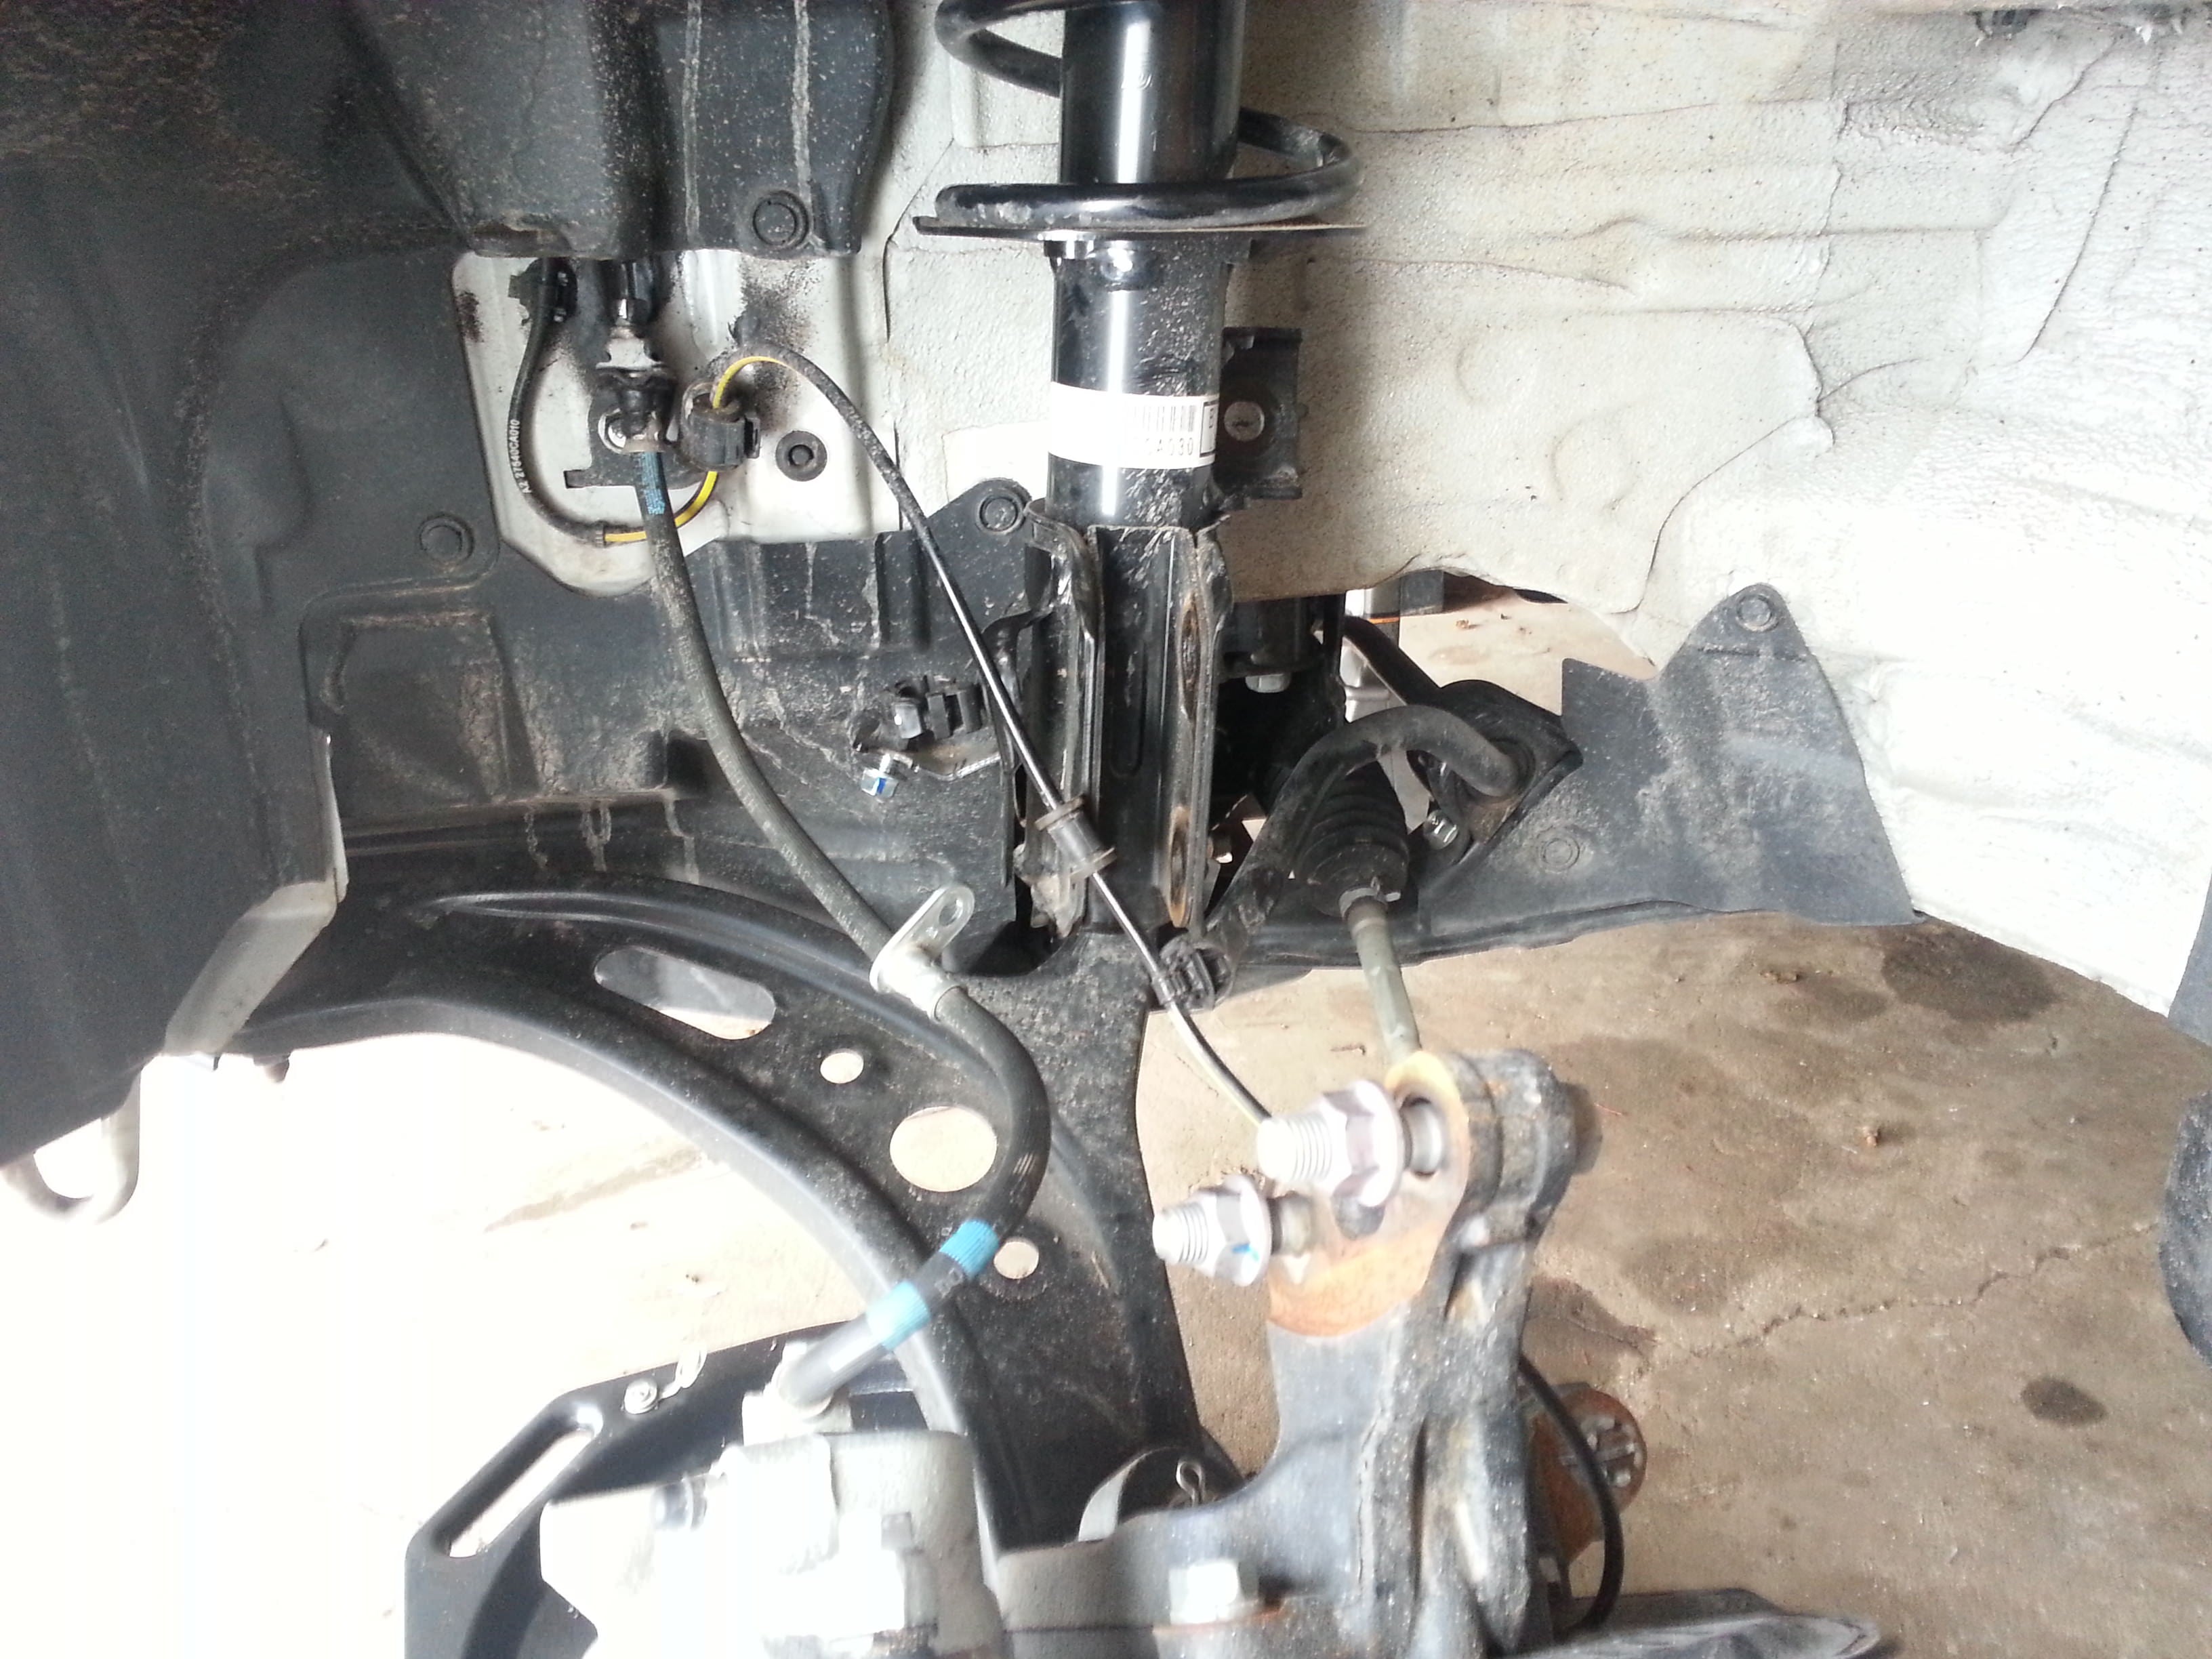
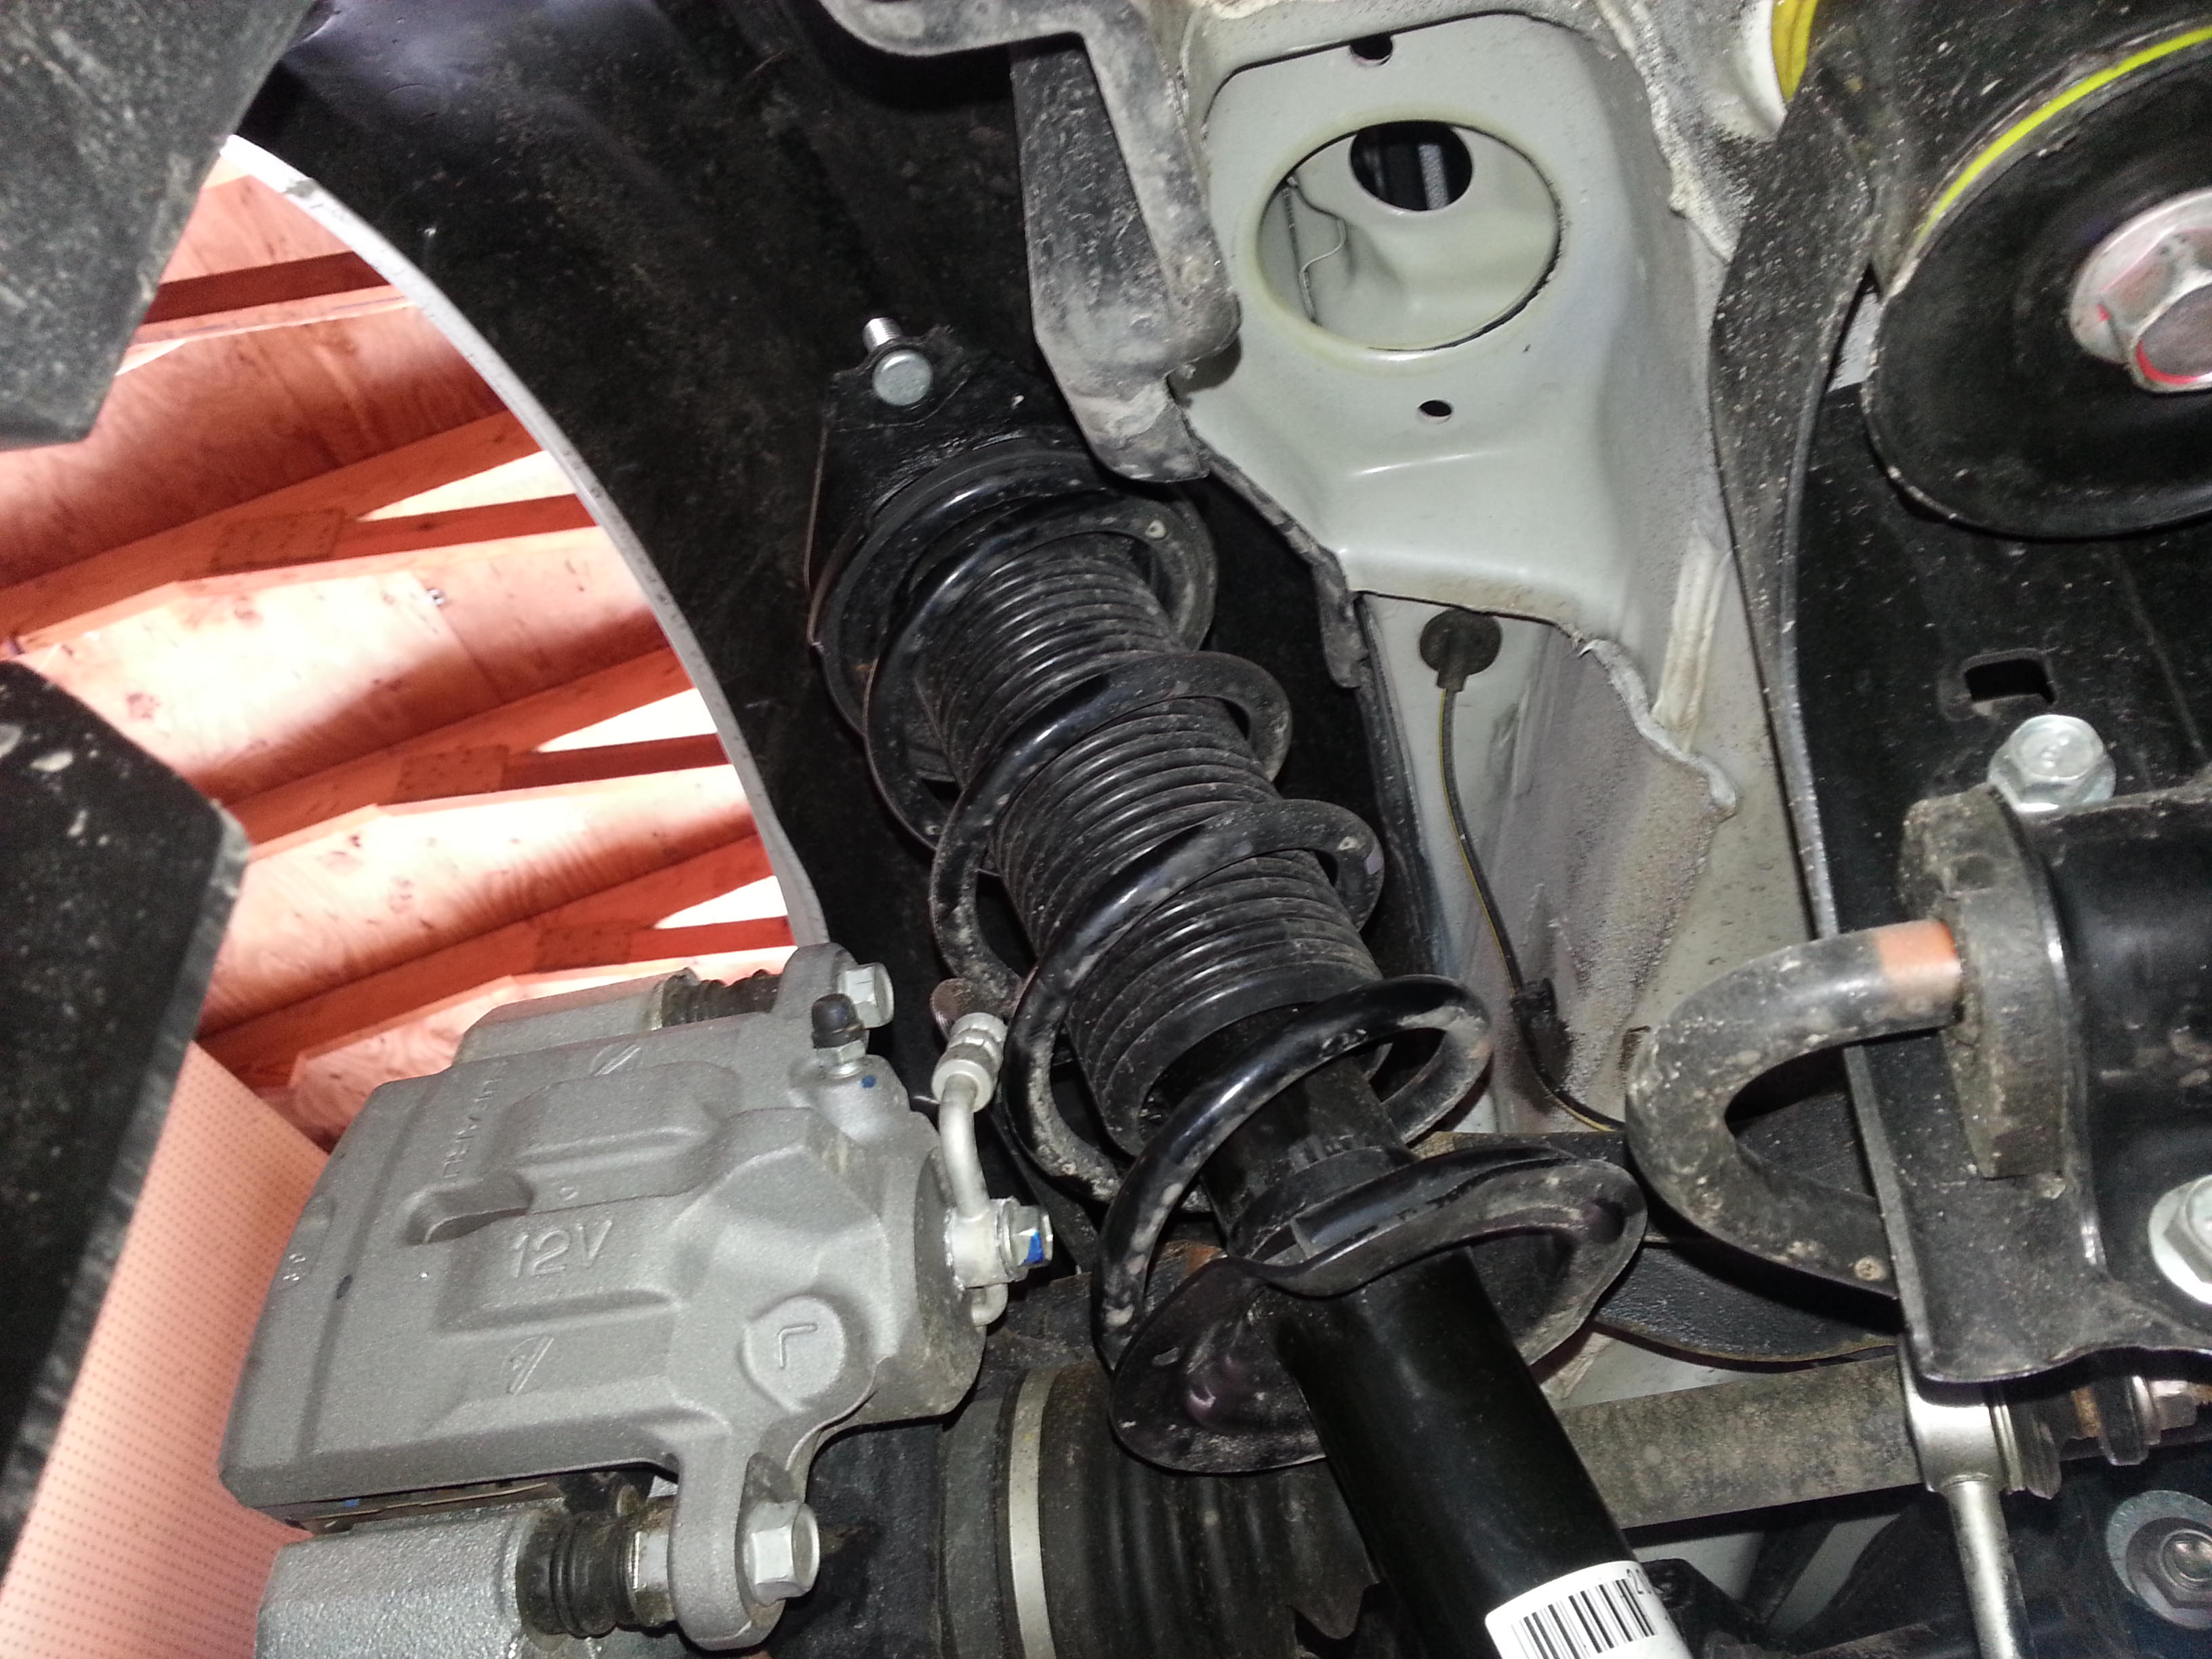
How your front suspension will look before getting started! Not pictured here is the factory sway bar end link: I started tearing stuff apart before the camera came out. It goes back in at a later point to show its removal.
**Please read the ENTIRE Guide before attempting this install yourself, and refer back to it if you're having issues with anything as it's probably addressed in this write-up. Do this install at your own risk, knowing that you are working on an integral part of your car and if not done correctly, could easily cause accidents.**
First thing is to get your car in the air, secured by jack stands, and wheels removed! Don't EVER trust your jack, regardless of how nice it is, to hold up your car while you are underneath. This is a fantastic guide for lifting up your 86 safely. Please do not skip this step.
How your front suspension will look before getting started! Not pictured here is the factory sway bar end link: I started tearing stuff apart before the camera came out. It goes back in at a later point to show its removal.
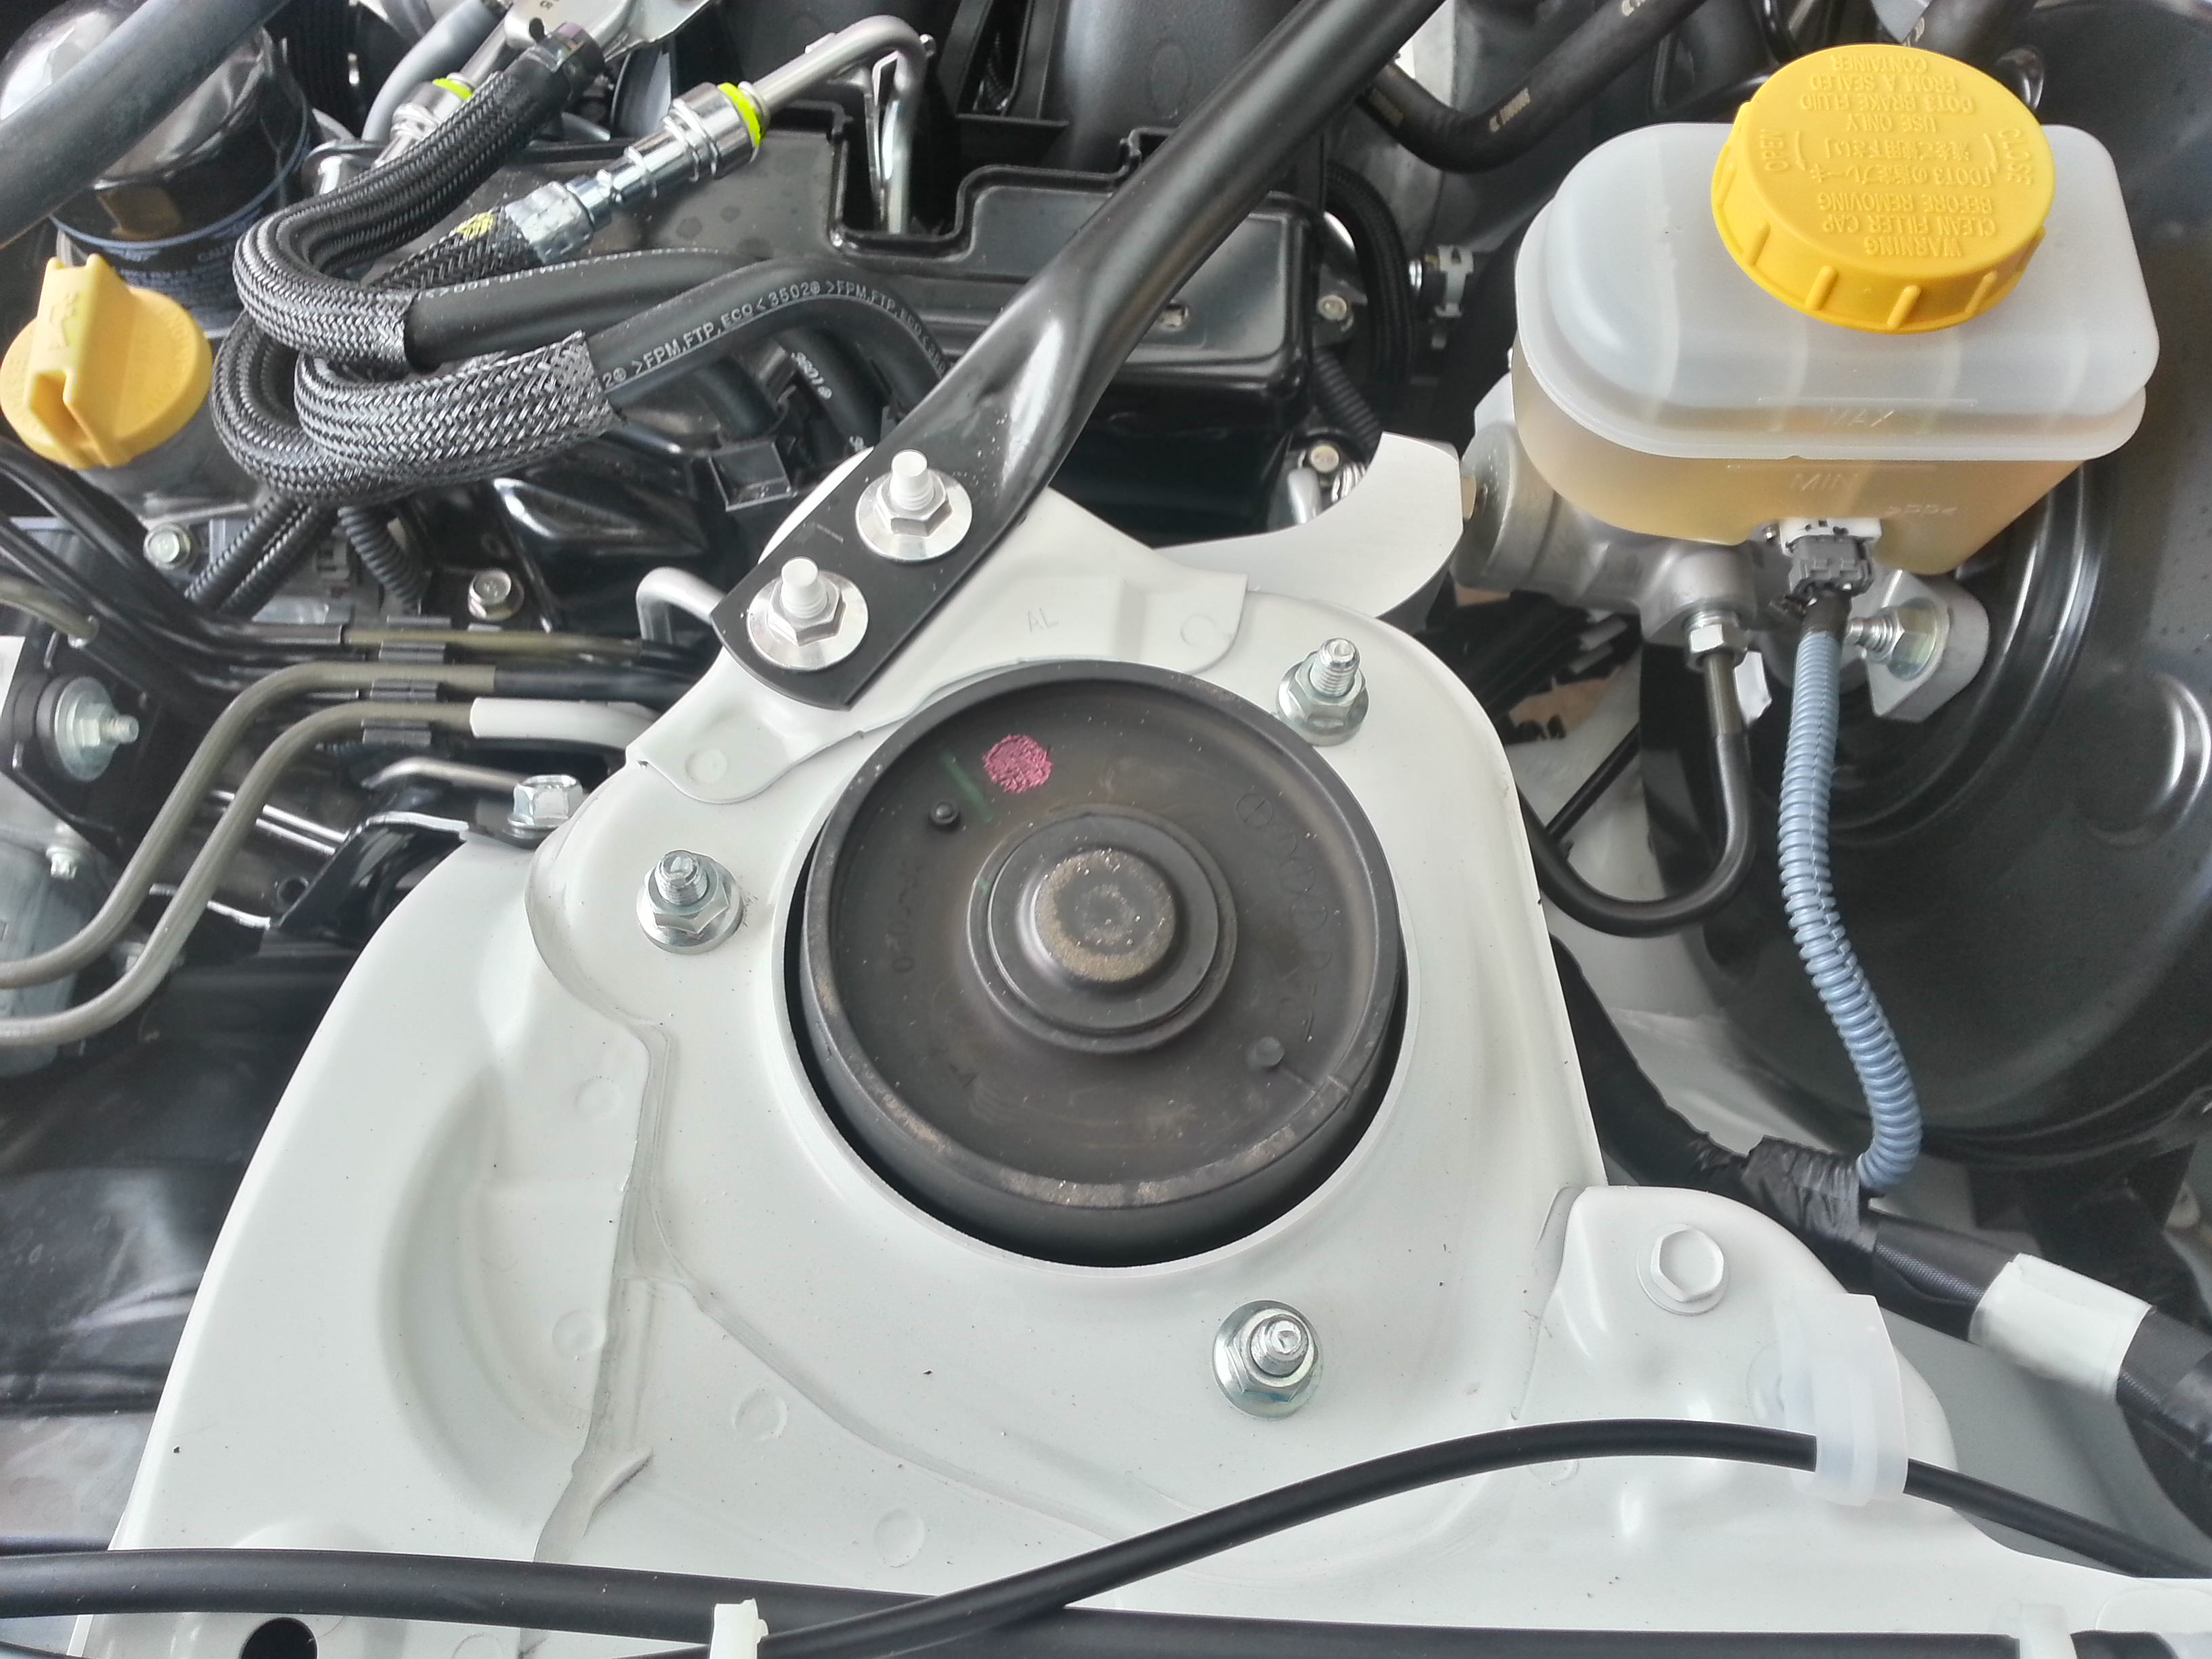
 Factory upper spring perch. Another view of how things look before the swap.
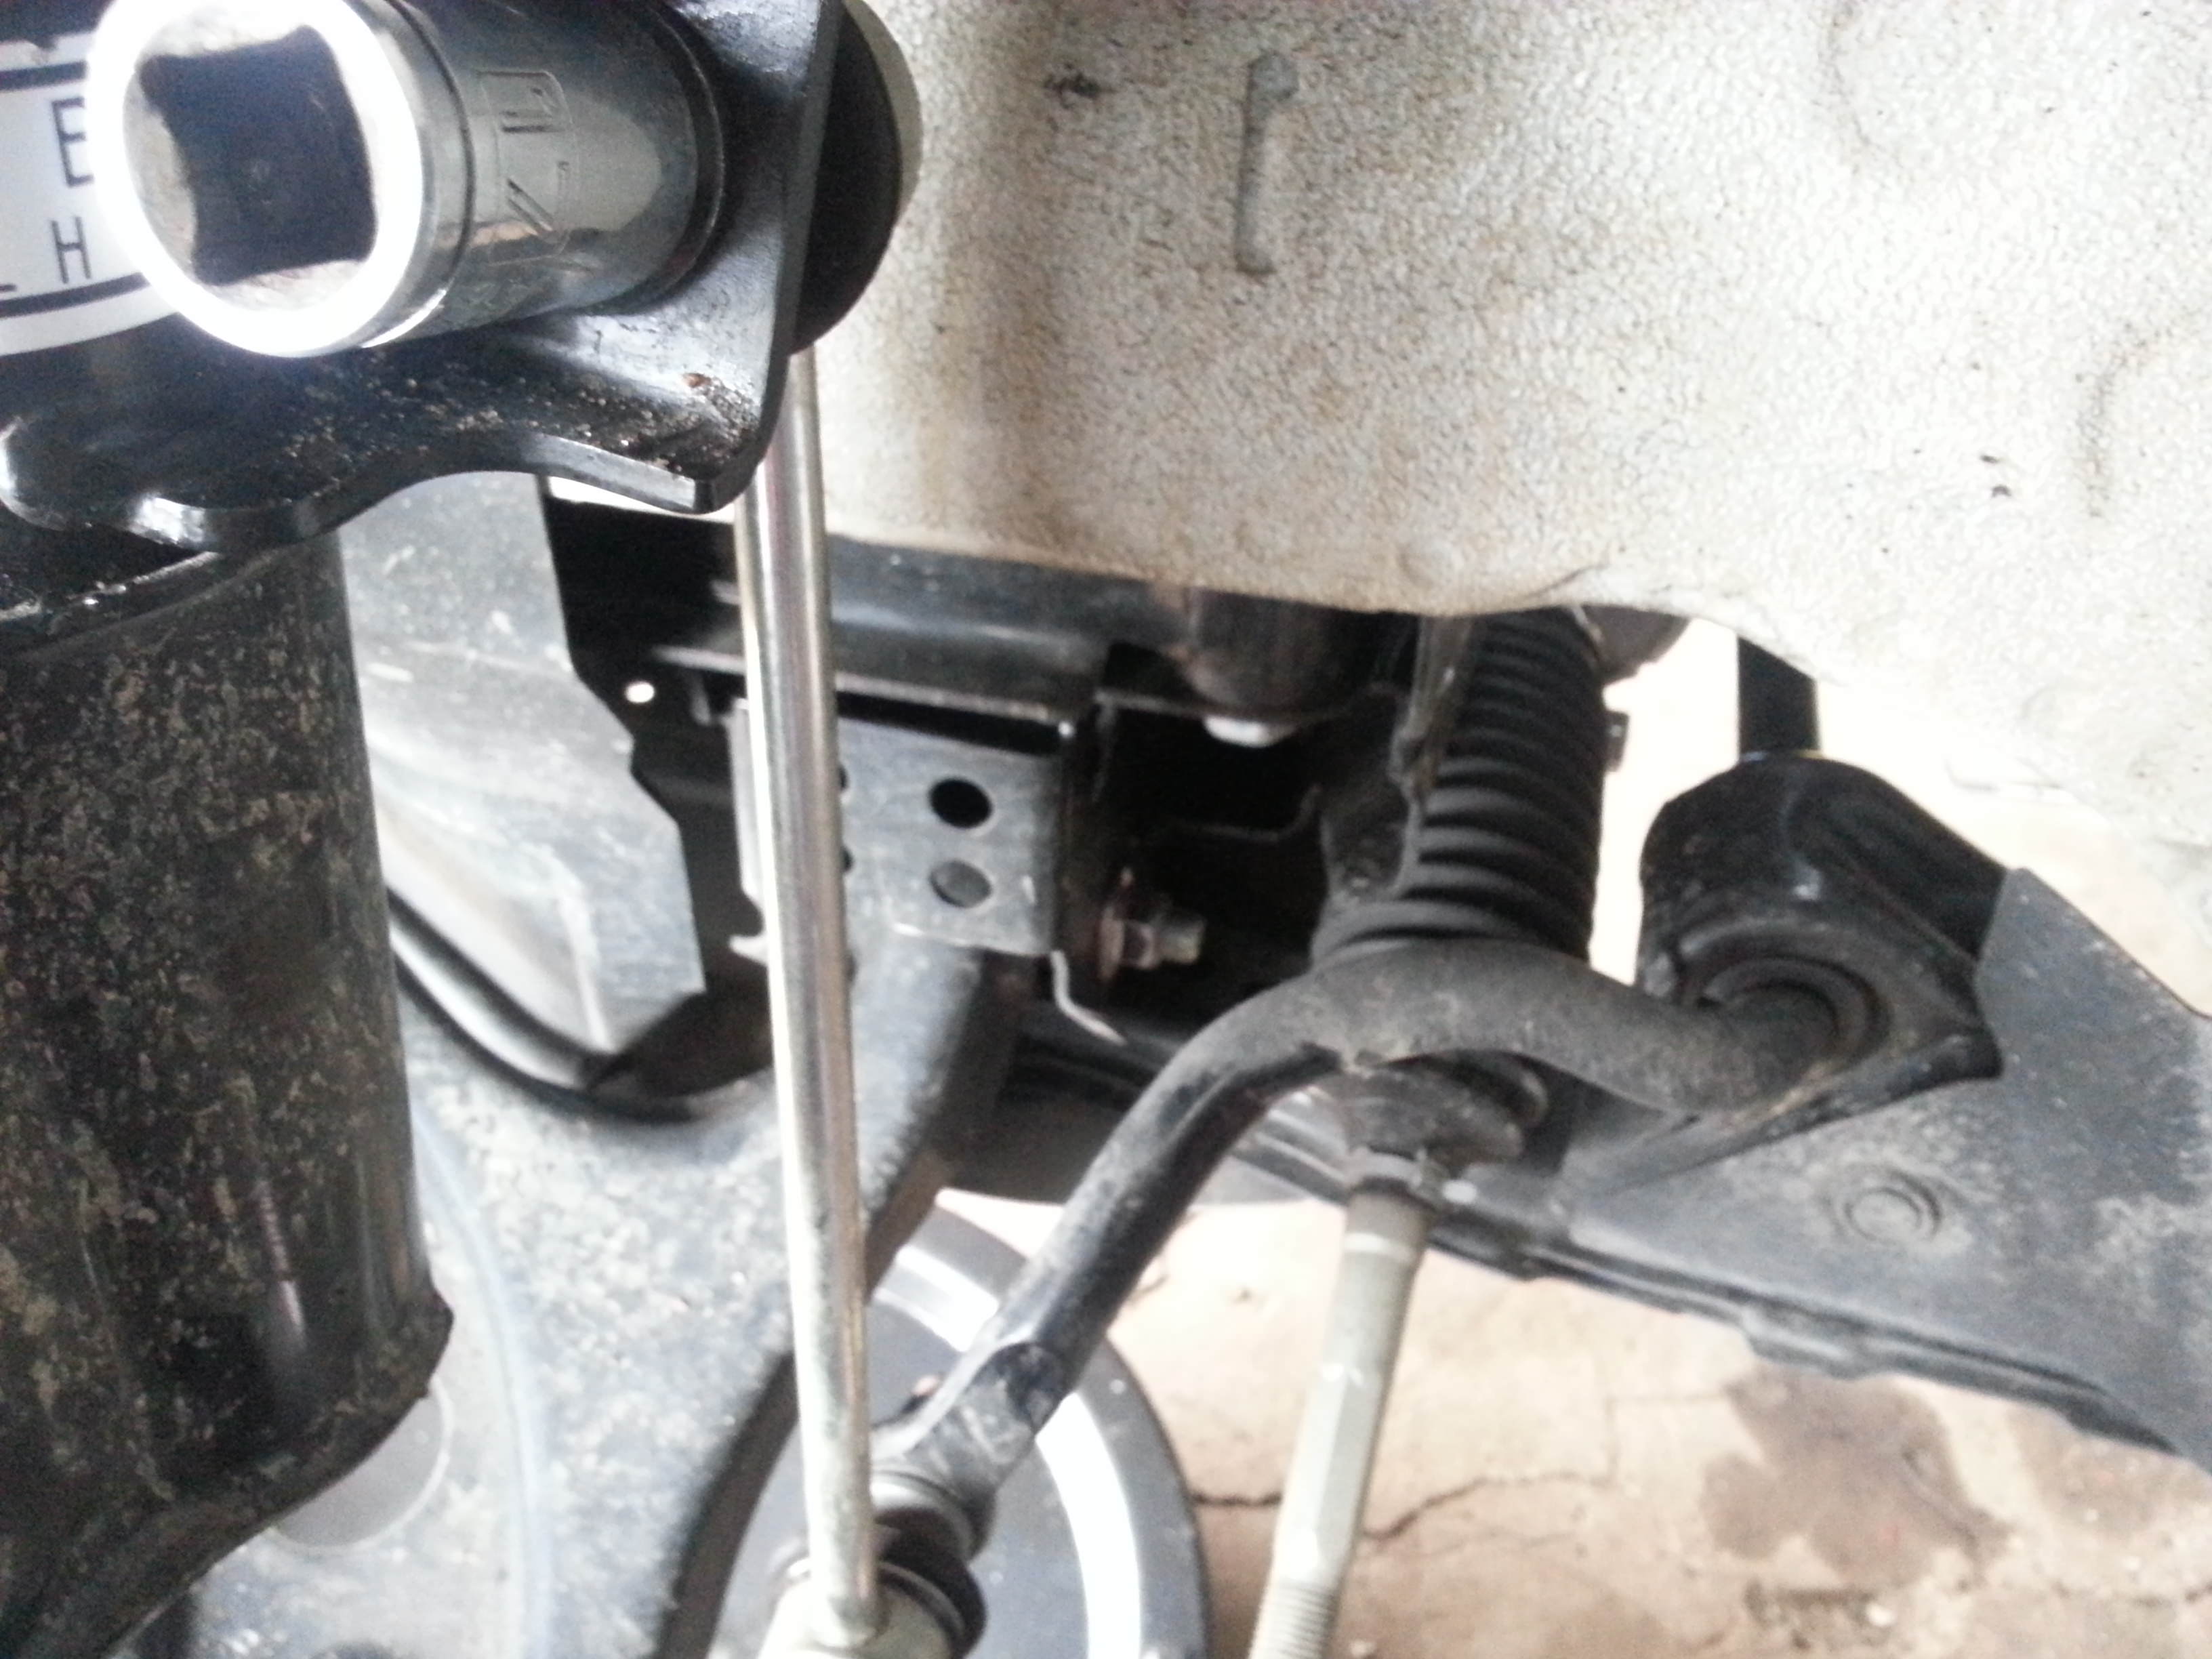
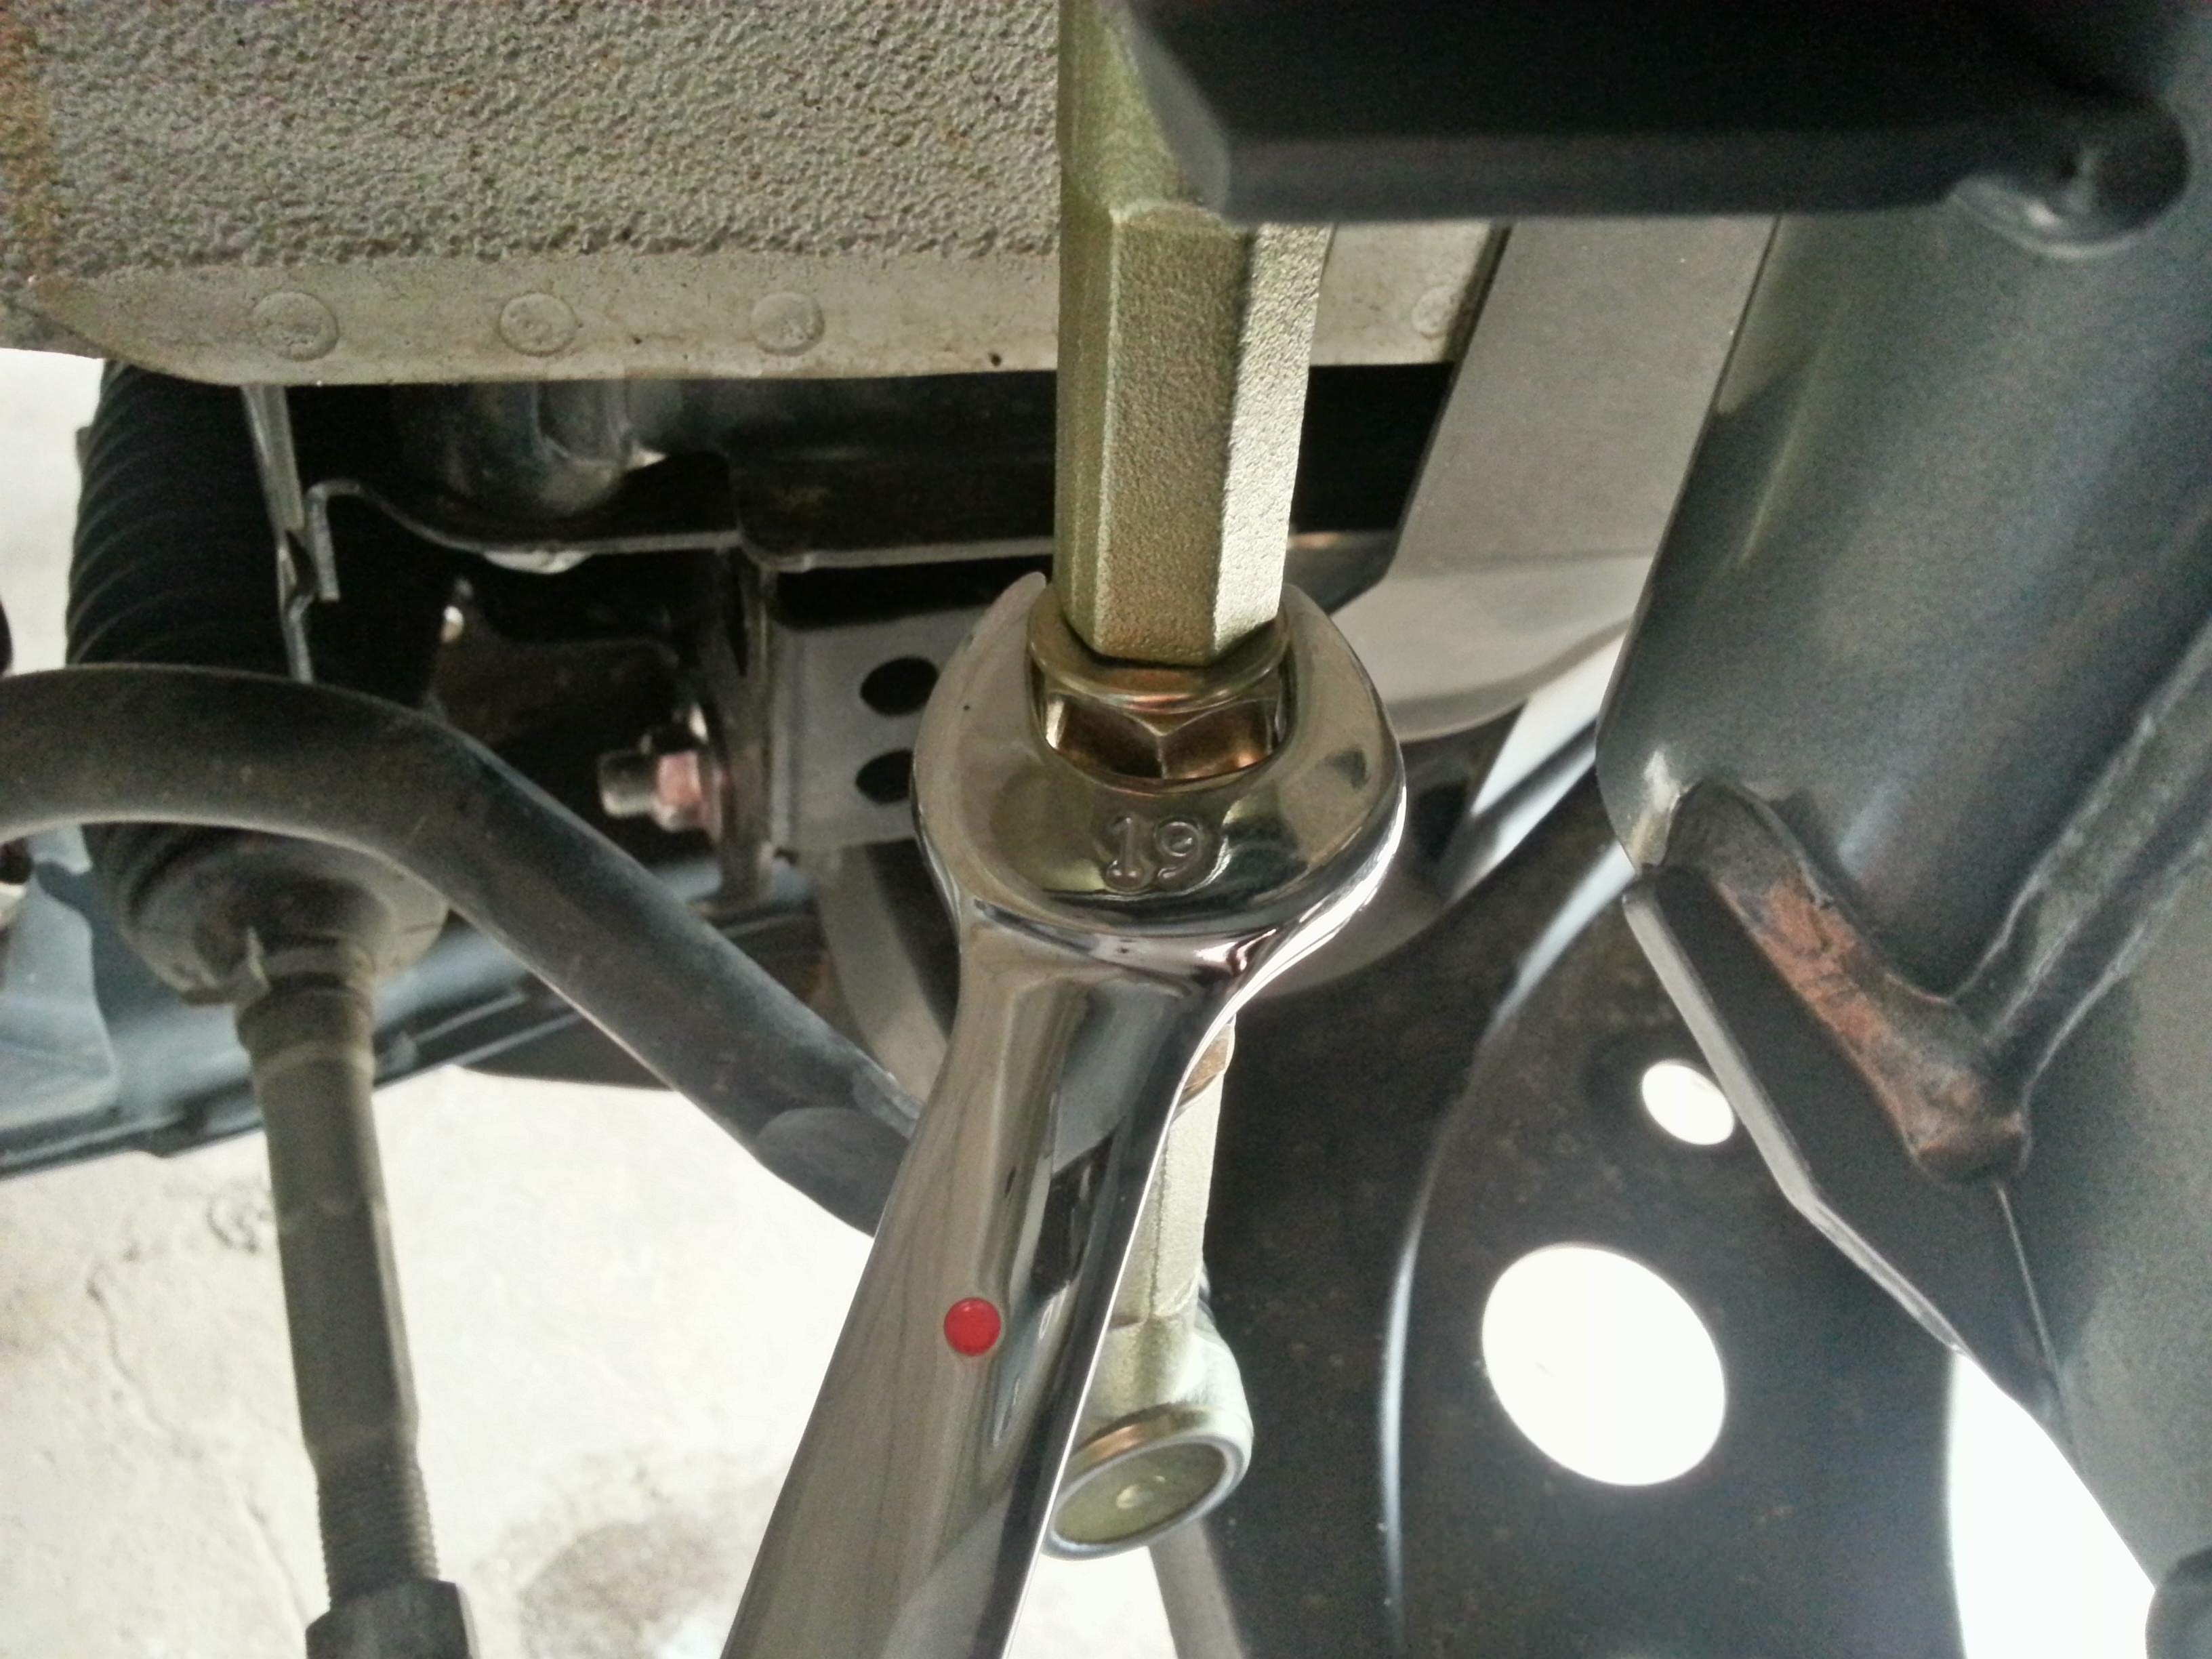
 First parts to come off will be the factory strut-to-knuckle bolts. Please ignore the adjustable wrench as I didn't have a 19mm at the beginning of this write-up.
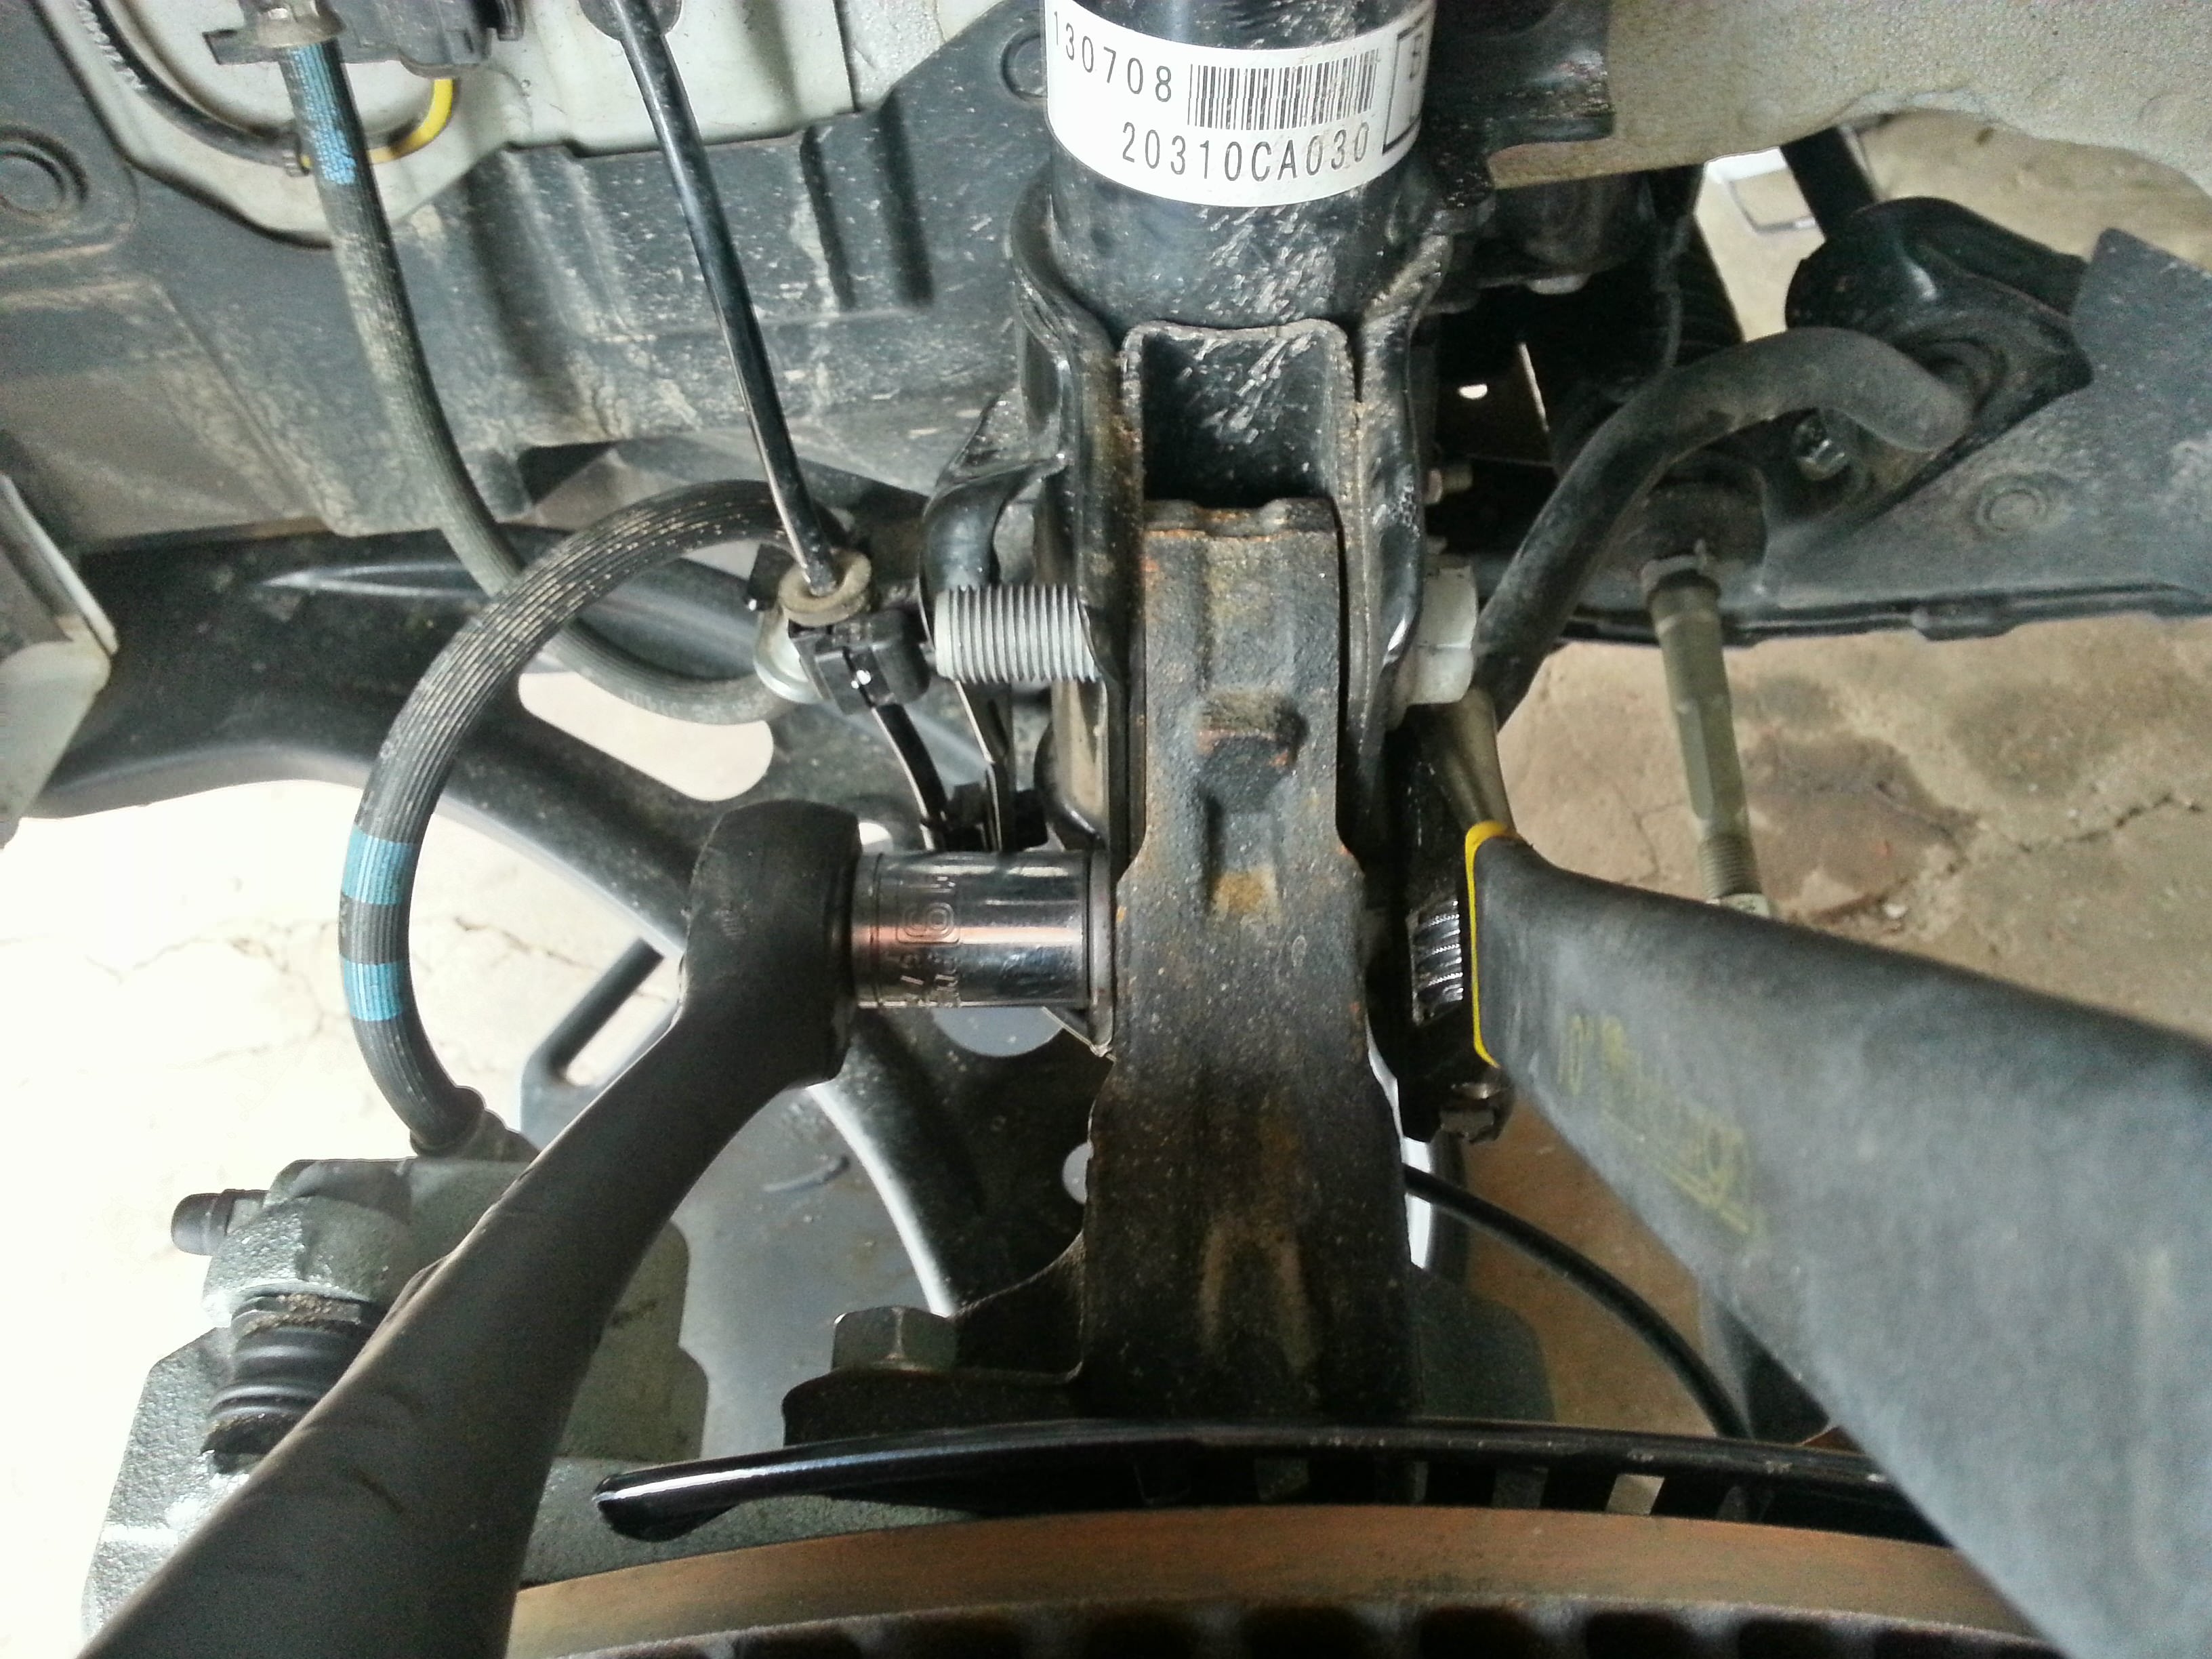
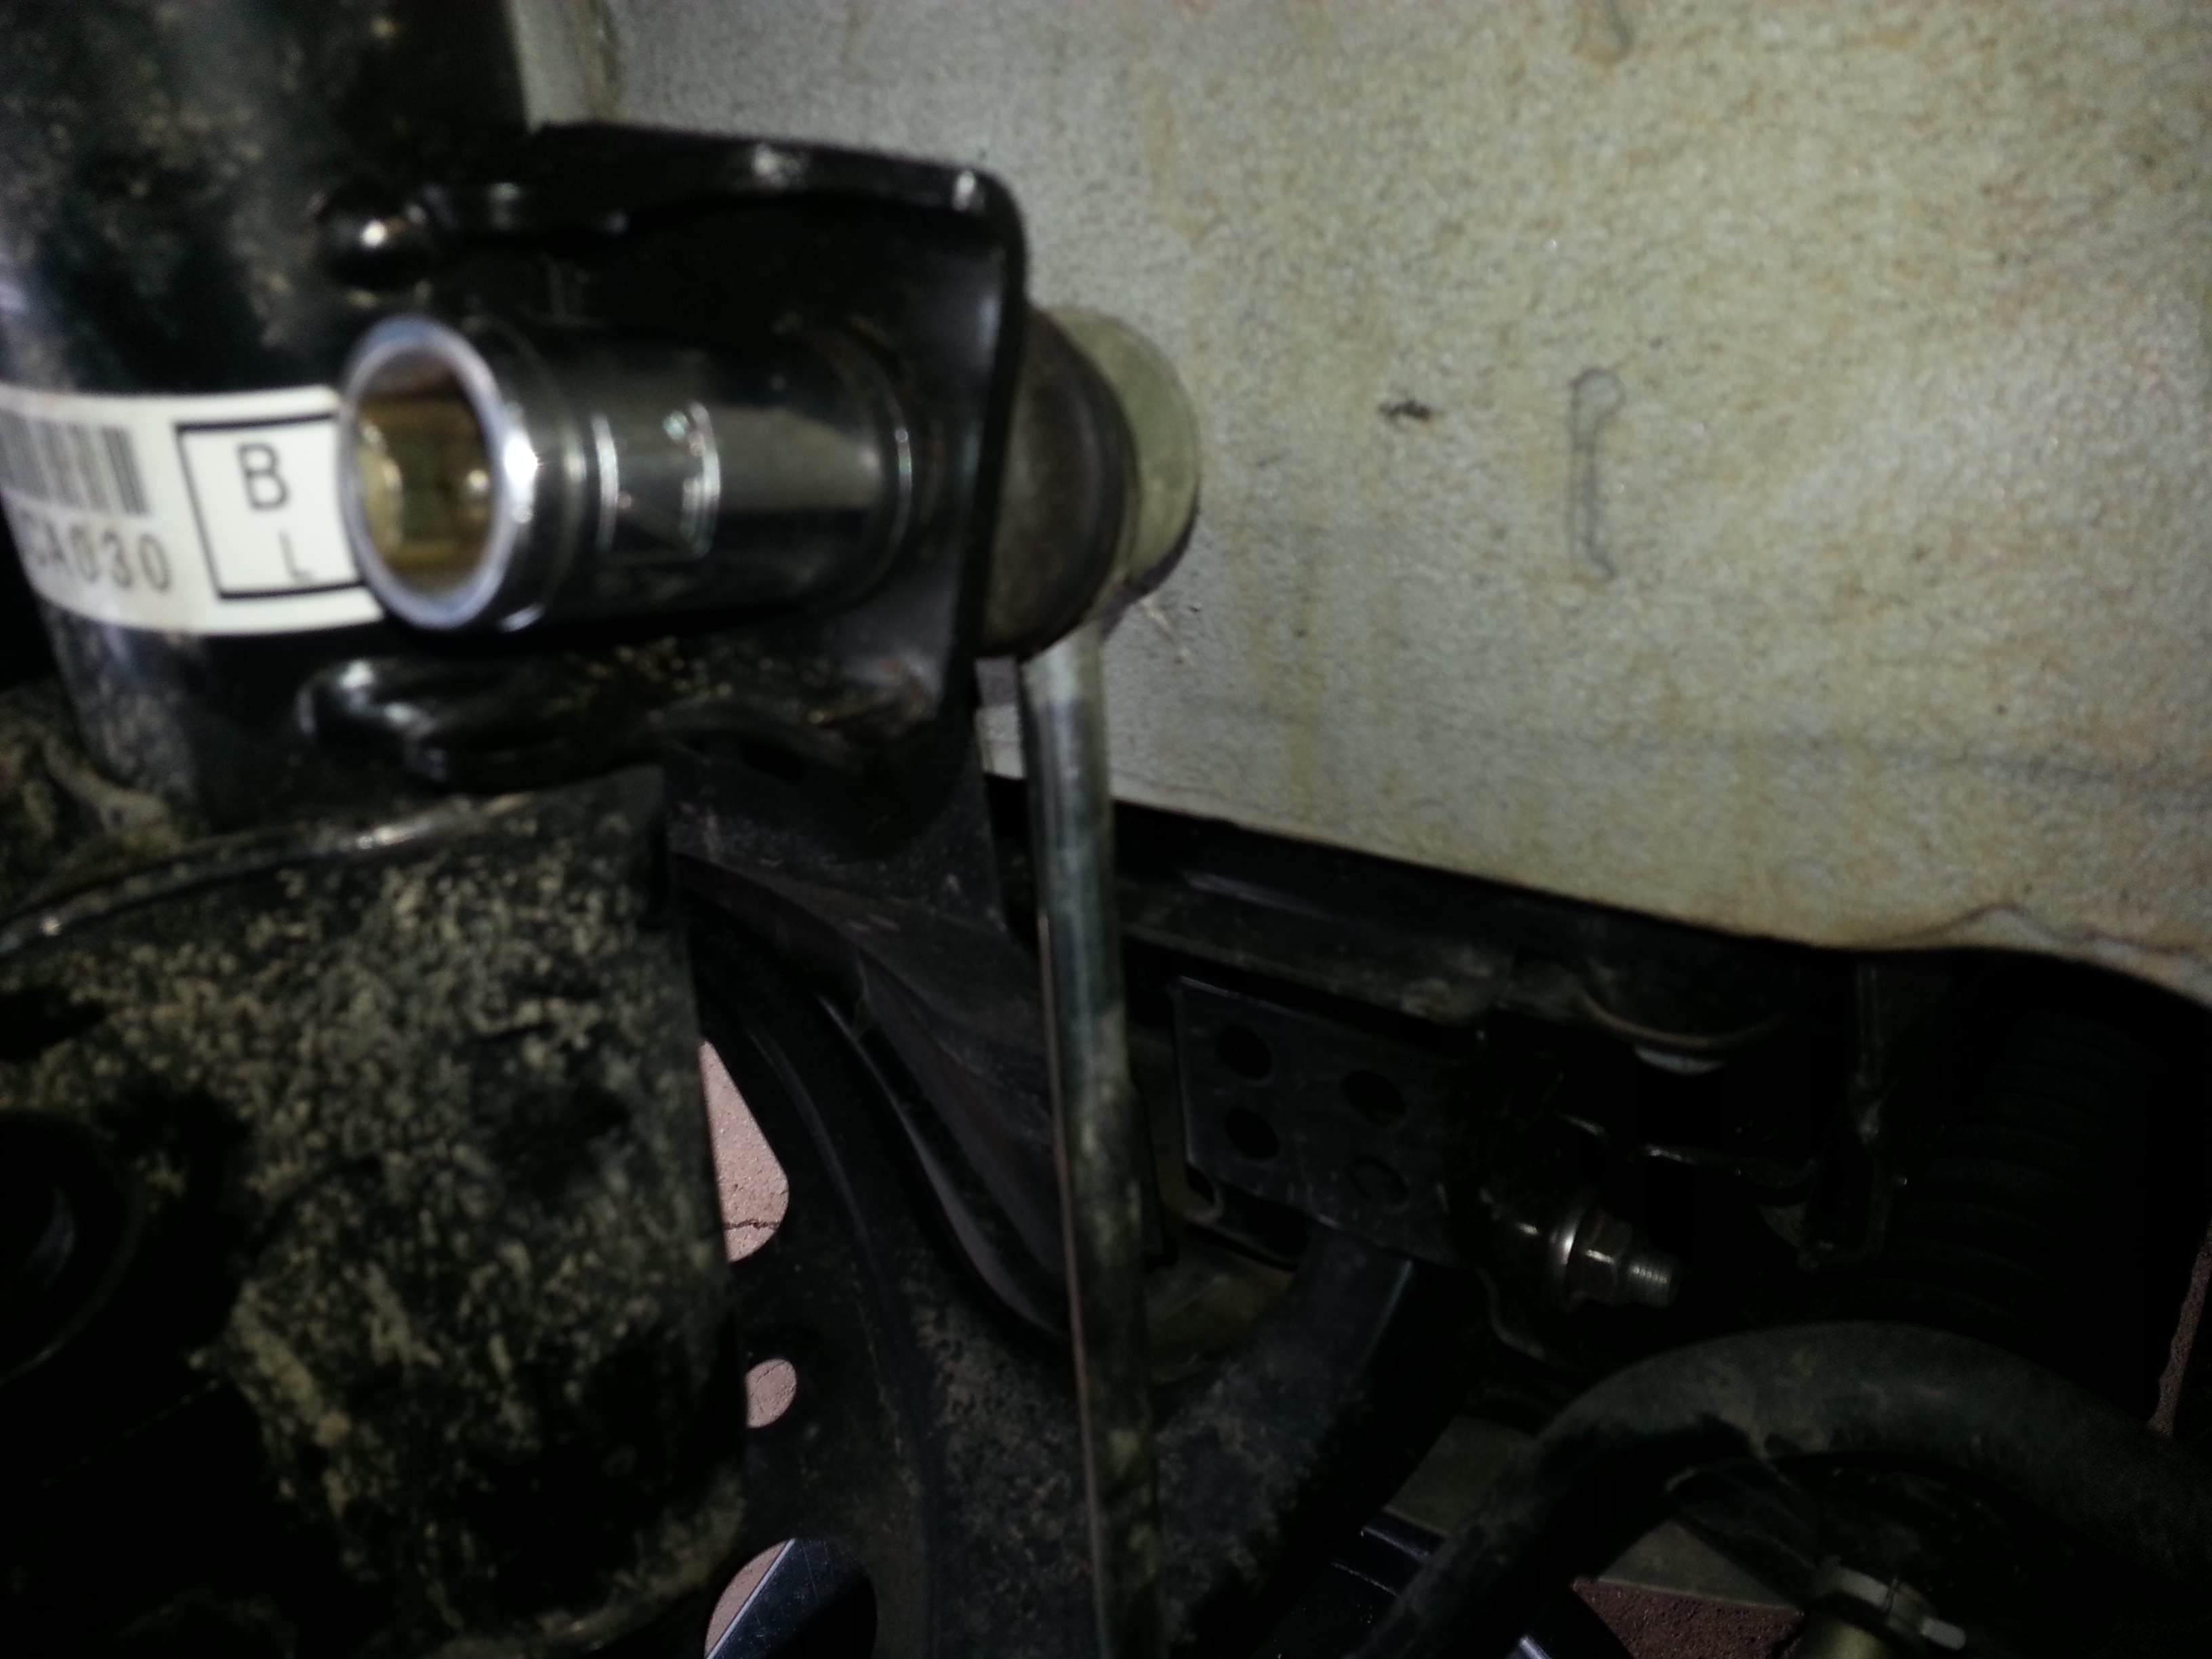
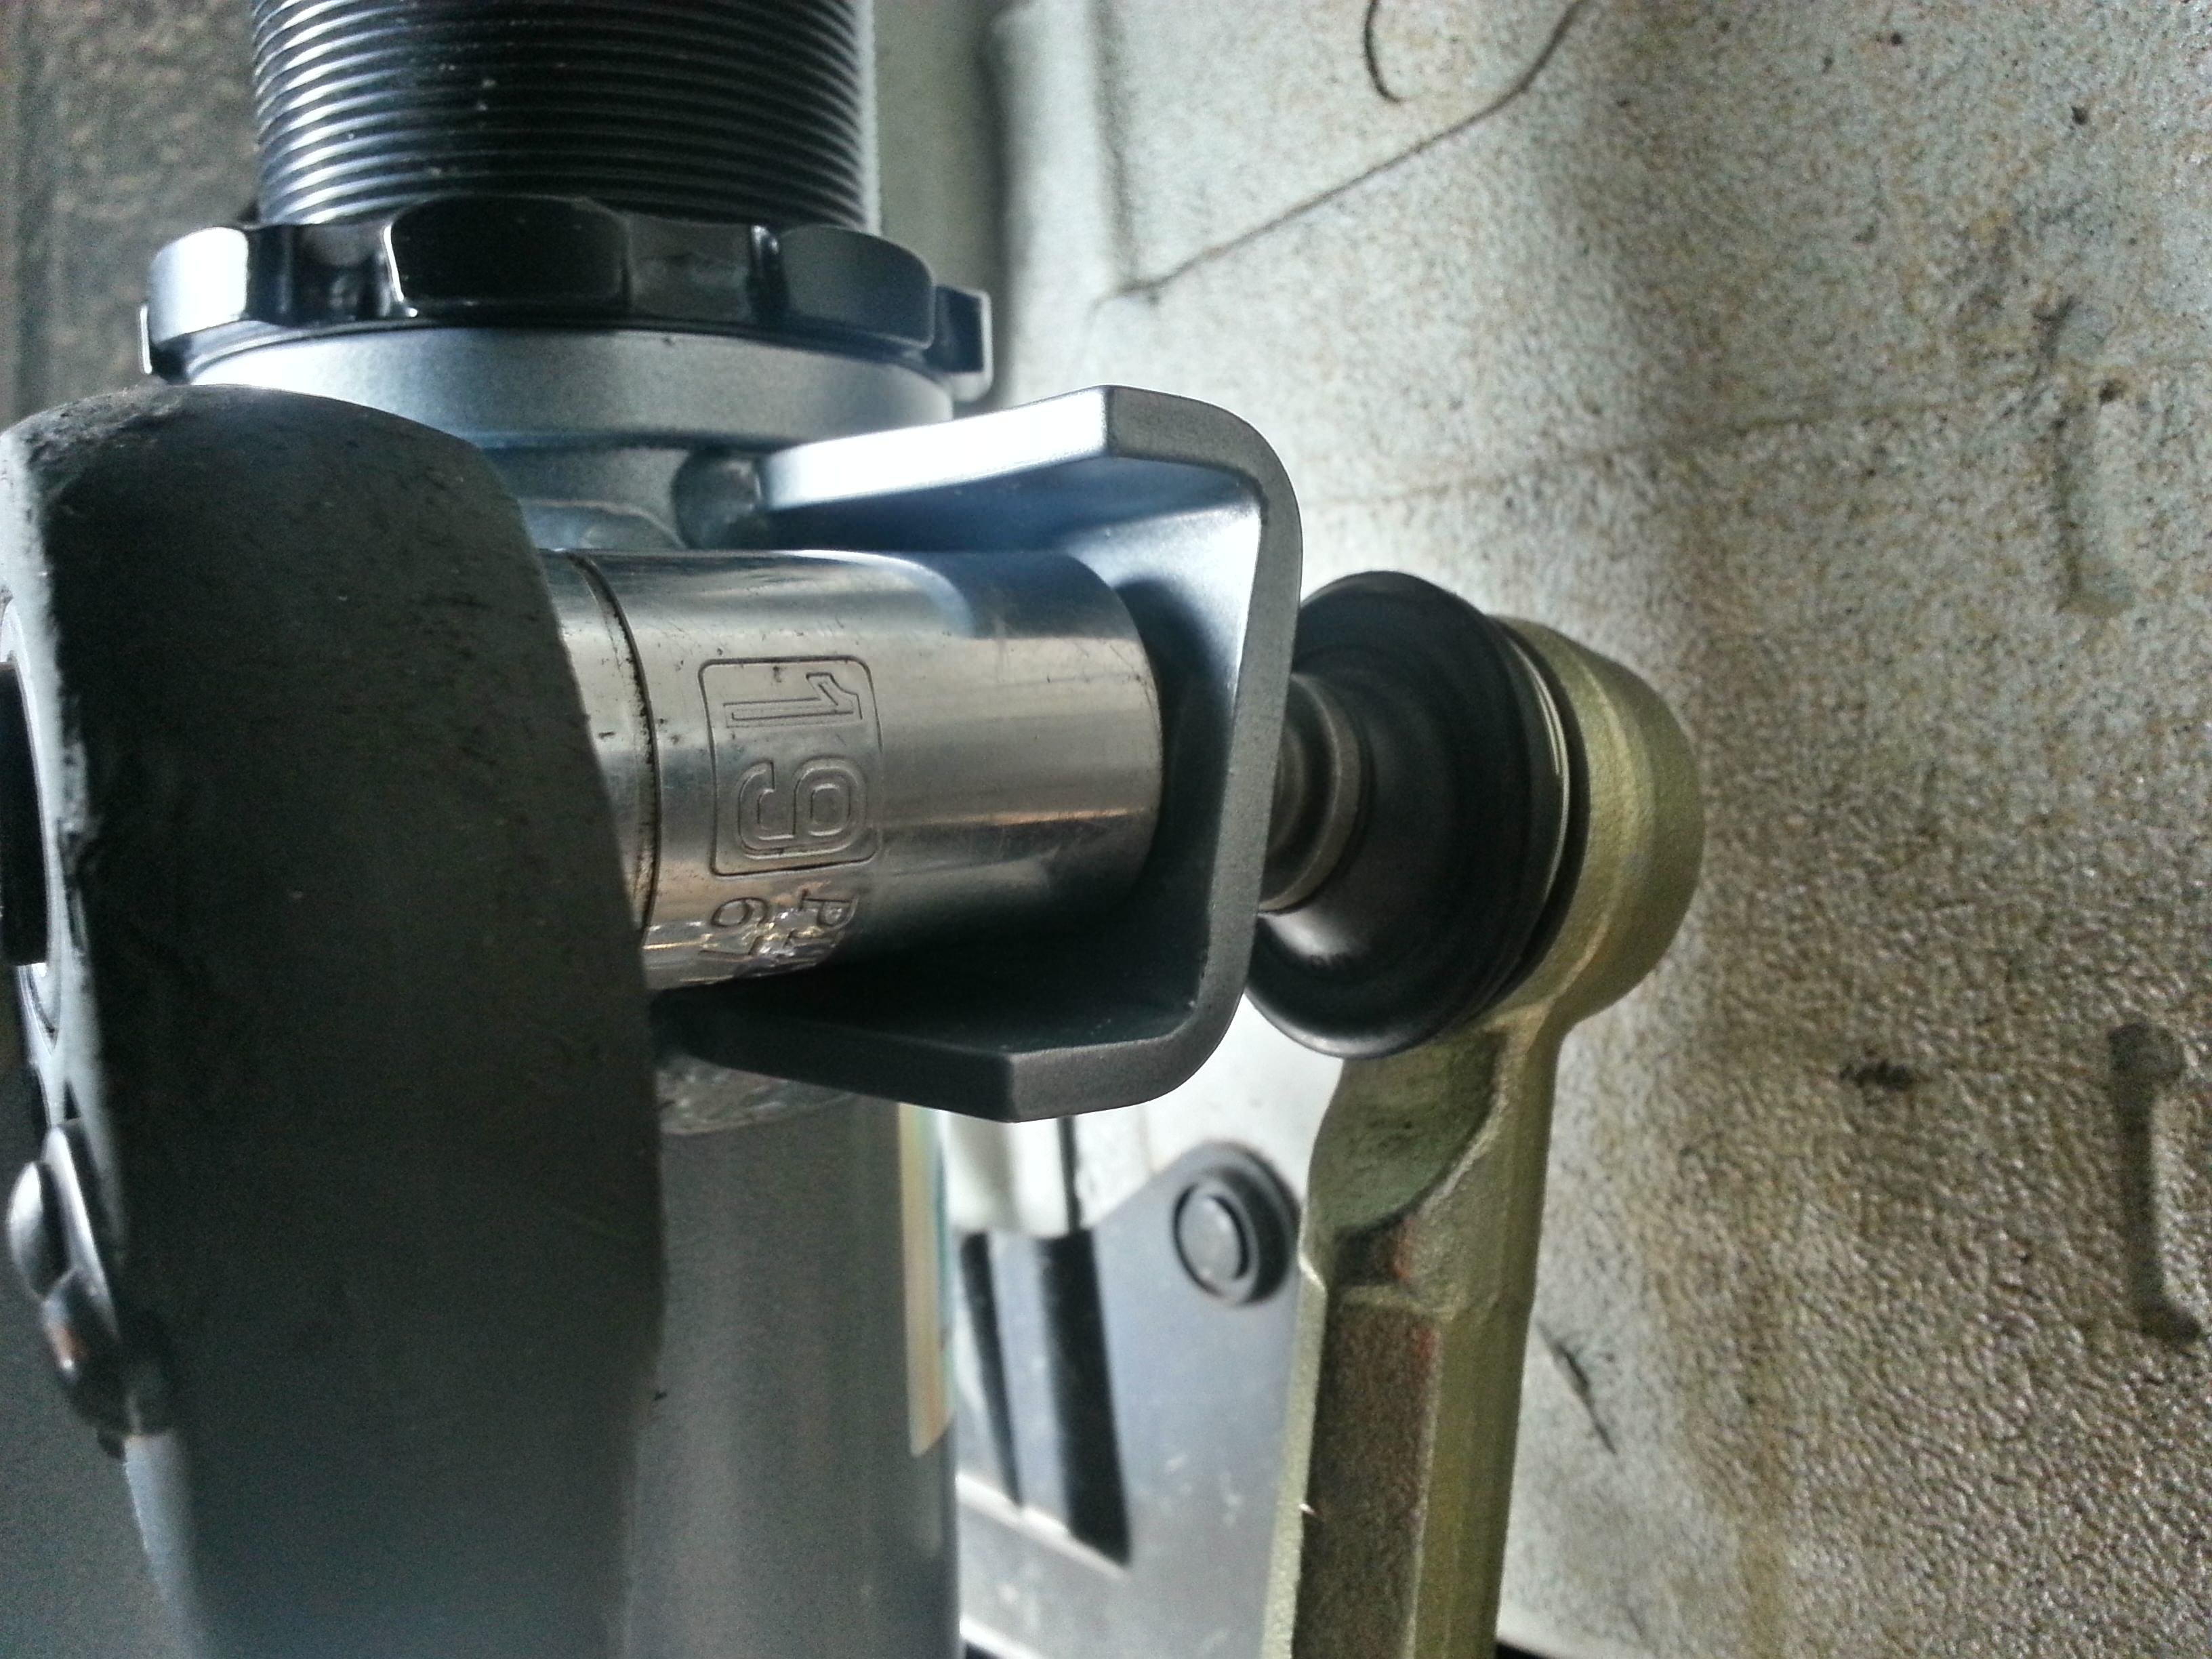
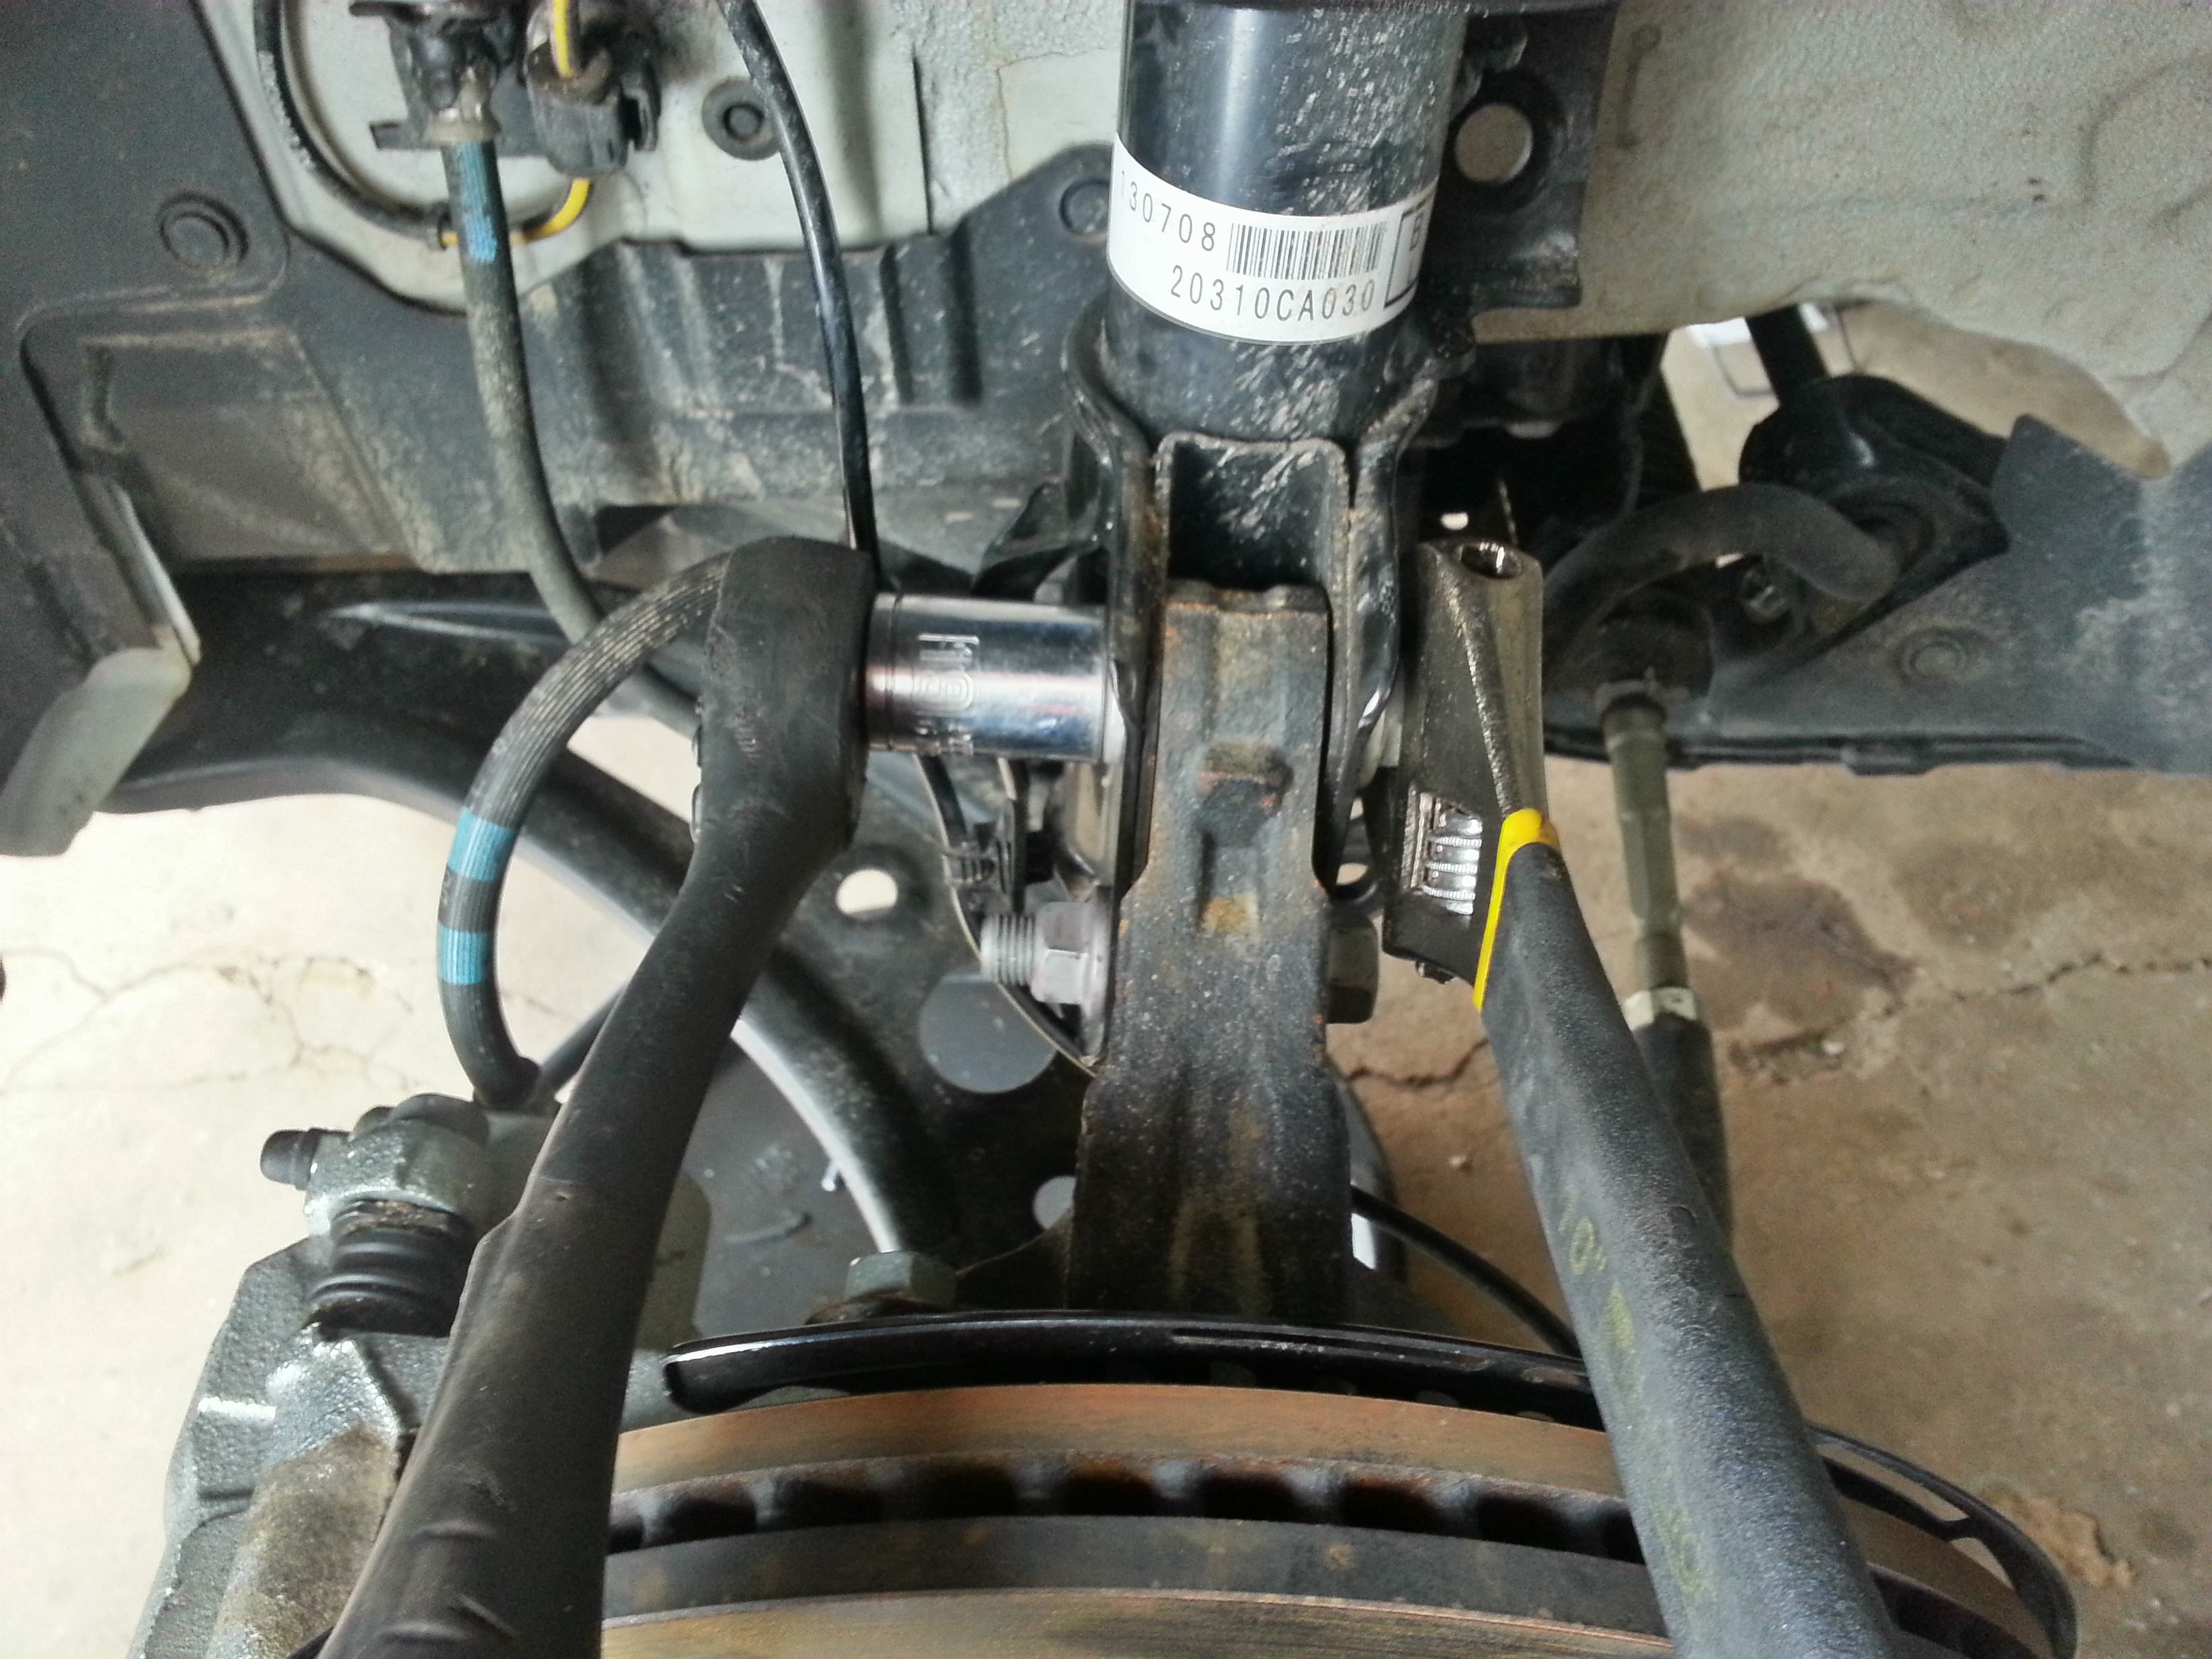 Throw your ratchet and 19mm socket on the nut side of this assembly. Breaking them loose doesn't require holding the bolt still as the amount of friction on the strut foot holds it stationary. Once you get it broken loose, spin the nut off. Leave the two bolts in place so that the knuckle doesn't drop.
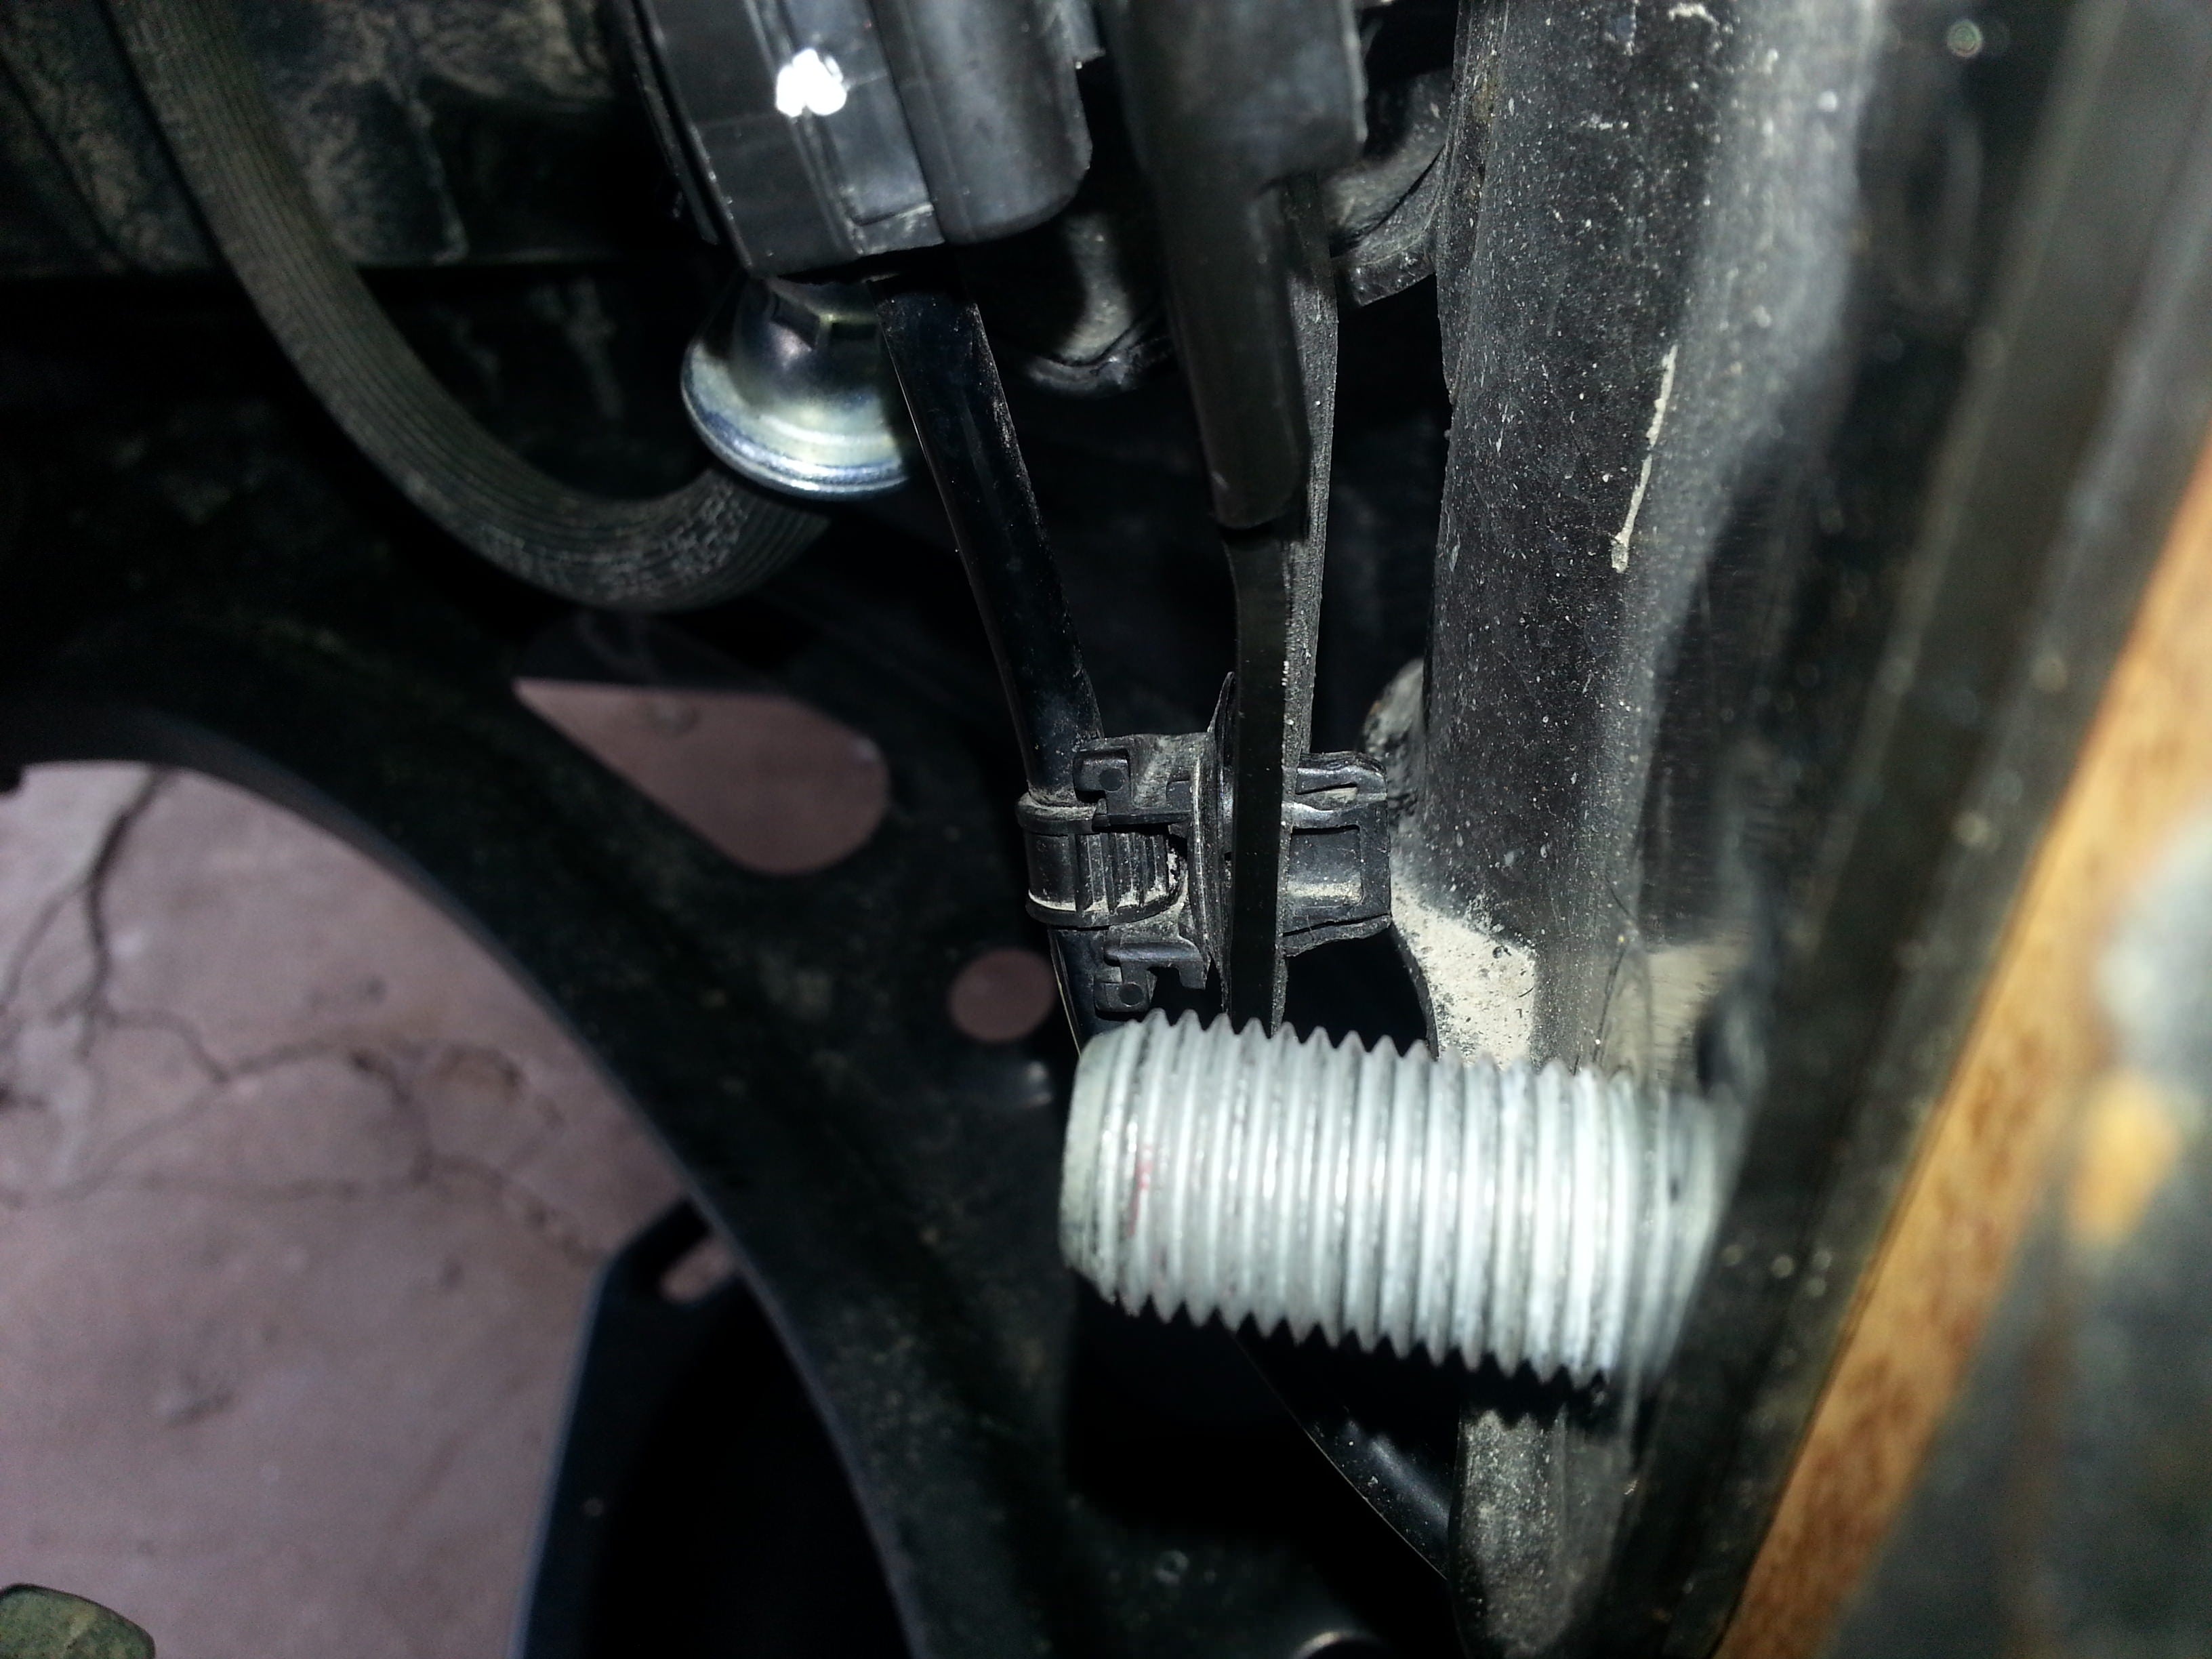
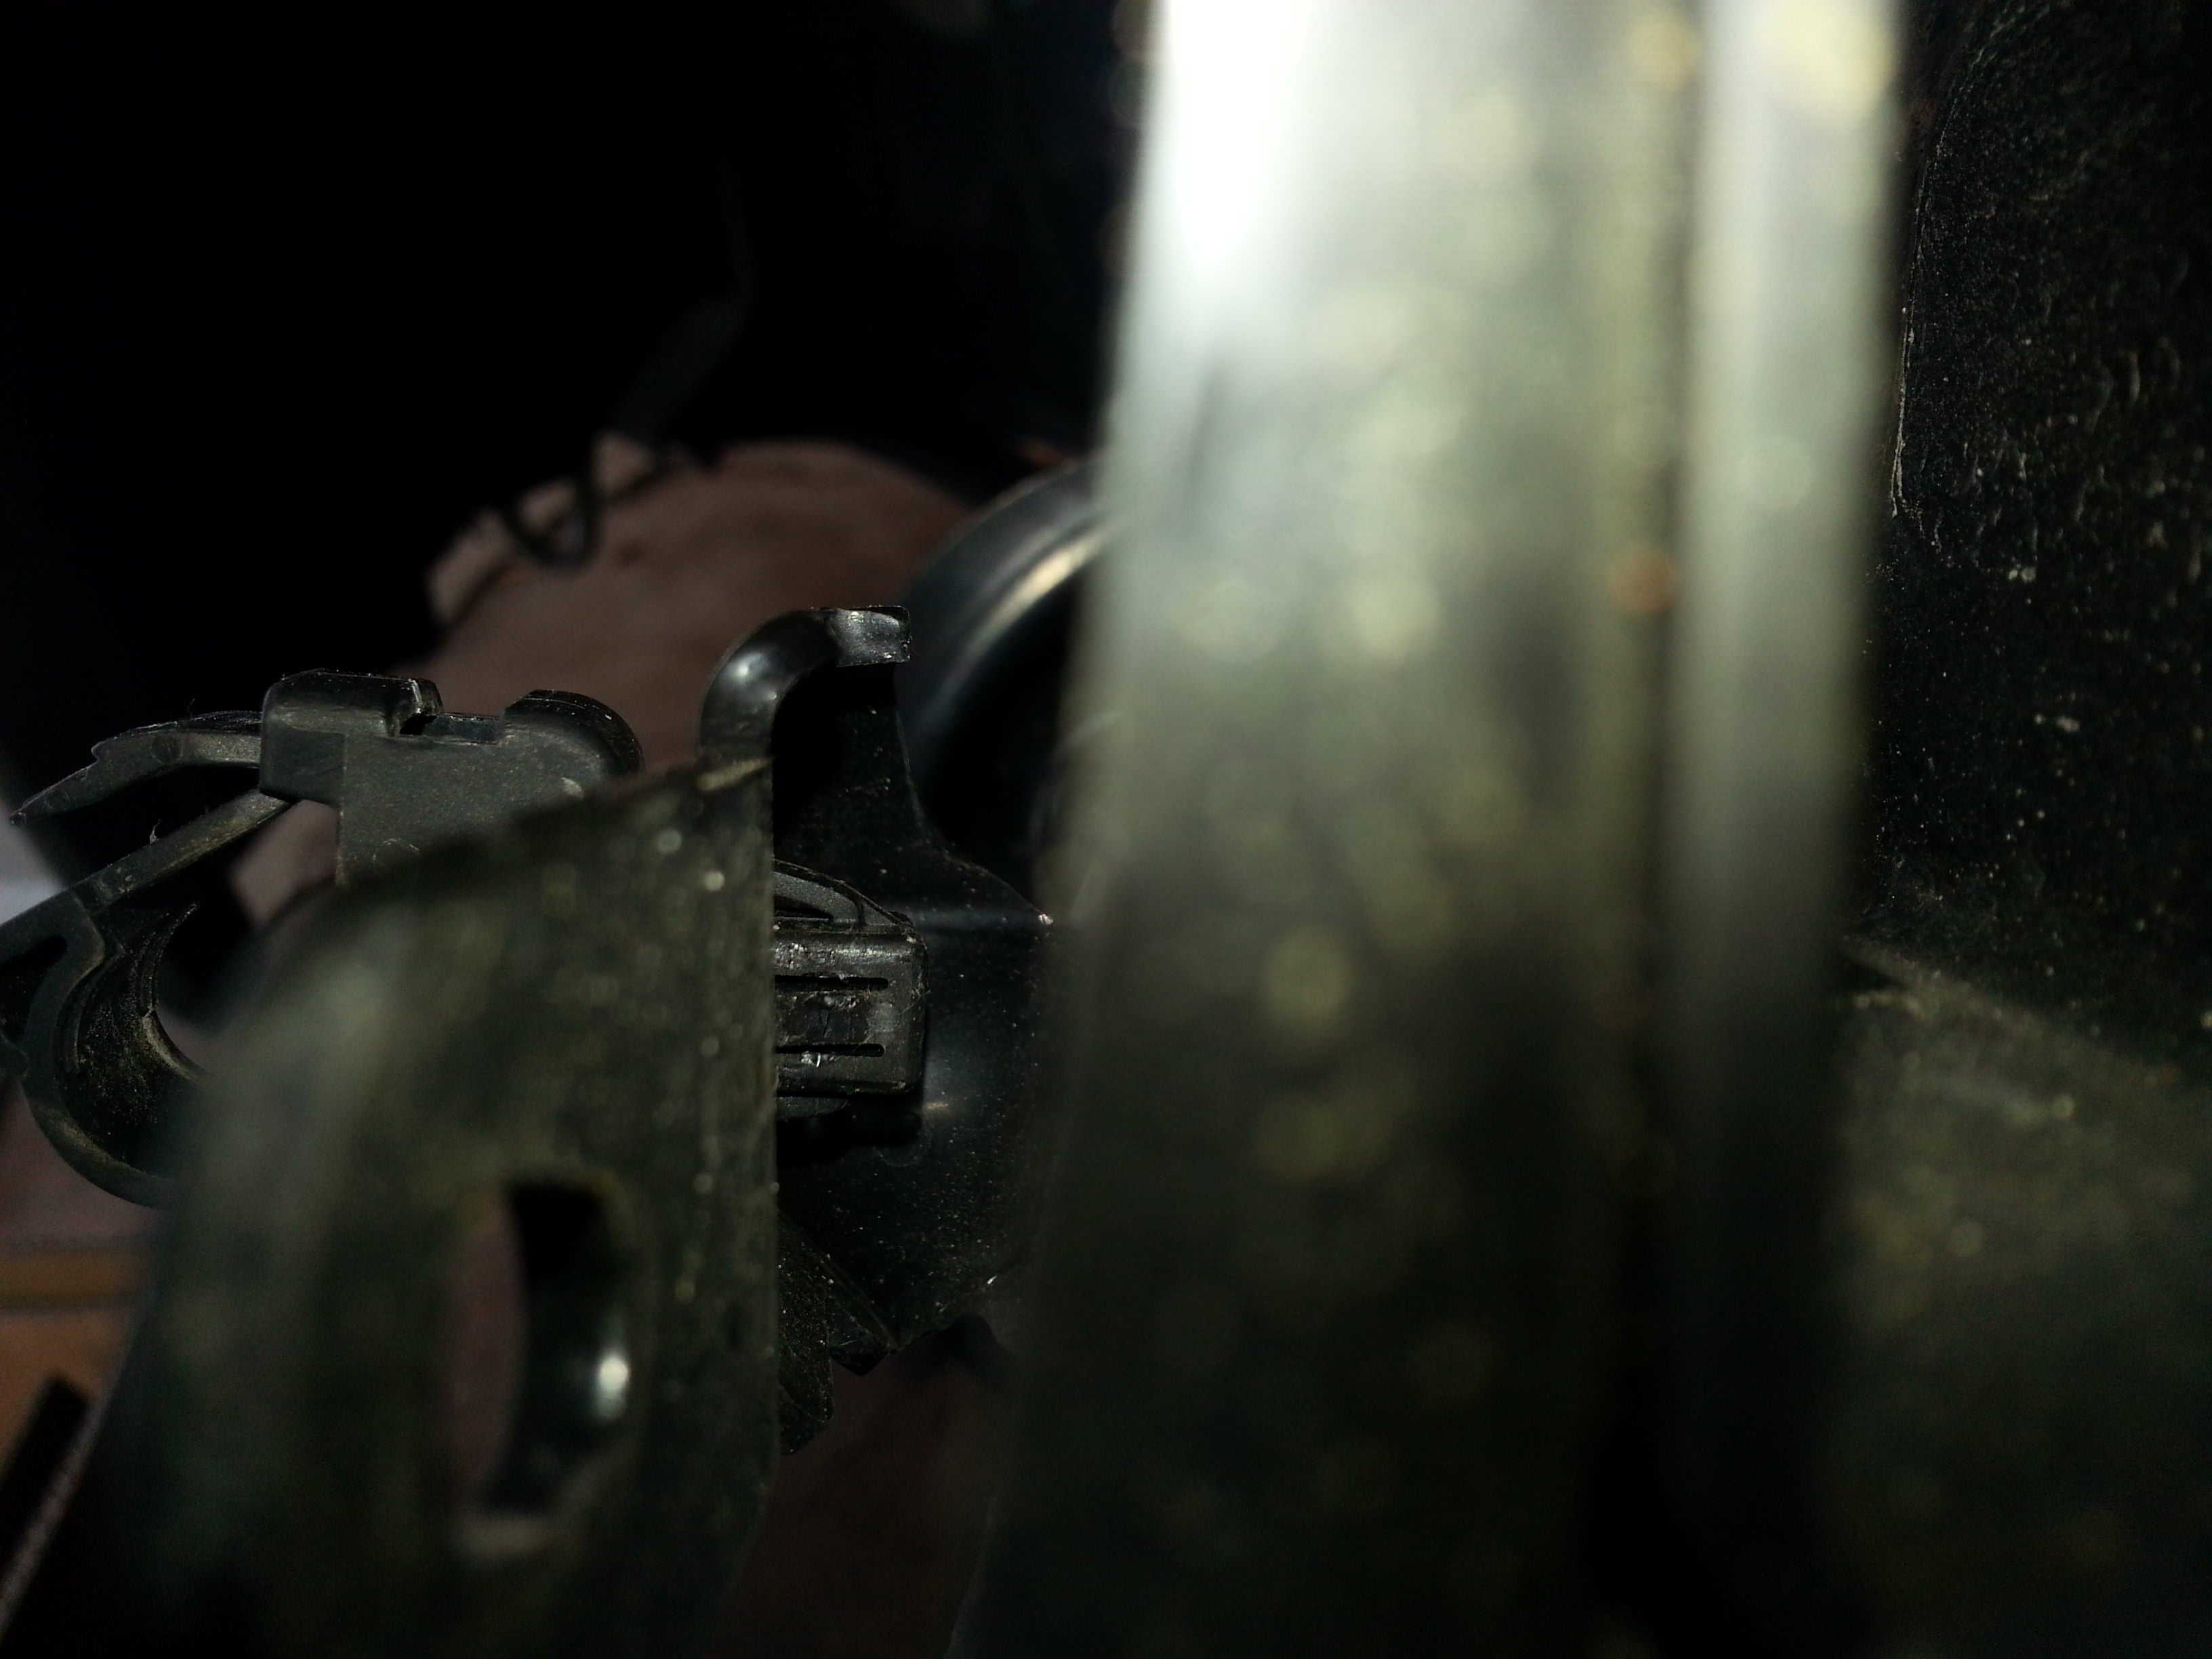
 Next up is the lower ABS line clip. It has two prongs that hold this clip in, both in the vertical position.
 This picture shows (albeit not very well) a screwdriver pressing down on the upper prong. While you are pressing down on the screwdriver/prong, pull the upper part of the clip out. Don't pull too hard or very much, or you may break the lower prong.
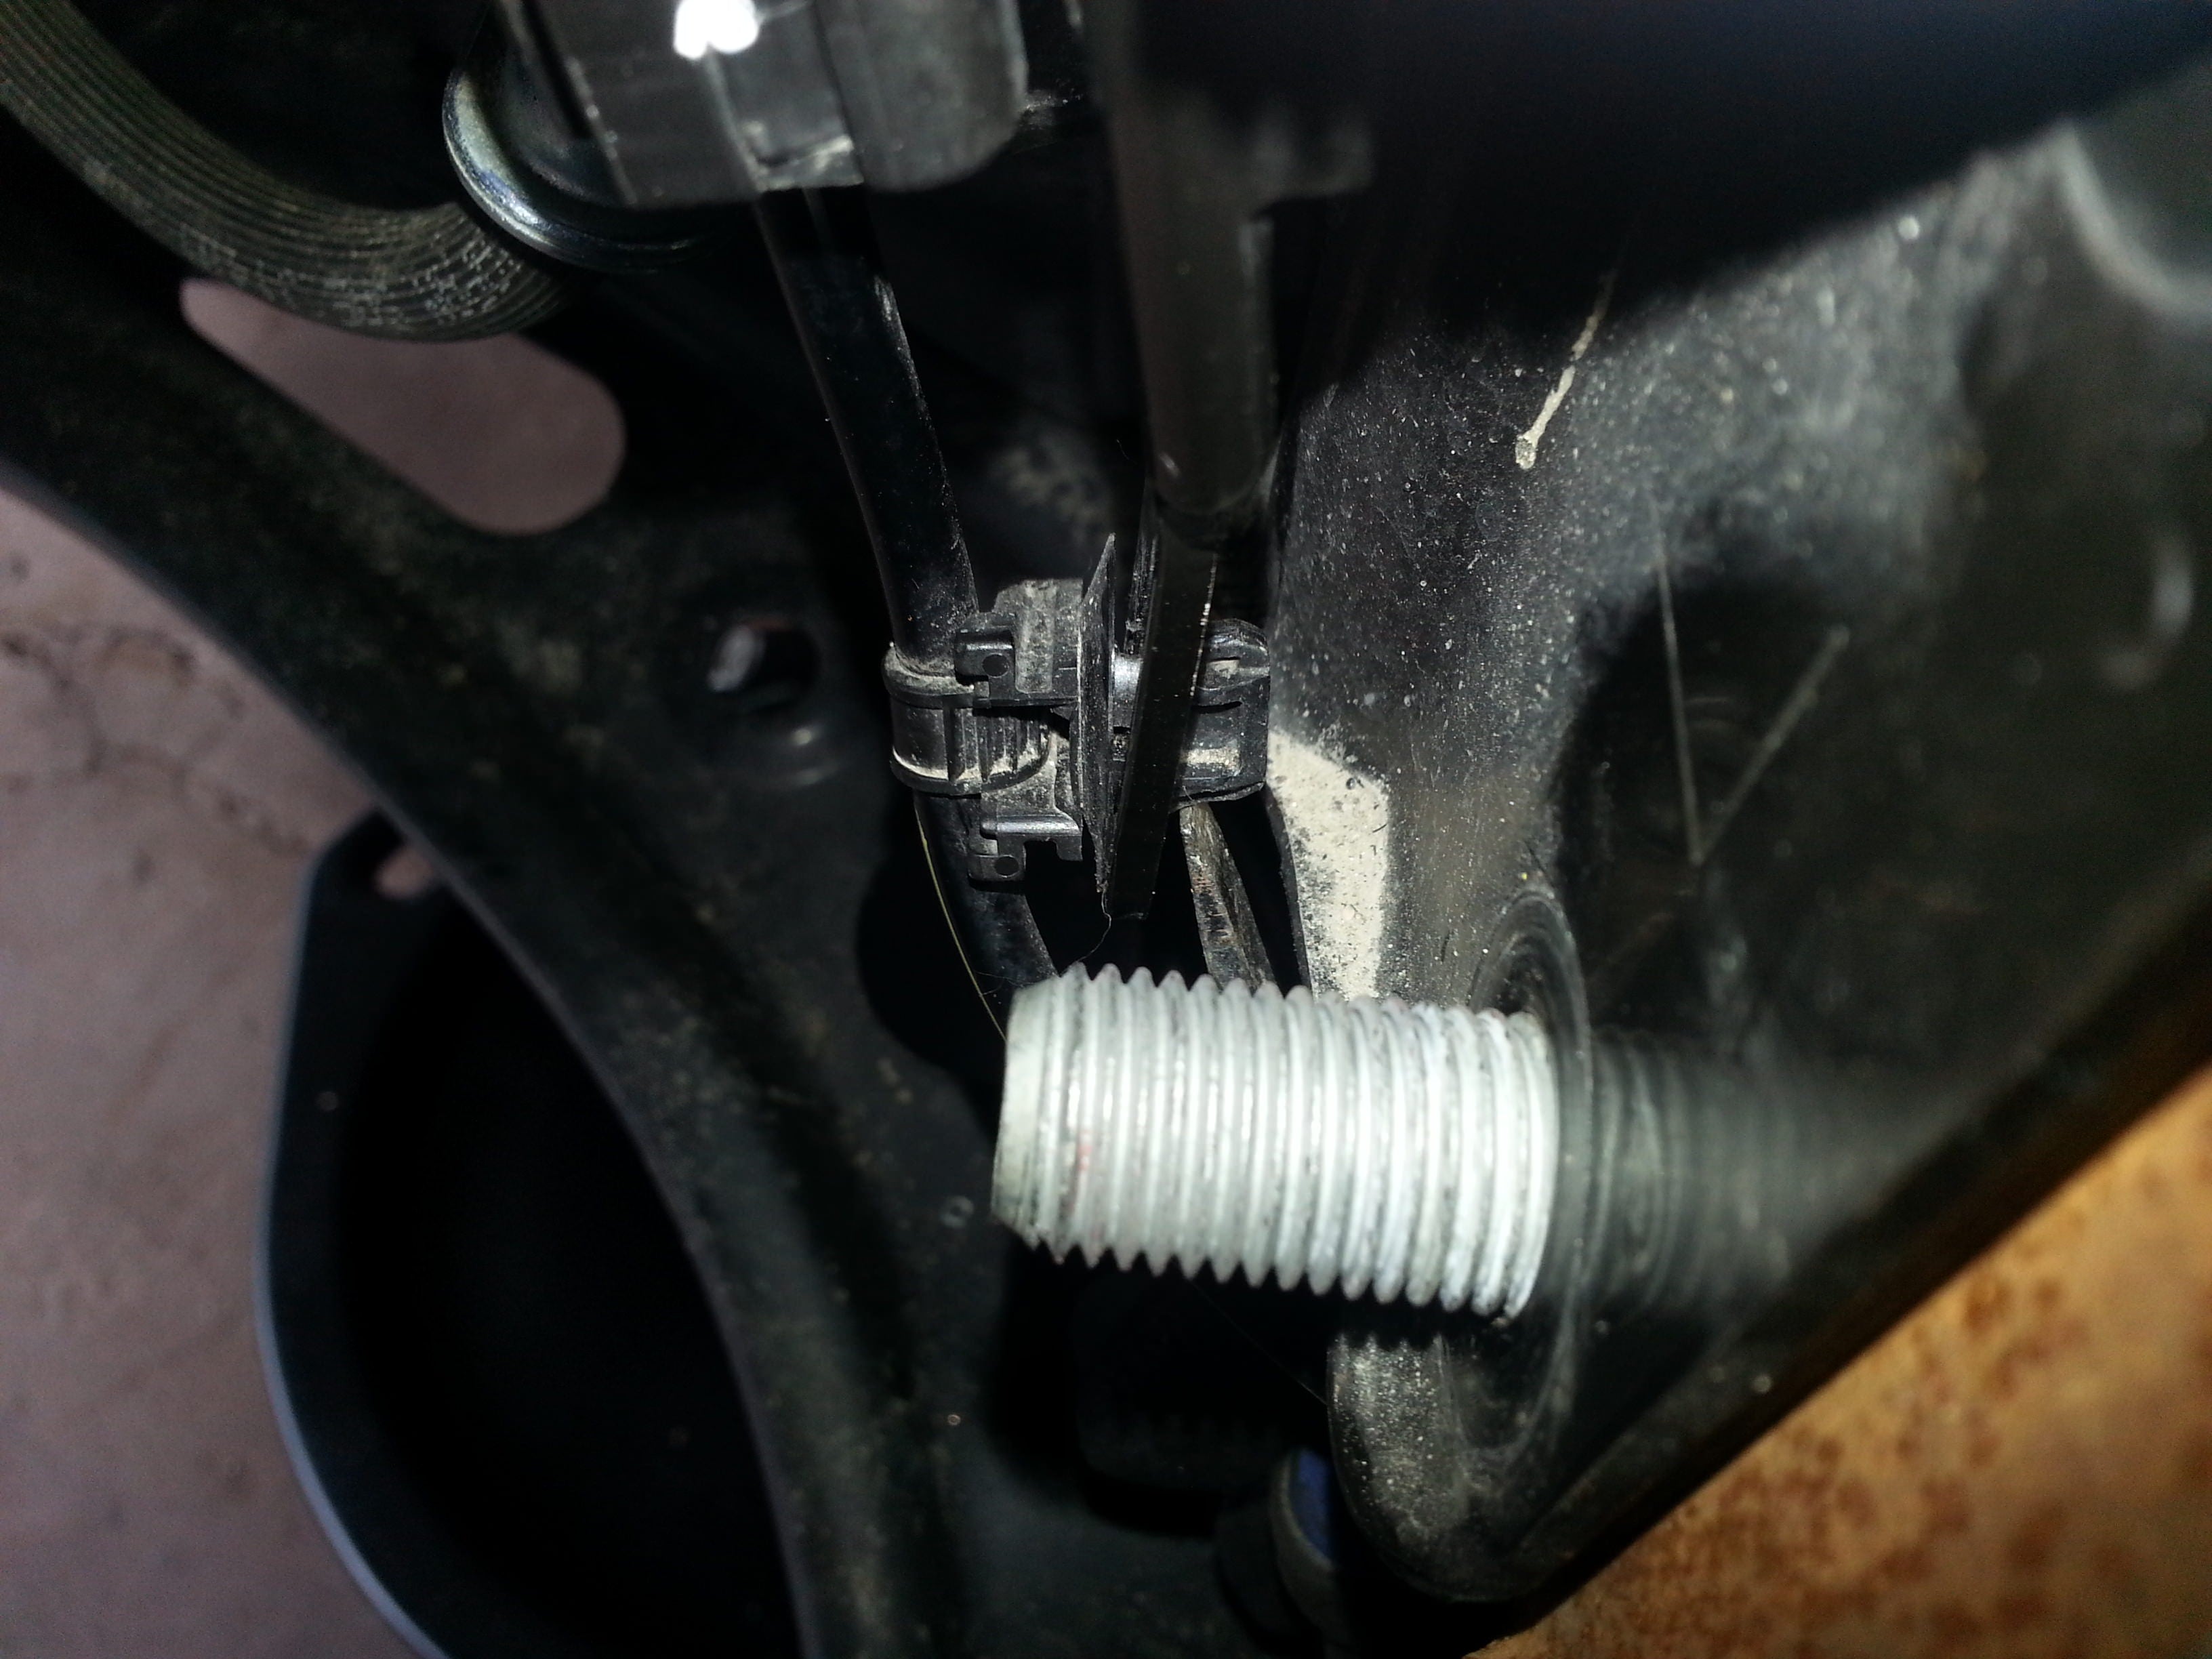
 This is how much the clip will hang out once you have the prong through. You can see that it doesn't move far, but this is enough that when you press in the lower prong and pull outward (towards the front of the car on the left side/driver side in the US market) the whole assembly comes out.
 You can see the screwdriver coming up from the bottom of the car, pressing on the lower prong. Depress this prong, then pull gently on the clip.
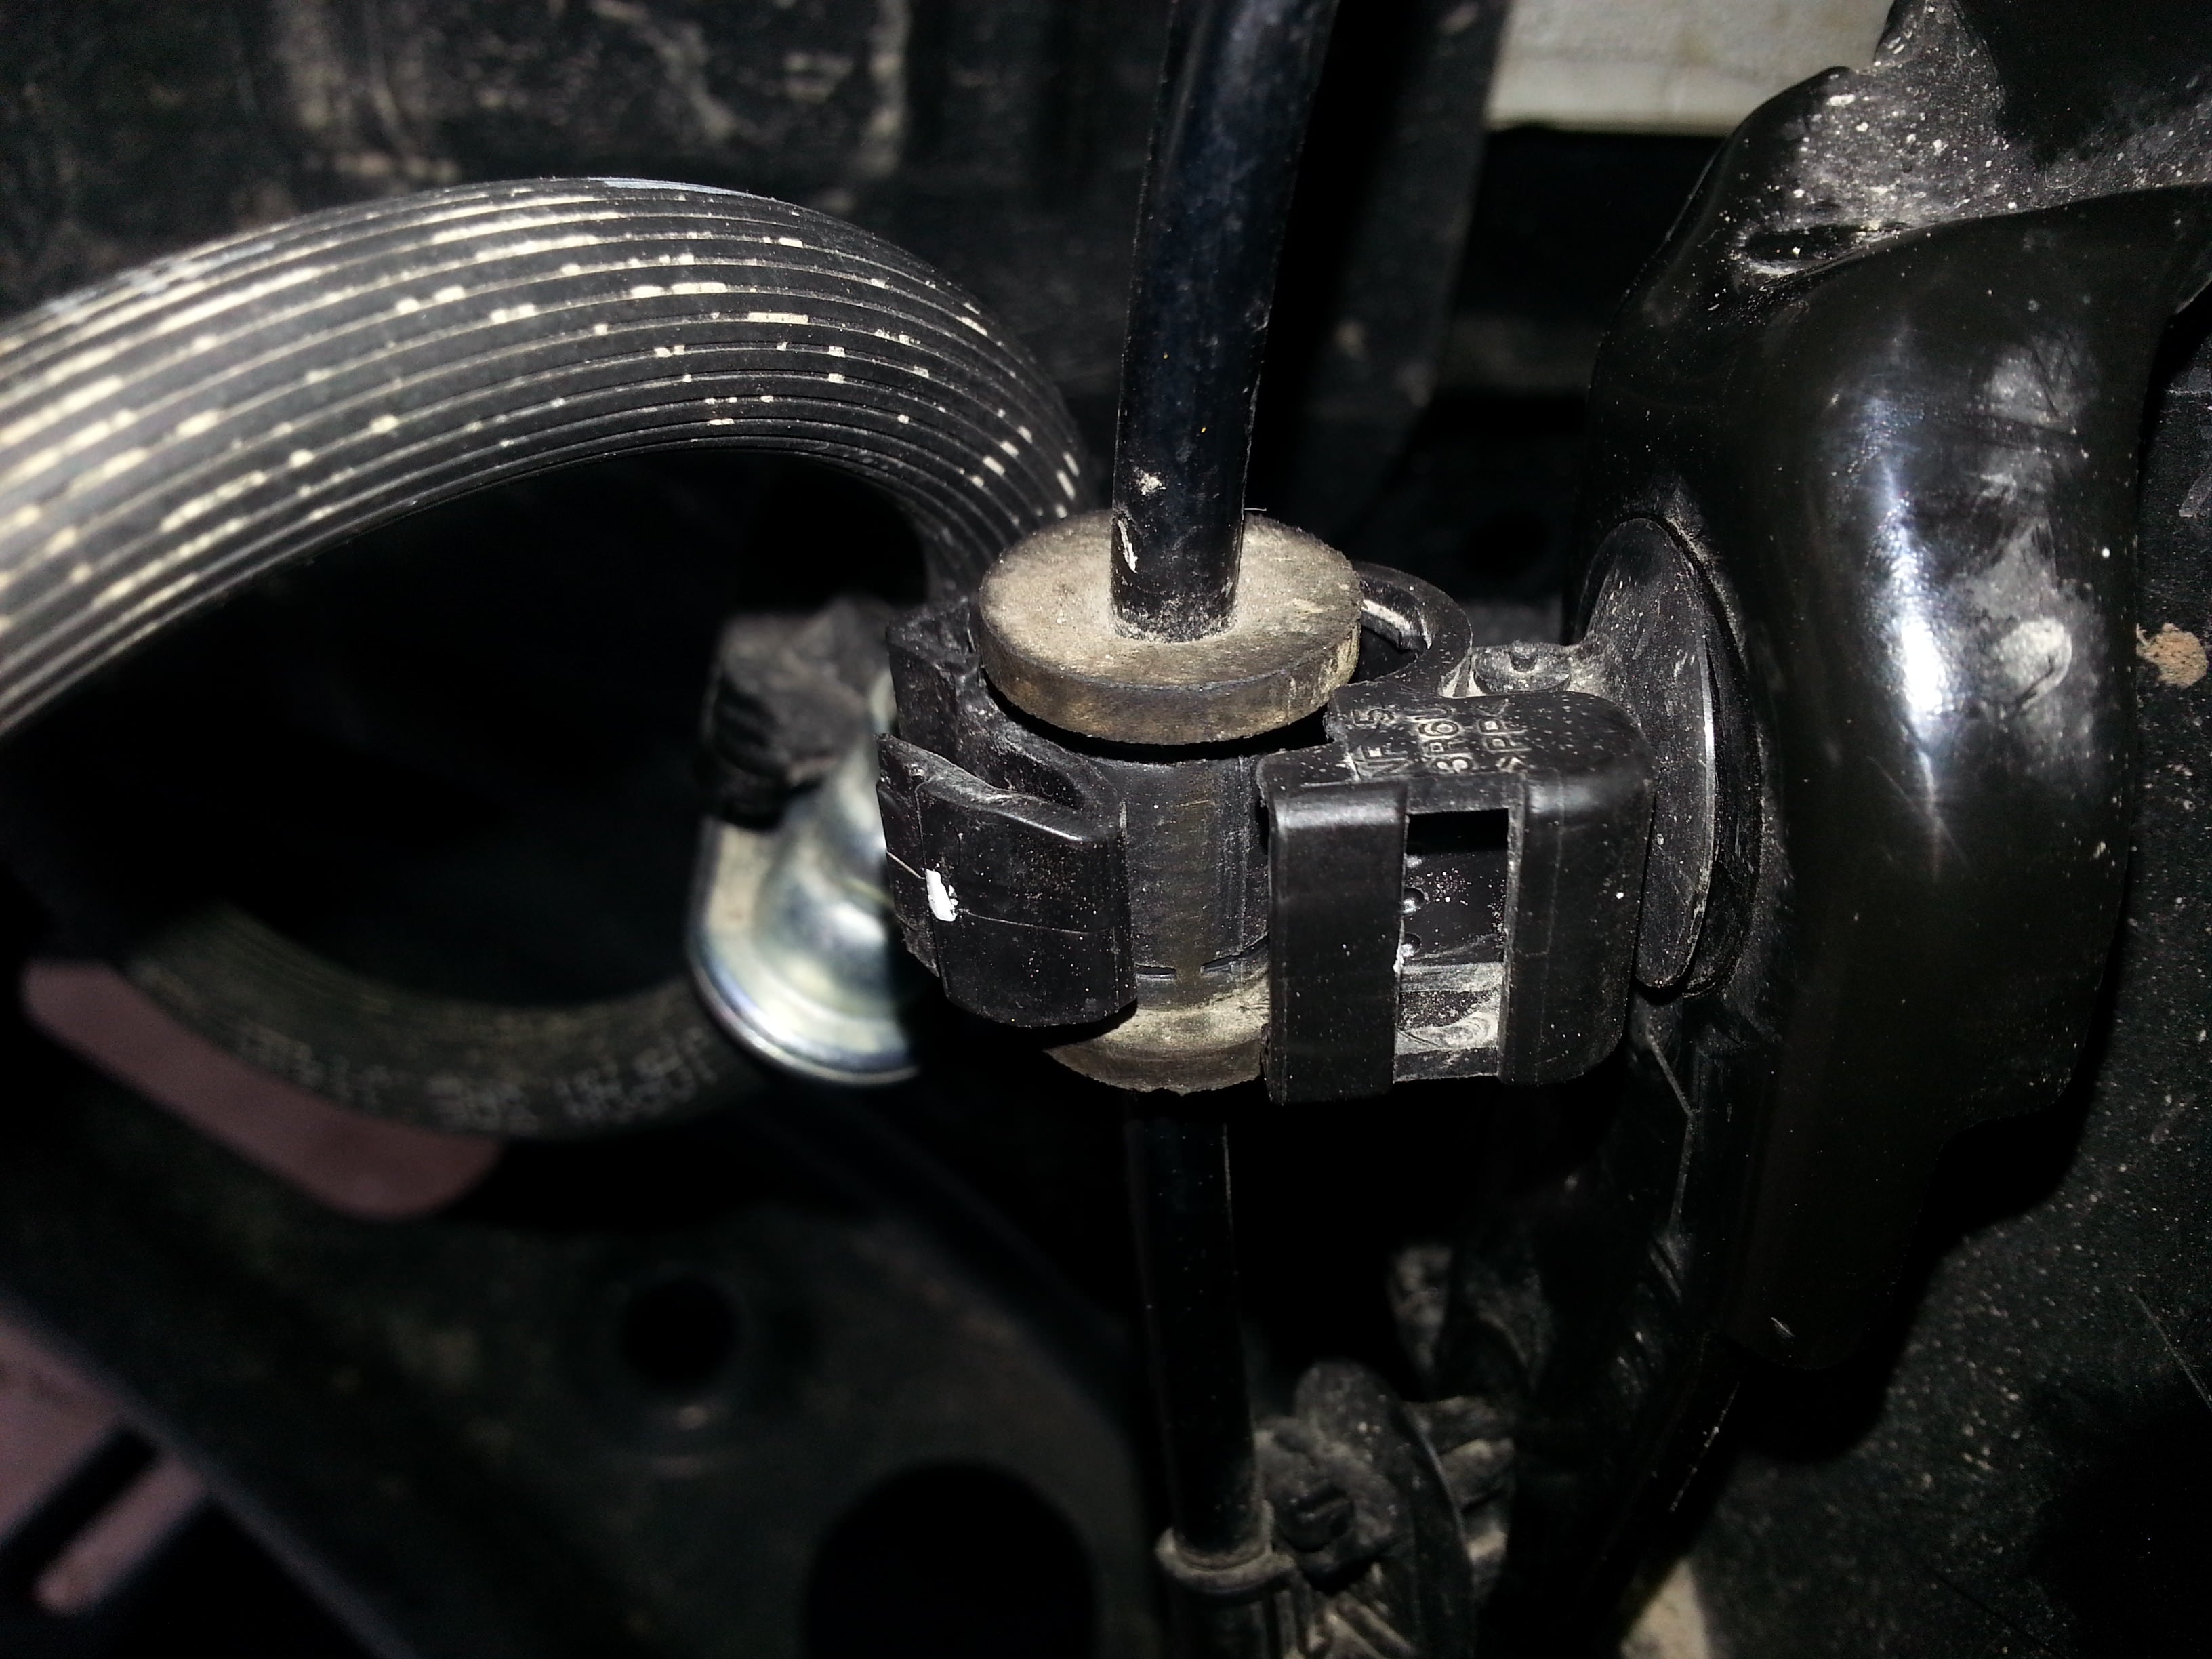
 The upper clip is much more difficult to get out with the strut still on the car. What I found easiest is to open the captured clip and release the cable, and remove the clip after you pull the strut off the car and have it on your work bench. Use the screwdriver to depress this prong, and push gently at a 45* angle towards the center/front of the car. This will open the clasp and let the cable loose.

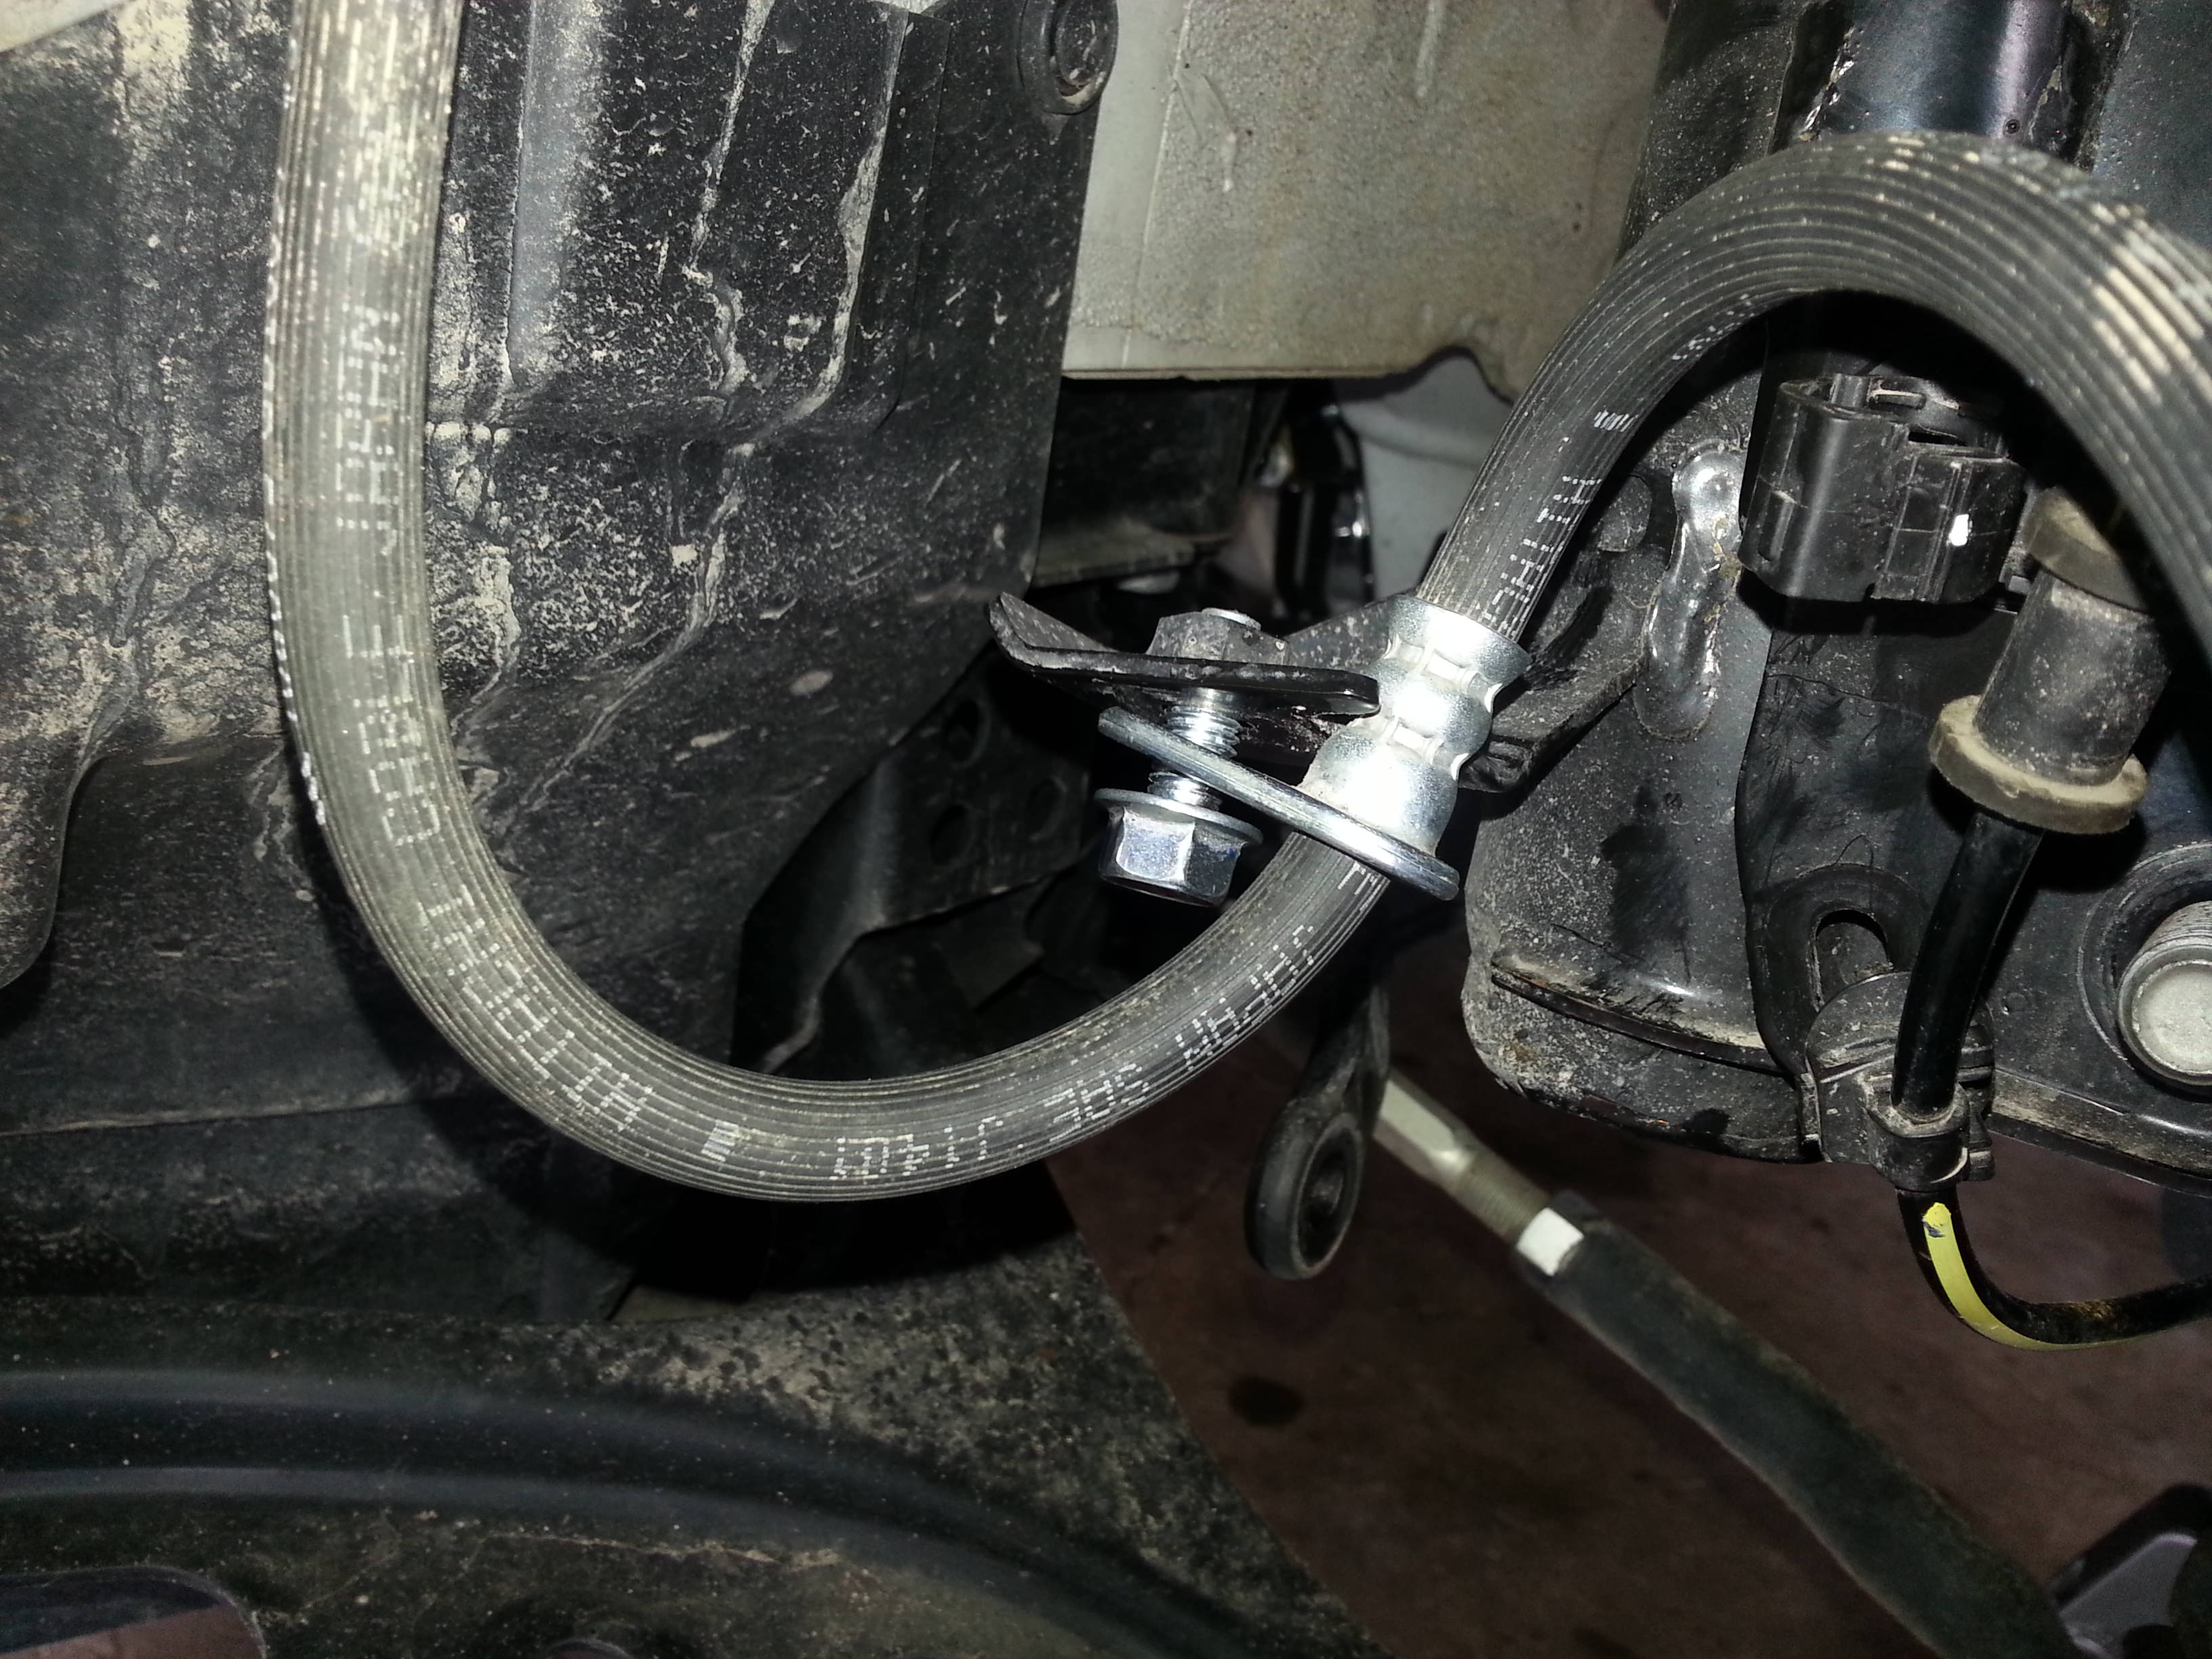
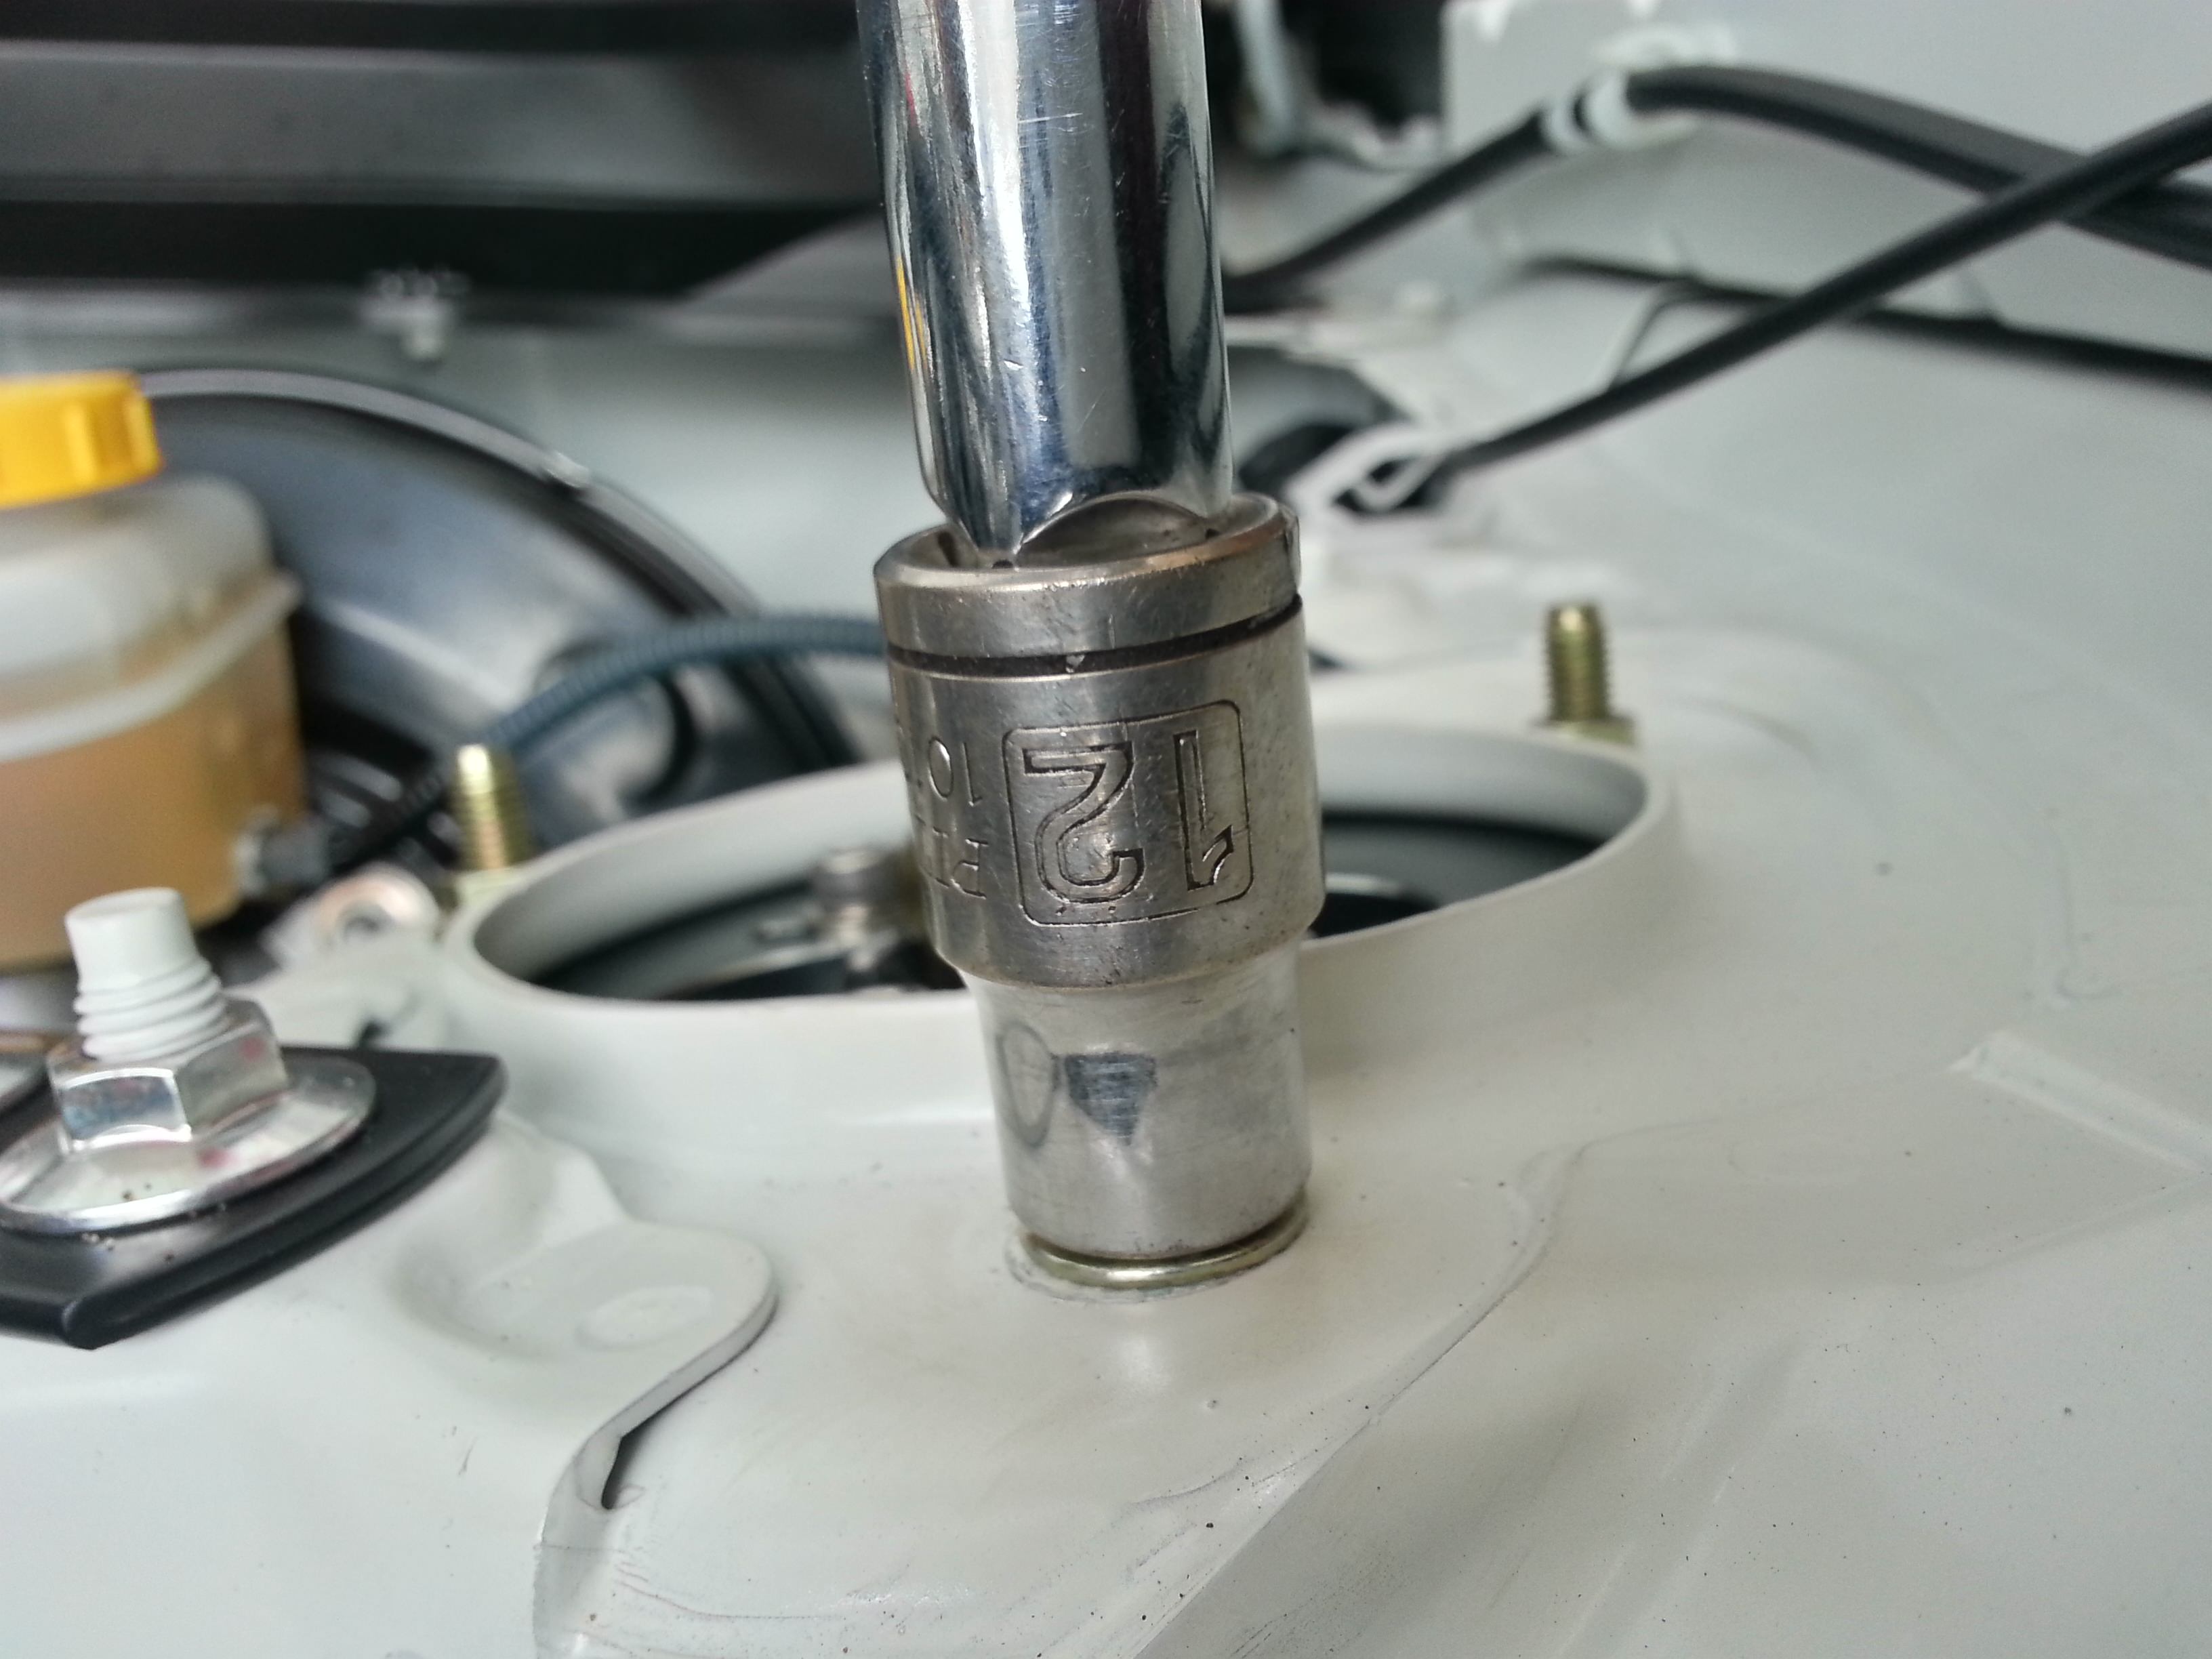
 Next up is your soft line for the brakes. Use either your wrench or socket, 12mm, and remove the bolt. Keep this bolt handy as you'll need it for the coilover as they're not provided with the kit.
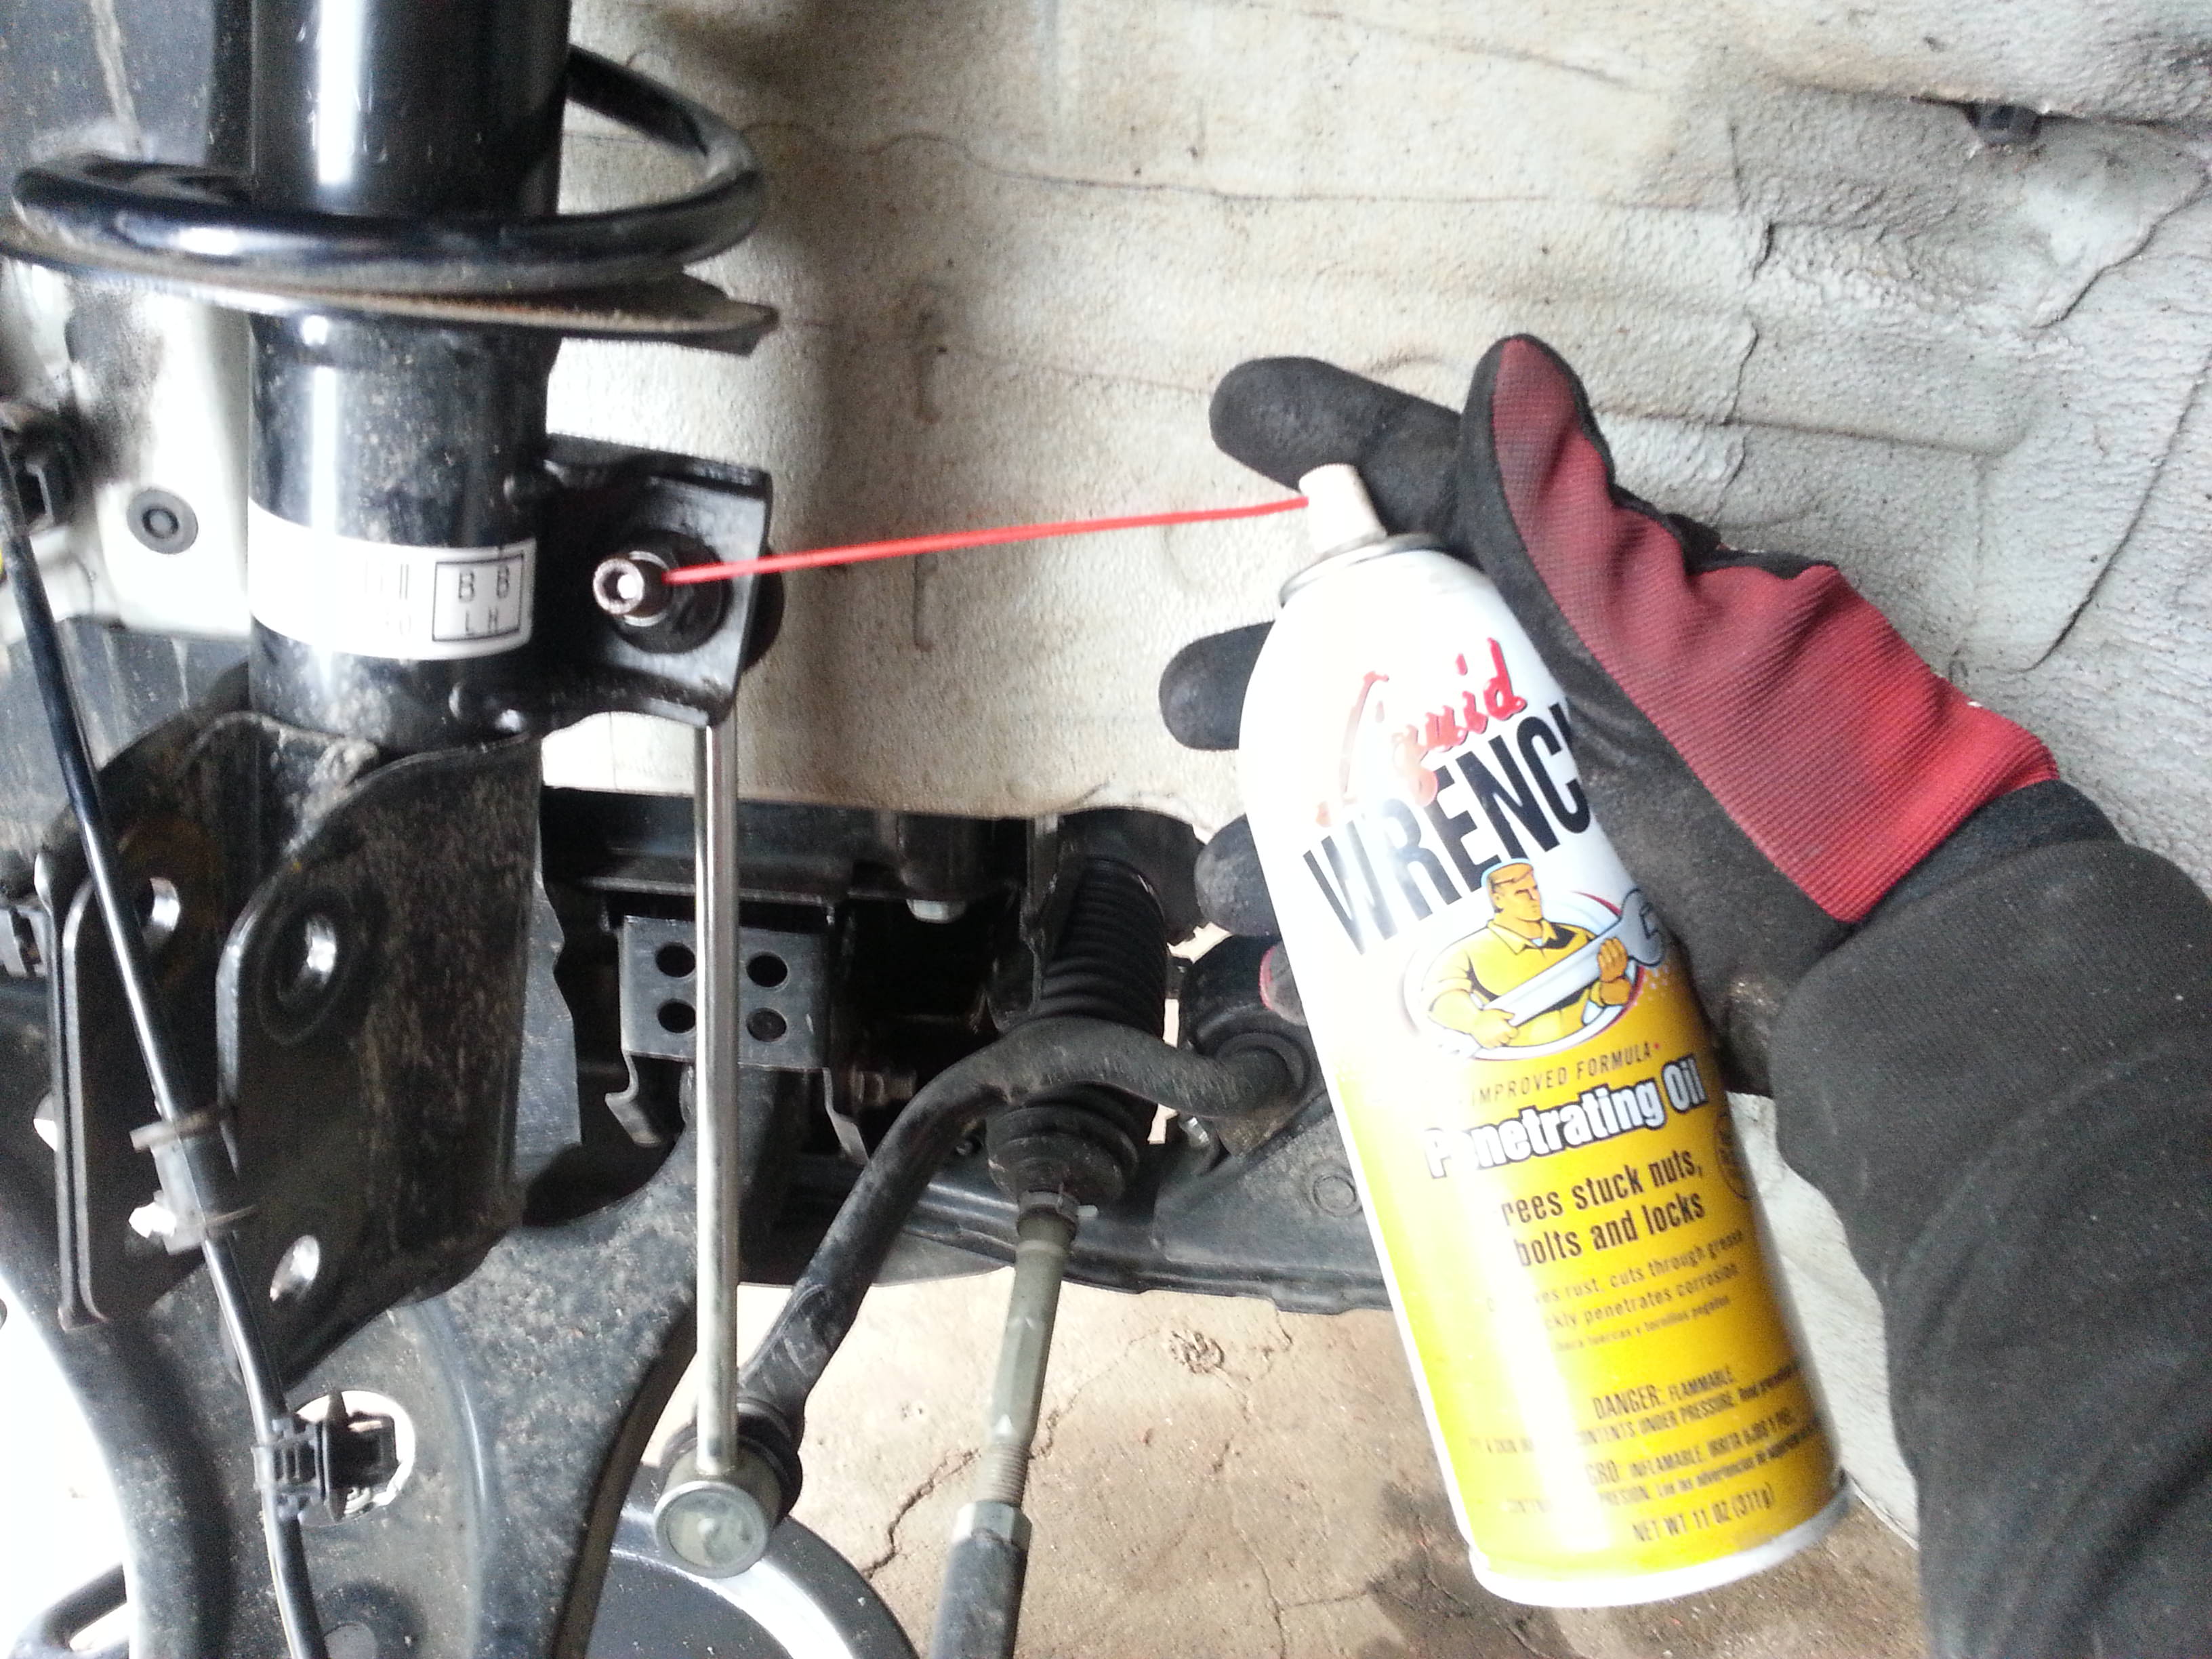
 The factory sway bar end link is on fairly tight, and mine had a small amount of corrosion on the threads. I have used quite a few penetrating fluids, and even though the Liquid Wrench stuff smells like rotting death, it works fantastically well.
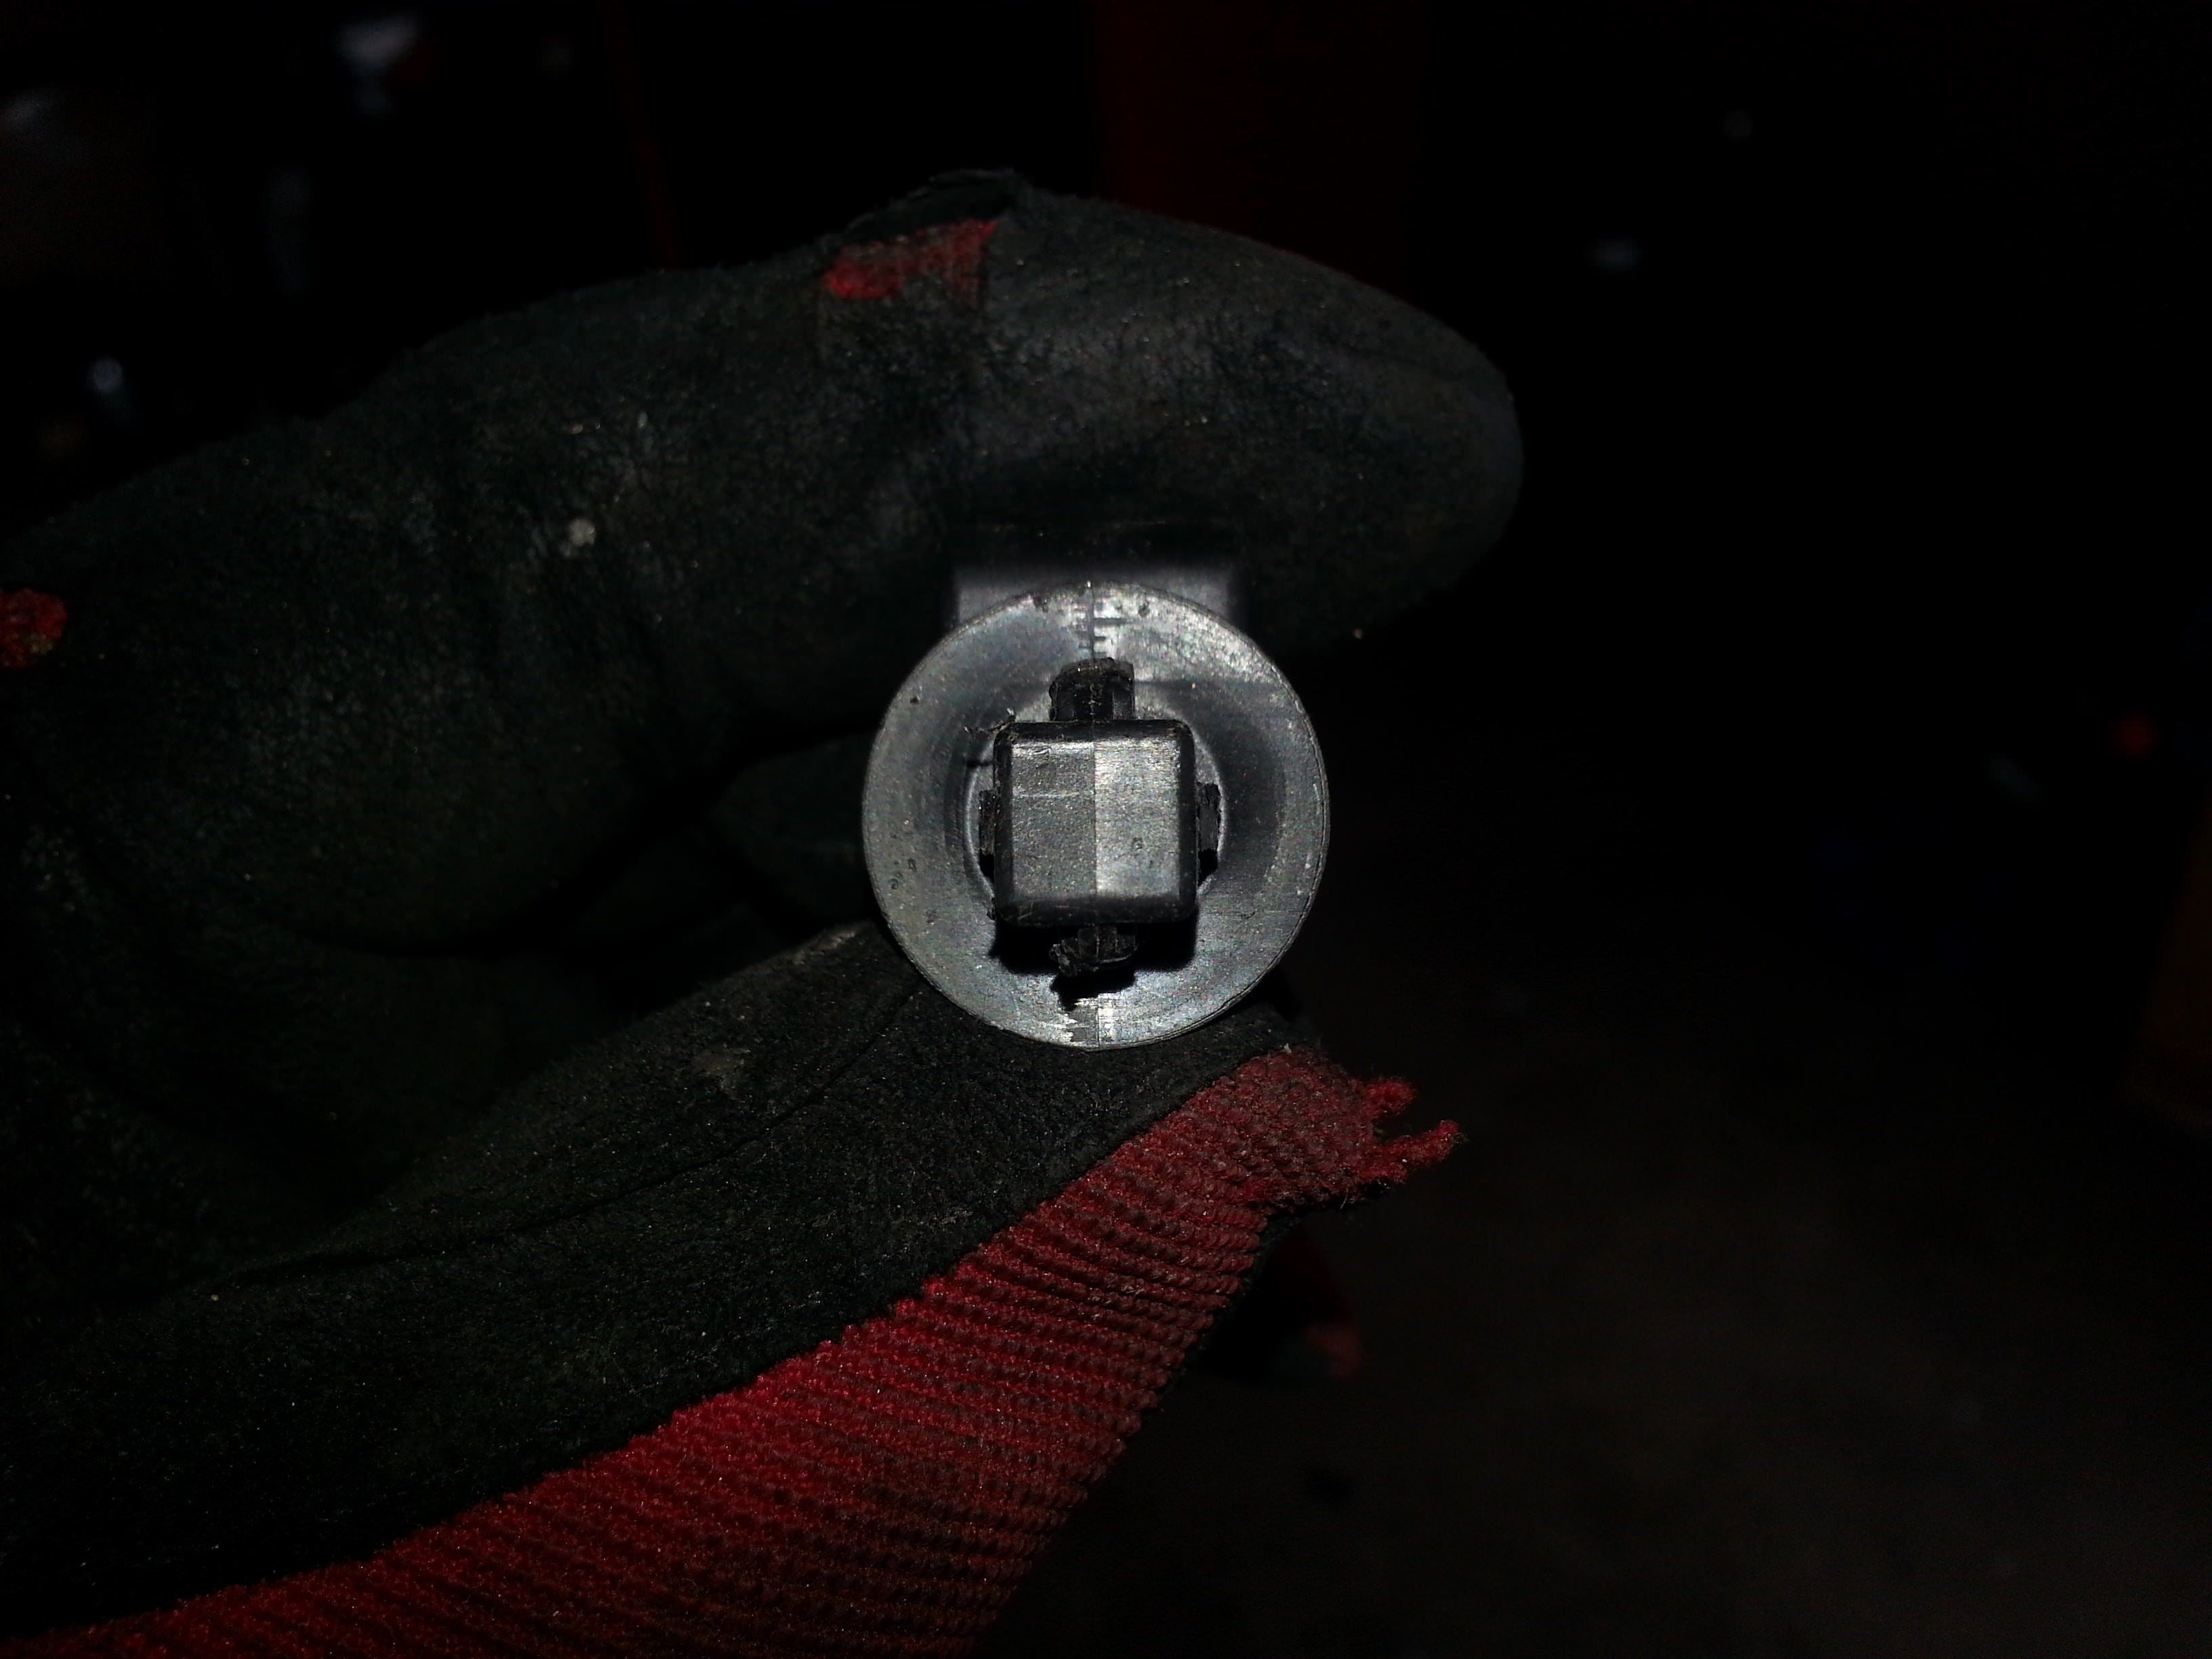
 Out of focus picture, but use your 17mm socket to release the upper nut. The factory balljoint has a hex in the shaft to hold it still if you need to, but mine came free with just using a socket.
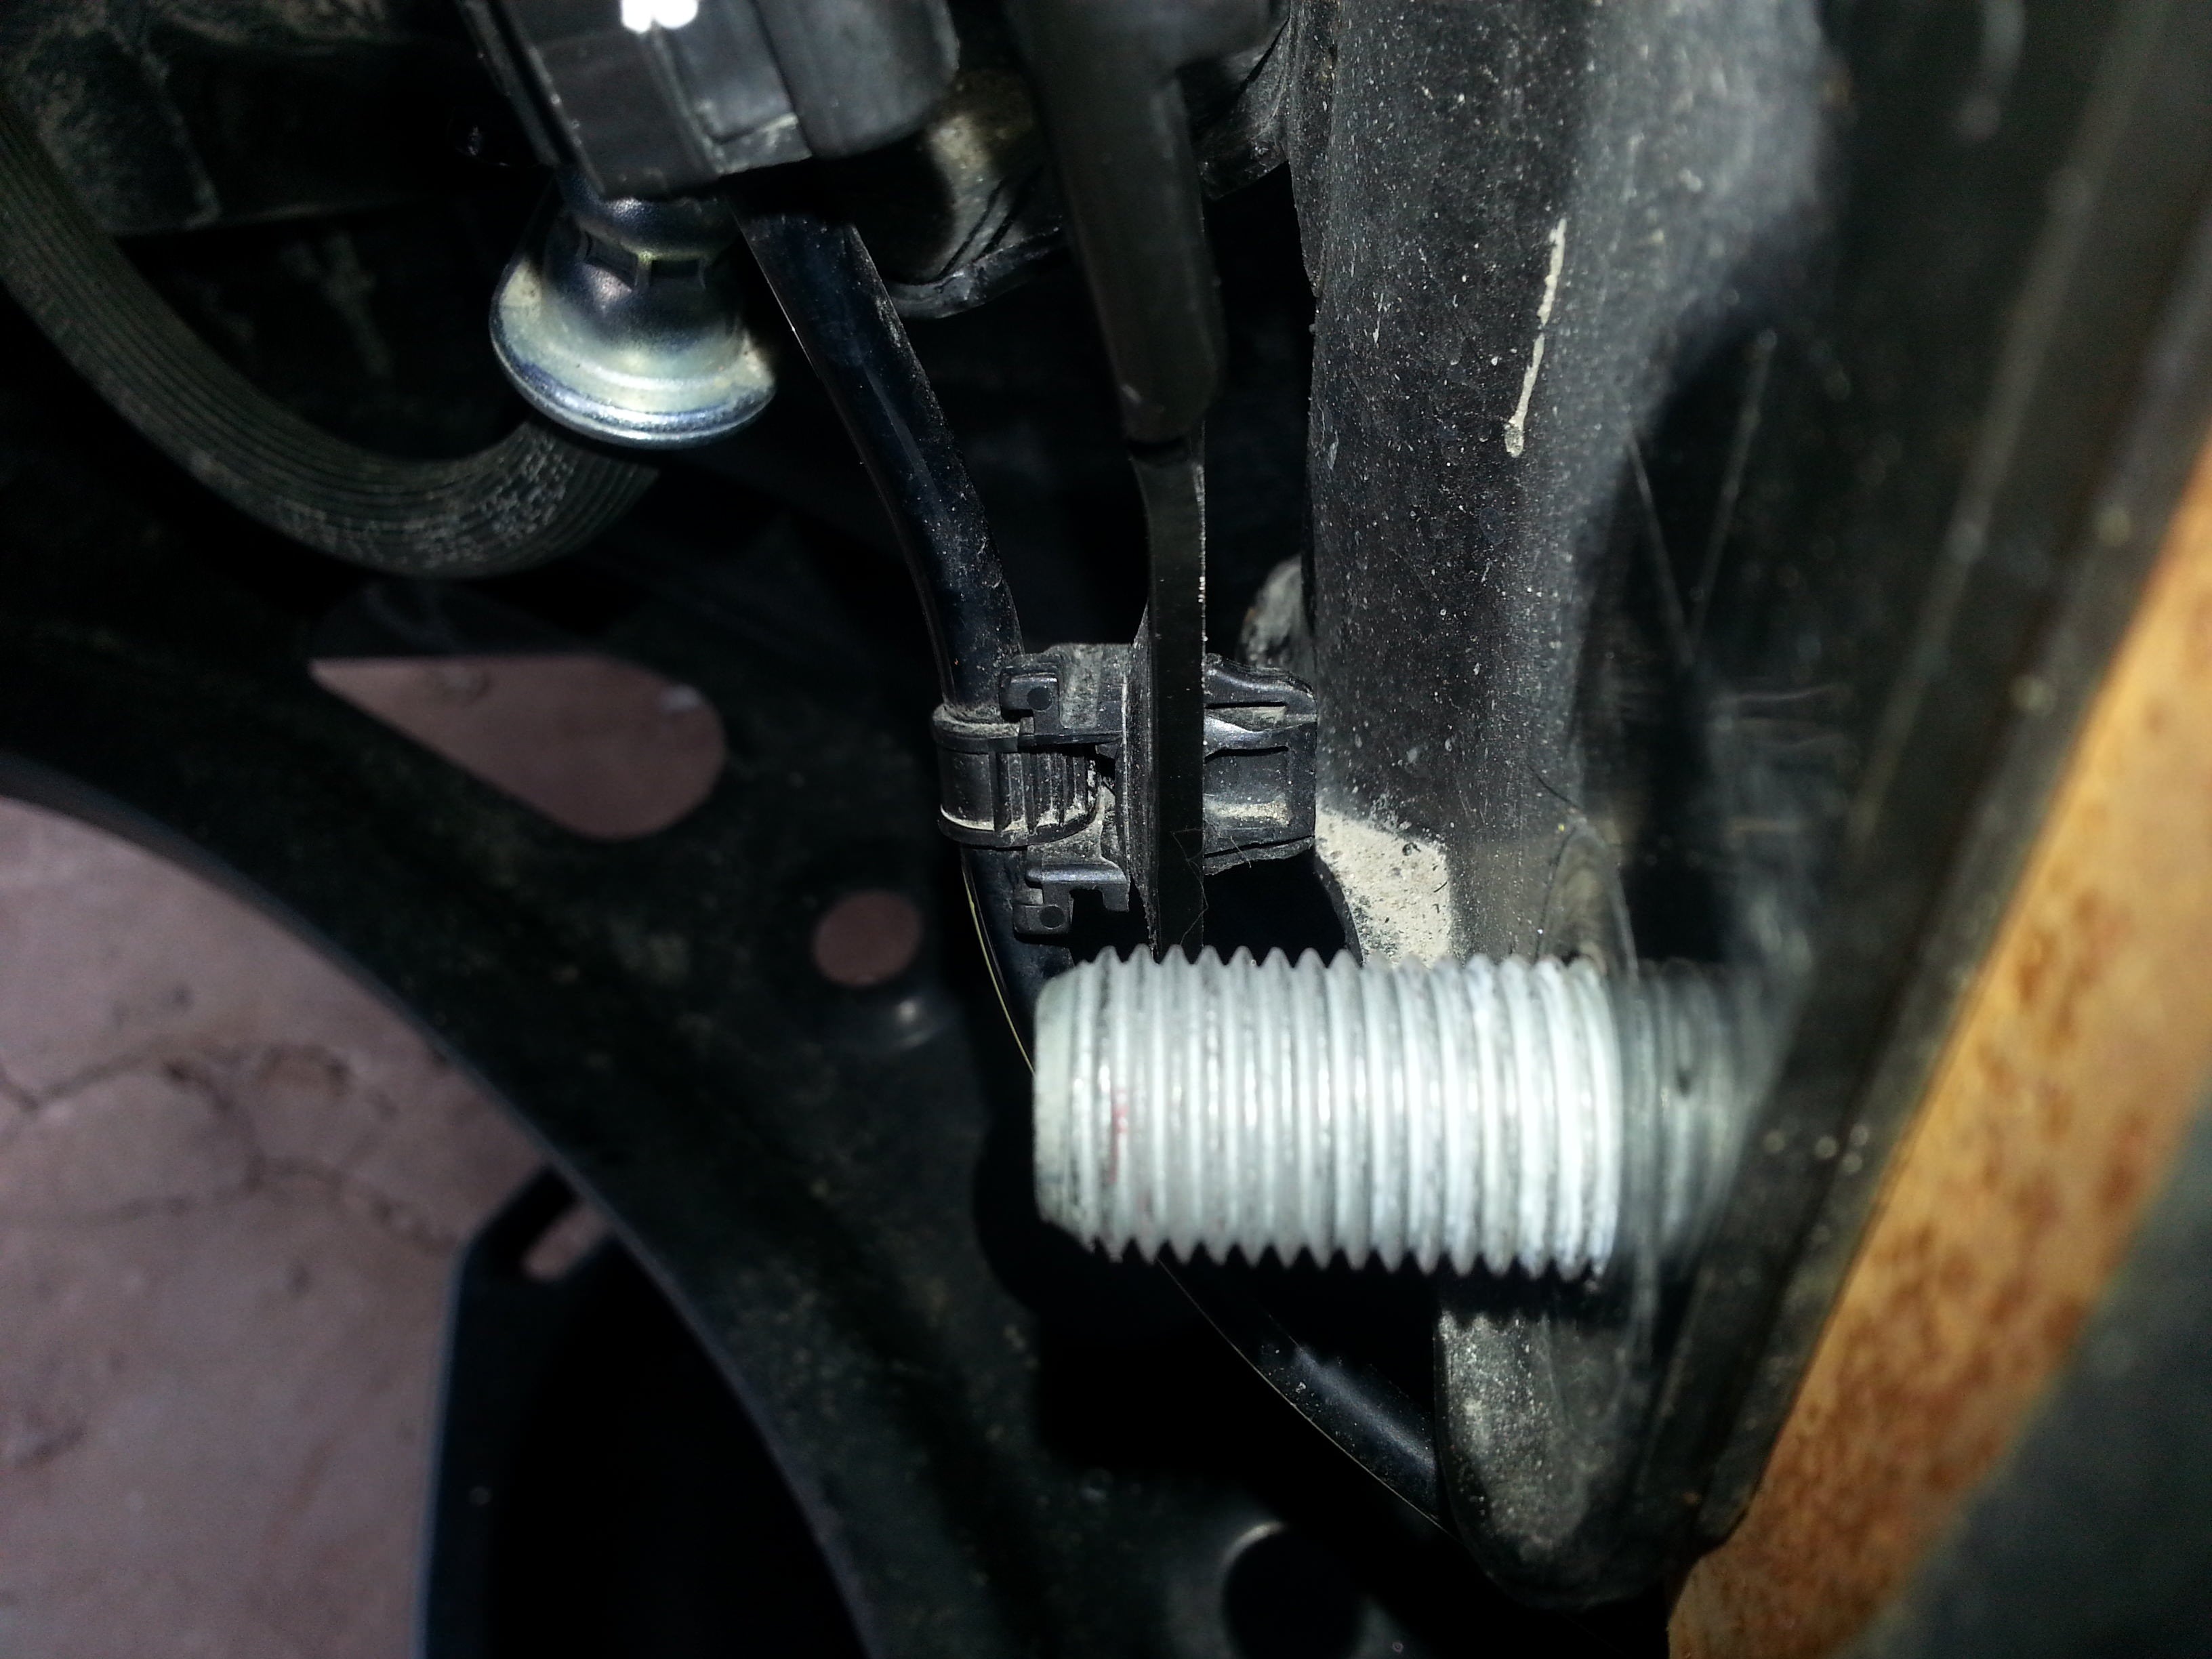
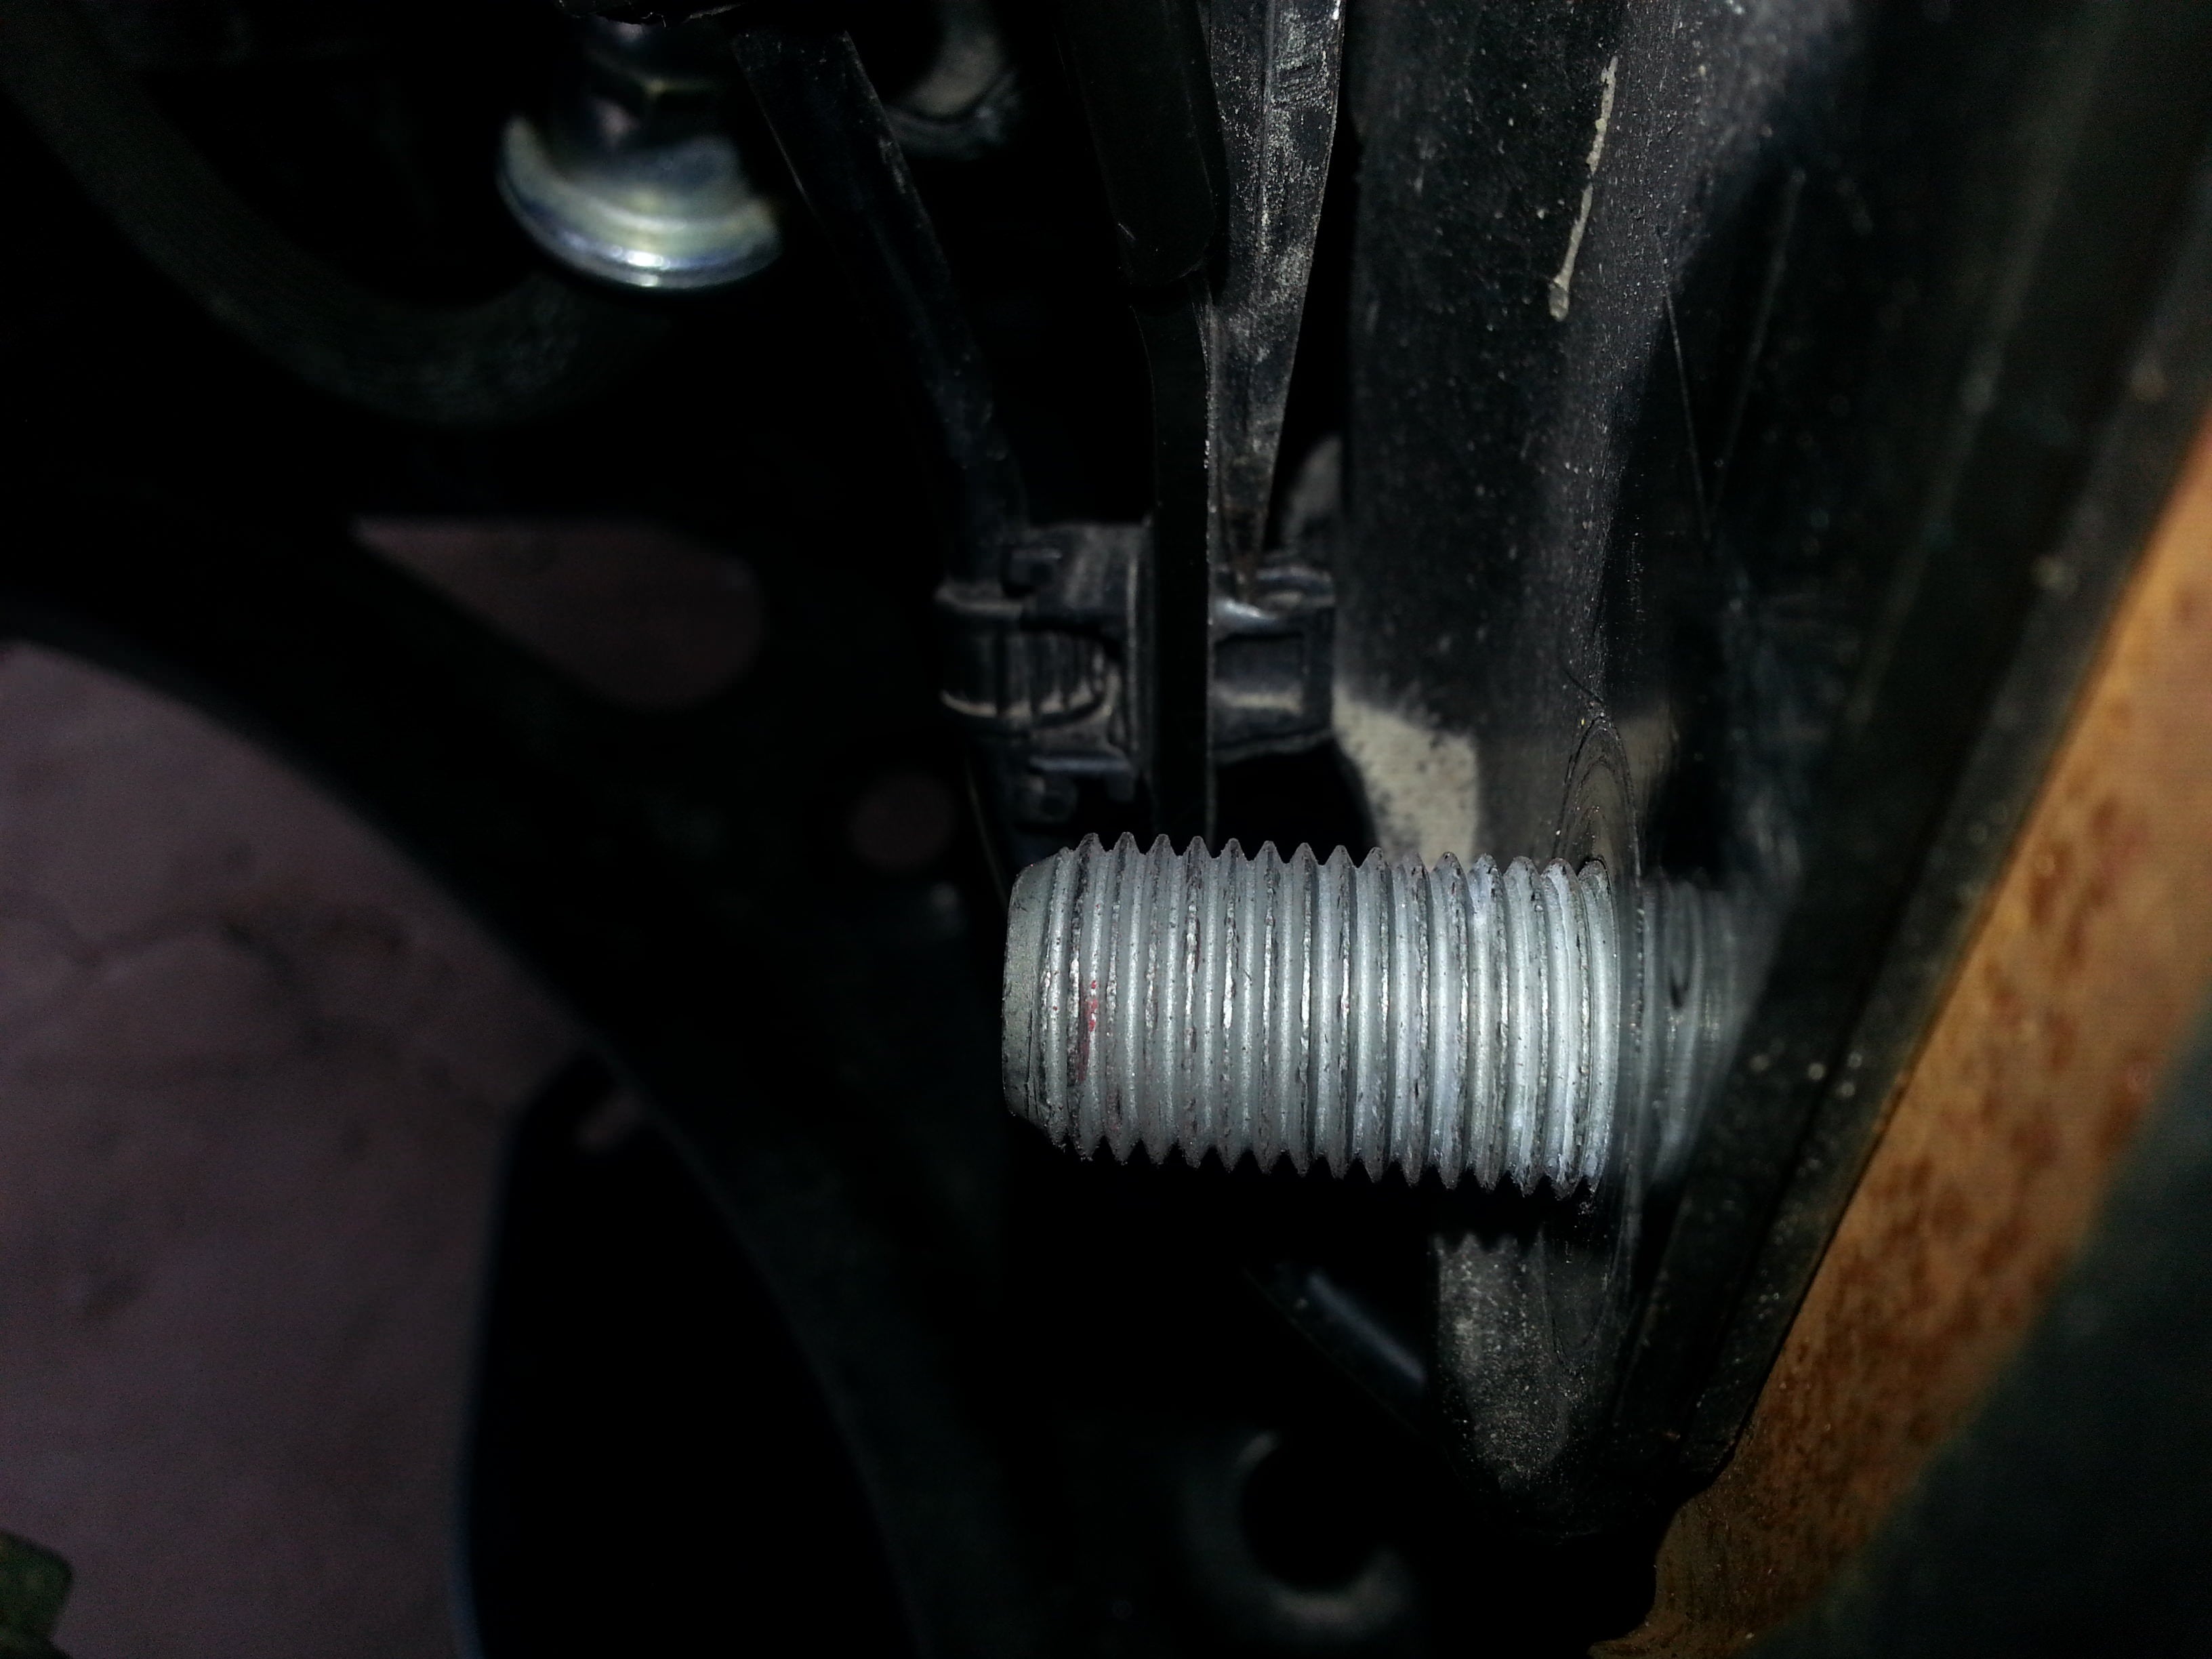
 Time to pull the factory bolts out and let the suspension dangle!
Pro Tip: Put your bolts back in the holes they go when you take them out, that way you never question where they came from and their orientation (threads towards the front of the car, for example).
Time to pull the factory bolts out and let the suspension dangle!
Pro Tip: Put your bolts back in the holes they go when you take them out, that way you never question where they came from and their orientation (threads towards the front of the car, for example).
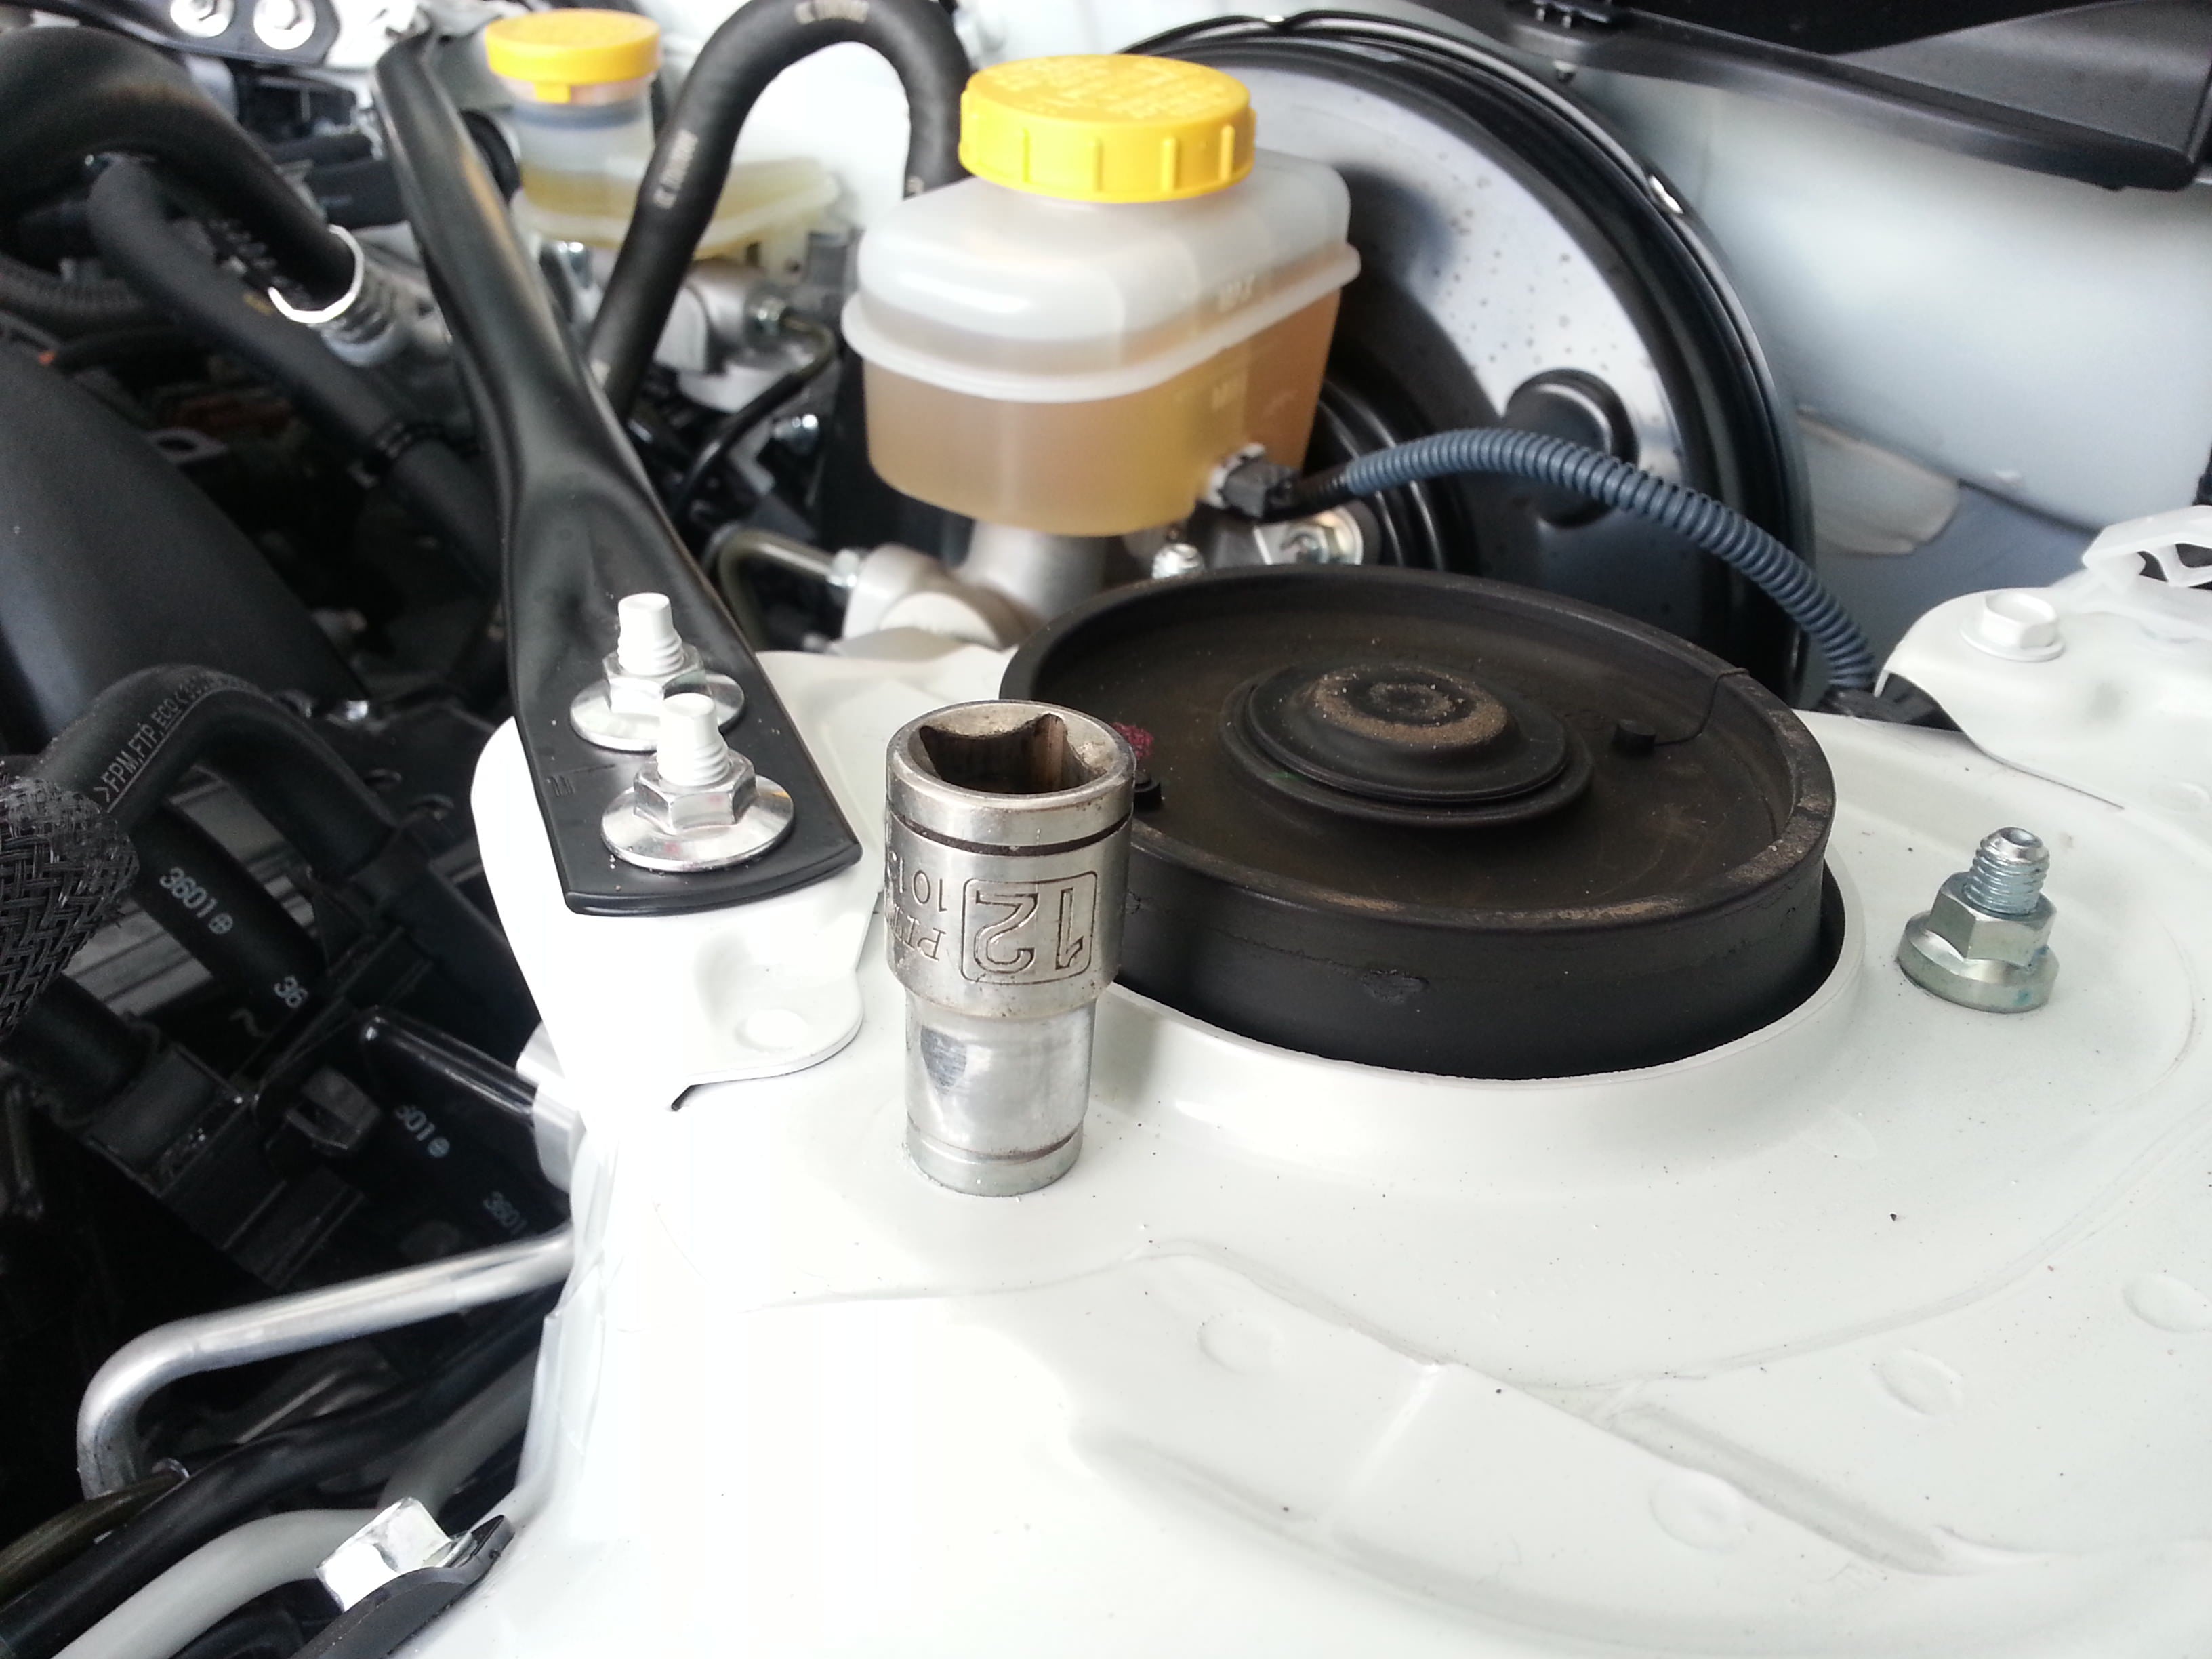
 Grab your 12mm socket and ratchet and pull these three upper nuts. It's a good idea to leave them loose until you're ready to remove the strut, then just support the weight and pull the nuts off, and weave the factory strut out.
 Now that your factory strut is off and in your hands, take a look at the clip that is still in the strut that held your ABS line. This upper clip has four prongs, unlike the lower clips 2. This makes it more difficult to remove.
 Unlike the upper clip, I found it easiest to work on the big side prong before tackling the smaller clip on the top and bottom. Same technique though: Press the prong in, pull gently. Go radially, either clockwise or anti-clockwise, and press/pull the clips as you go.

Best picture I could get of the prongs on the clip. You can see that it has two large and two small prongs.
Installation of the front coilovers!
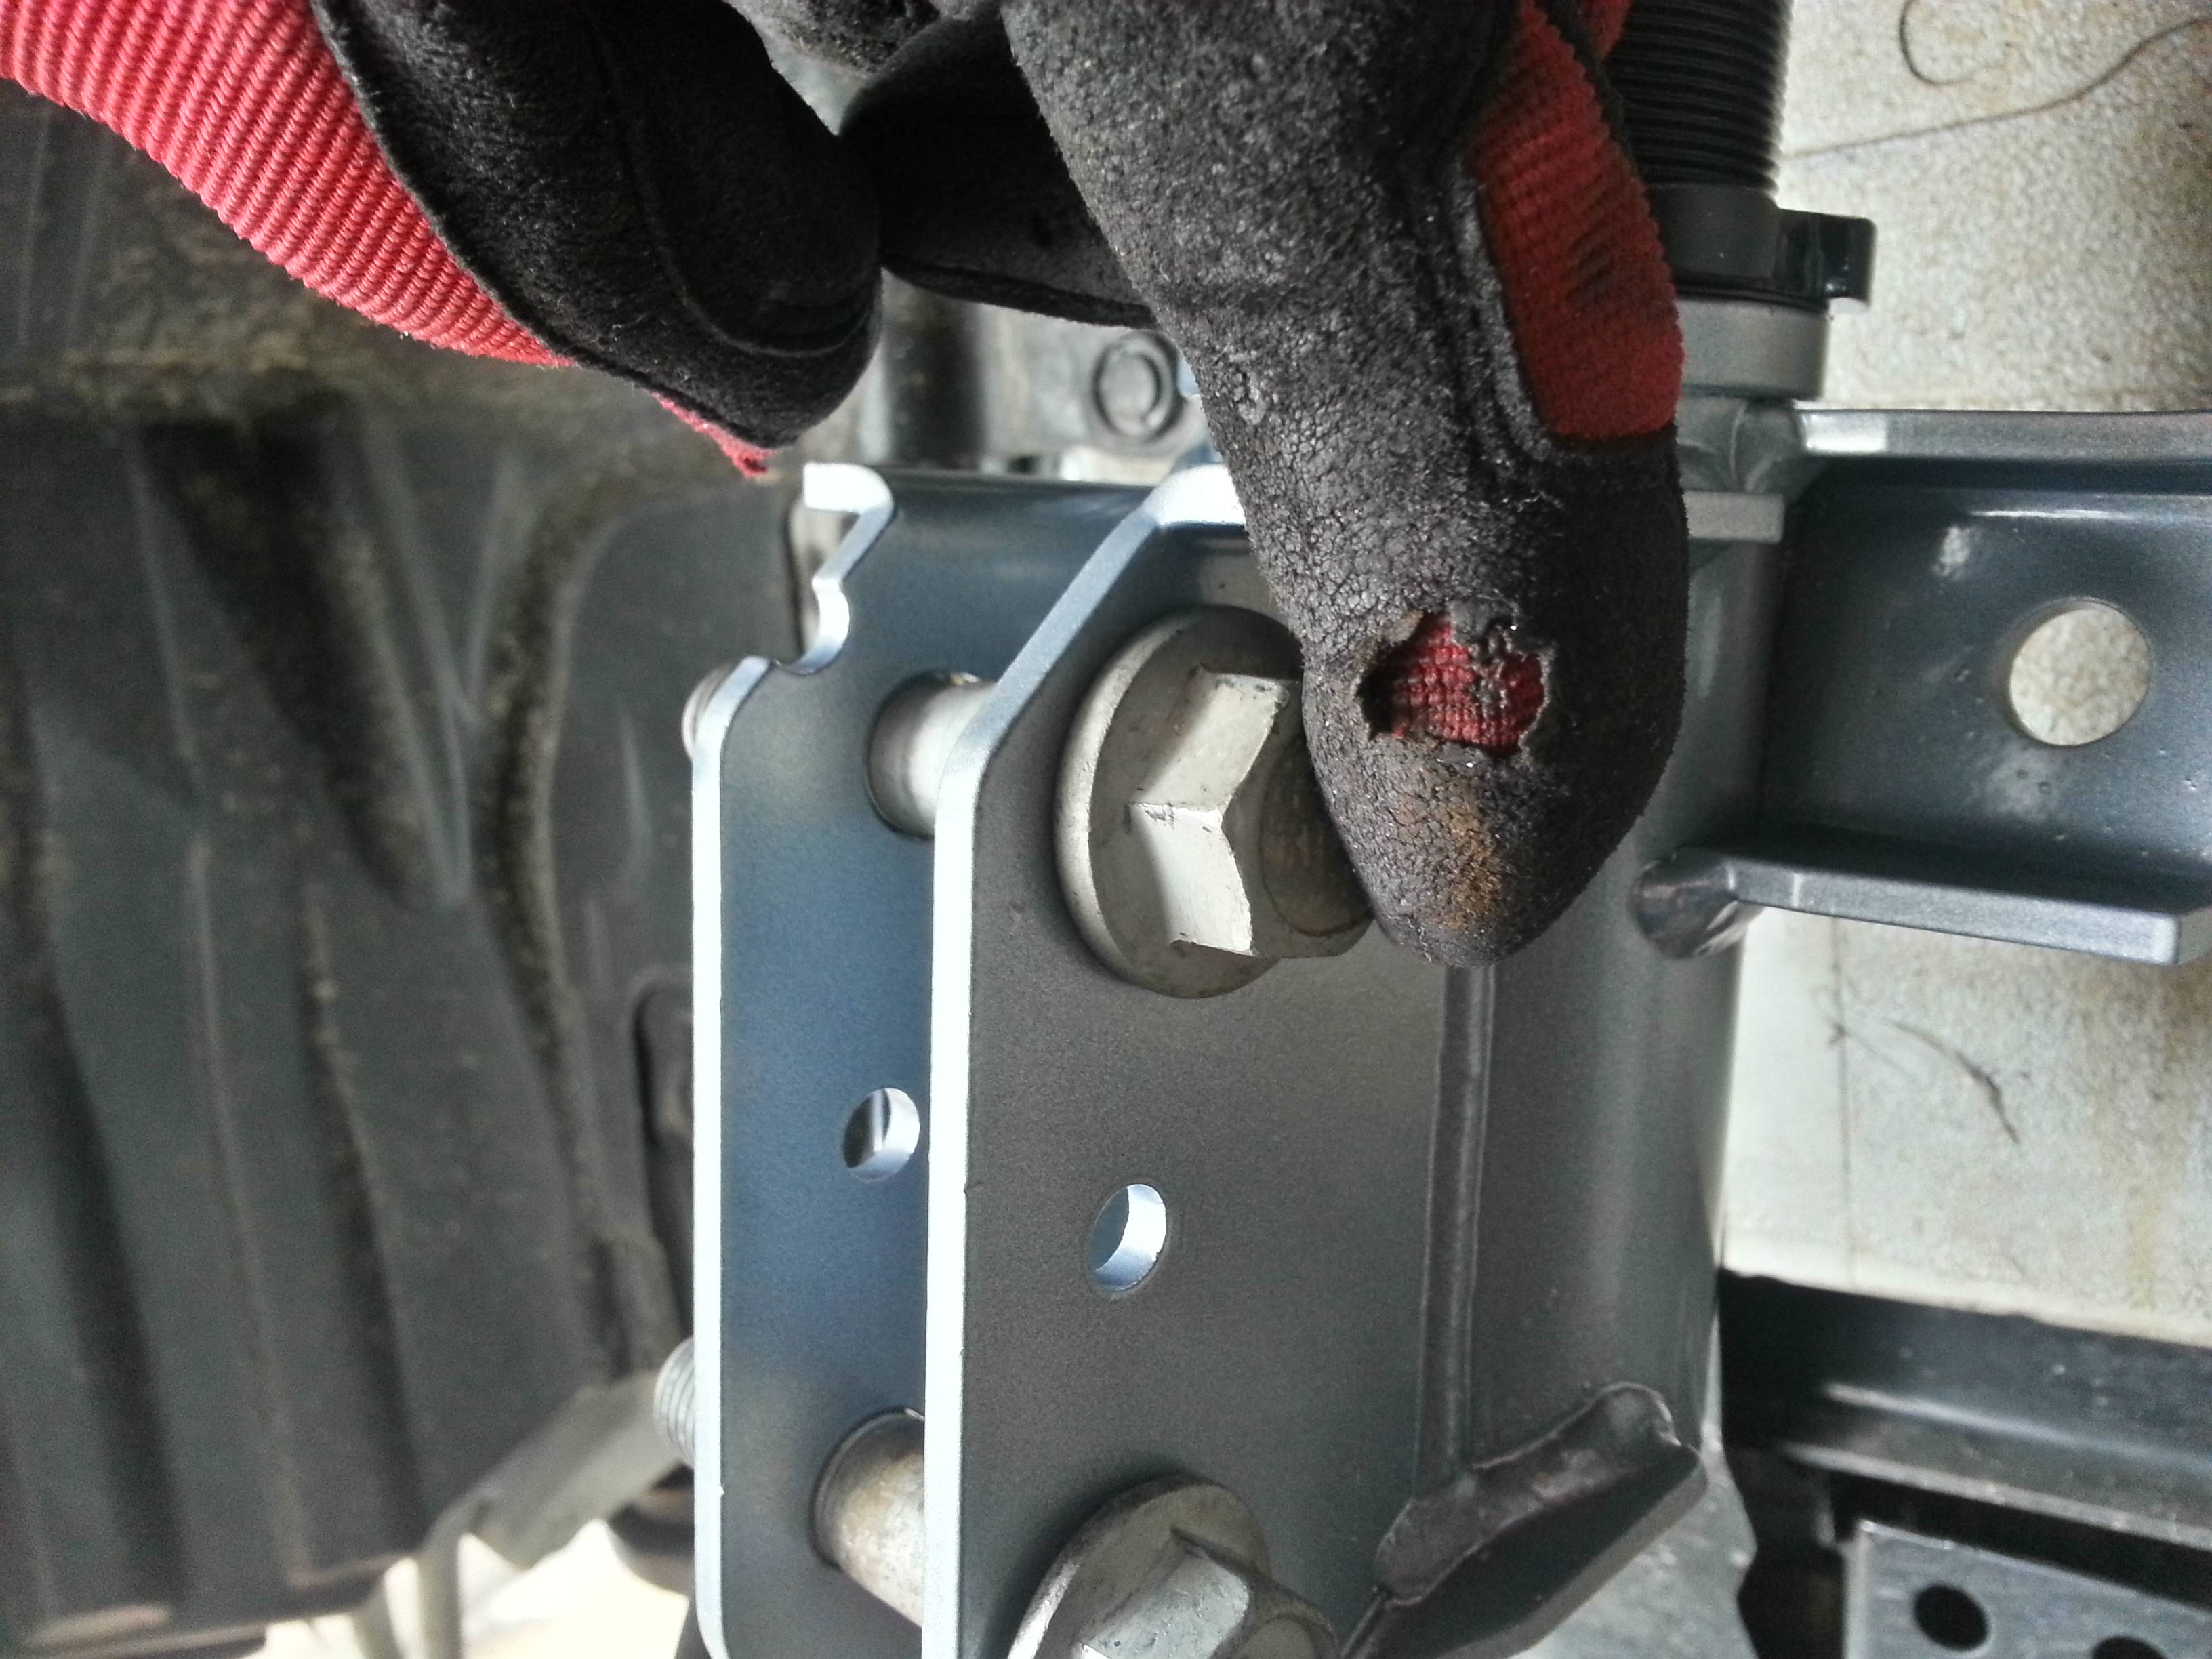
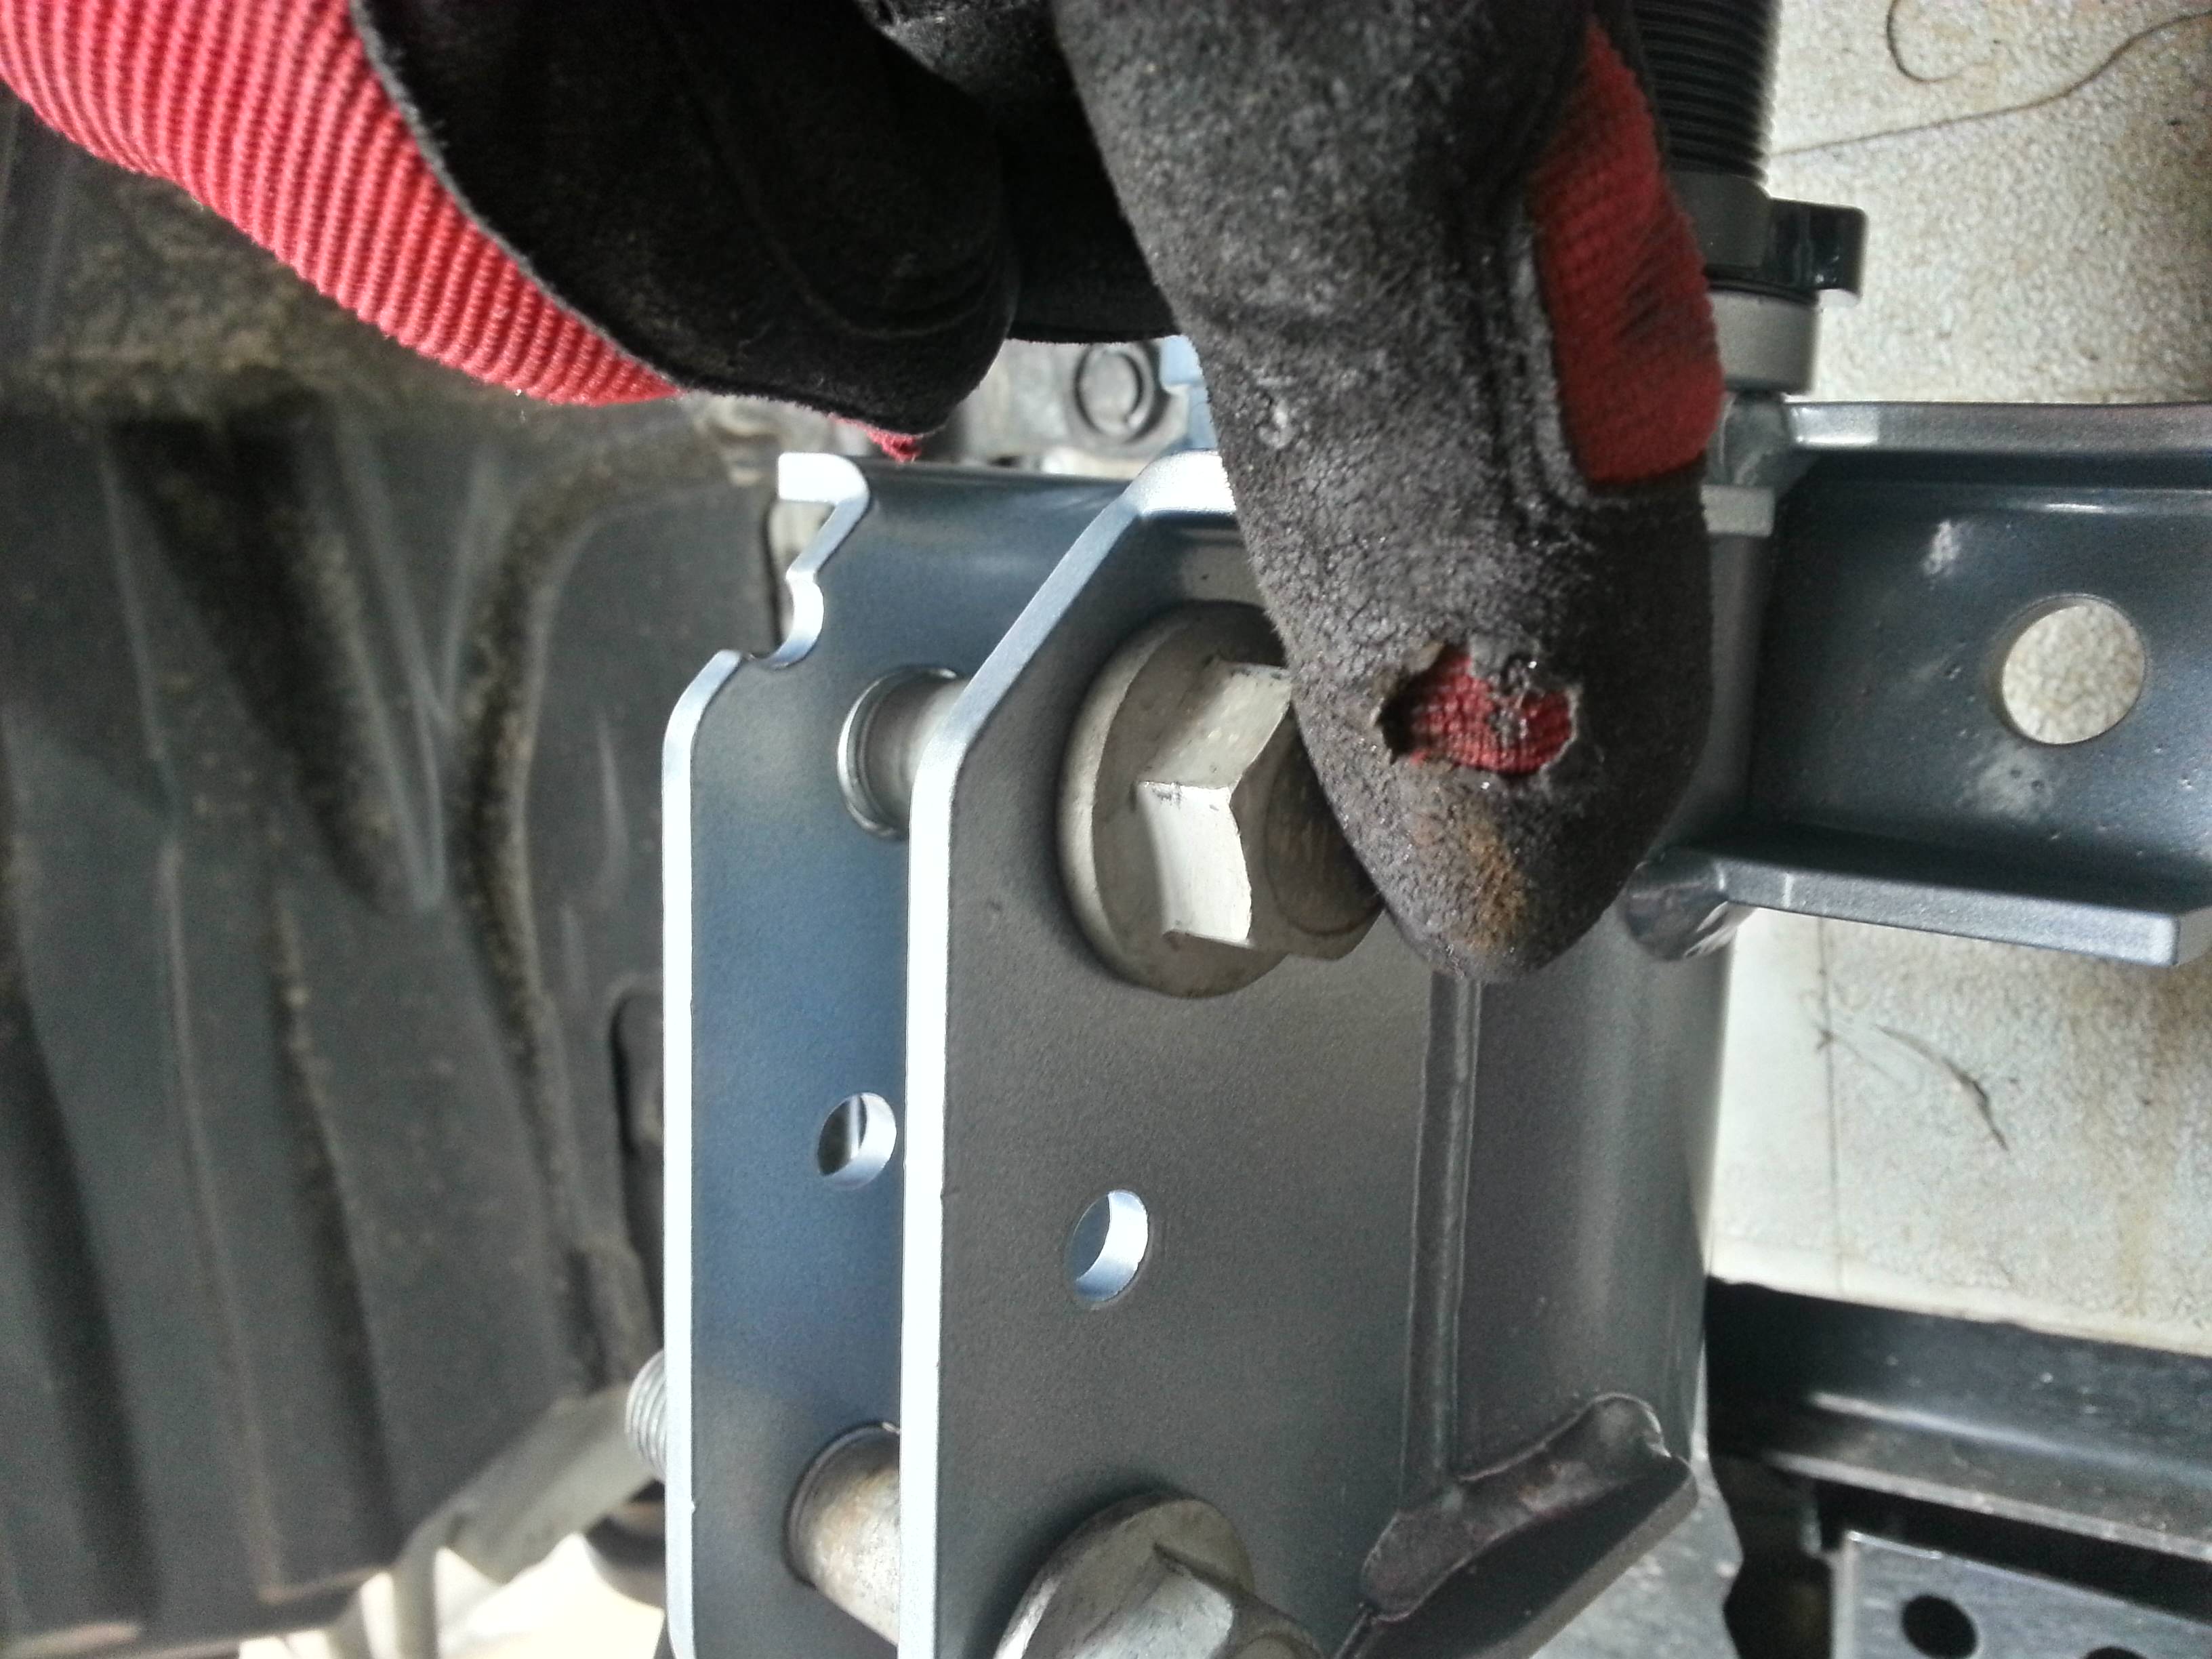
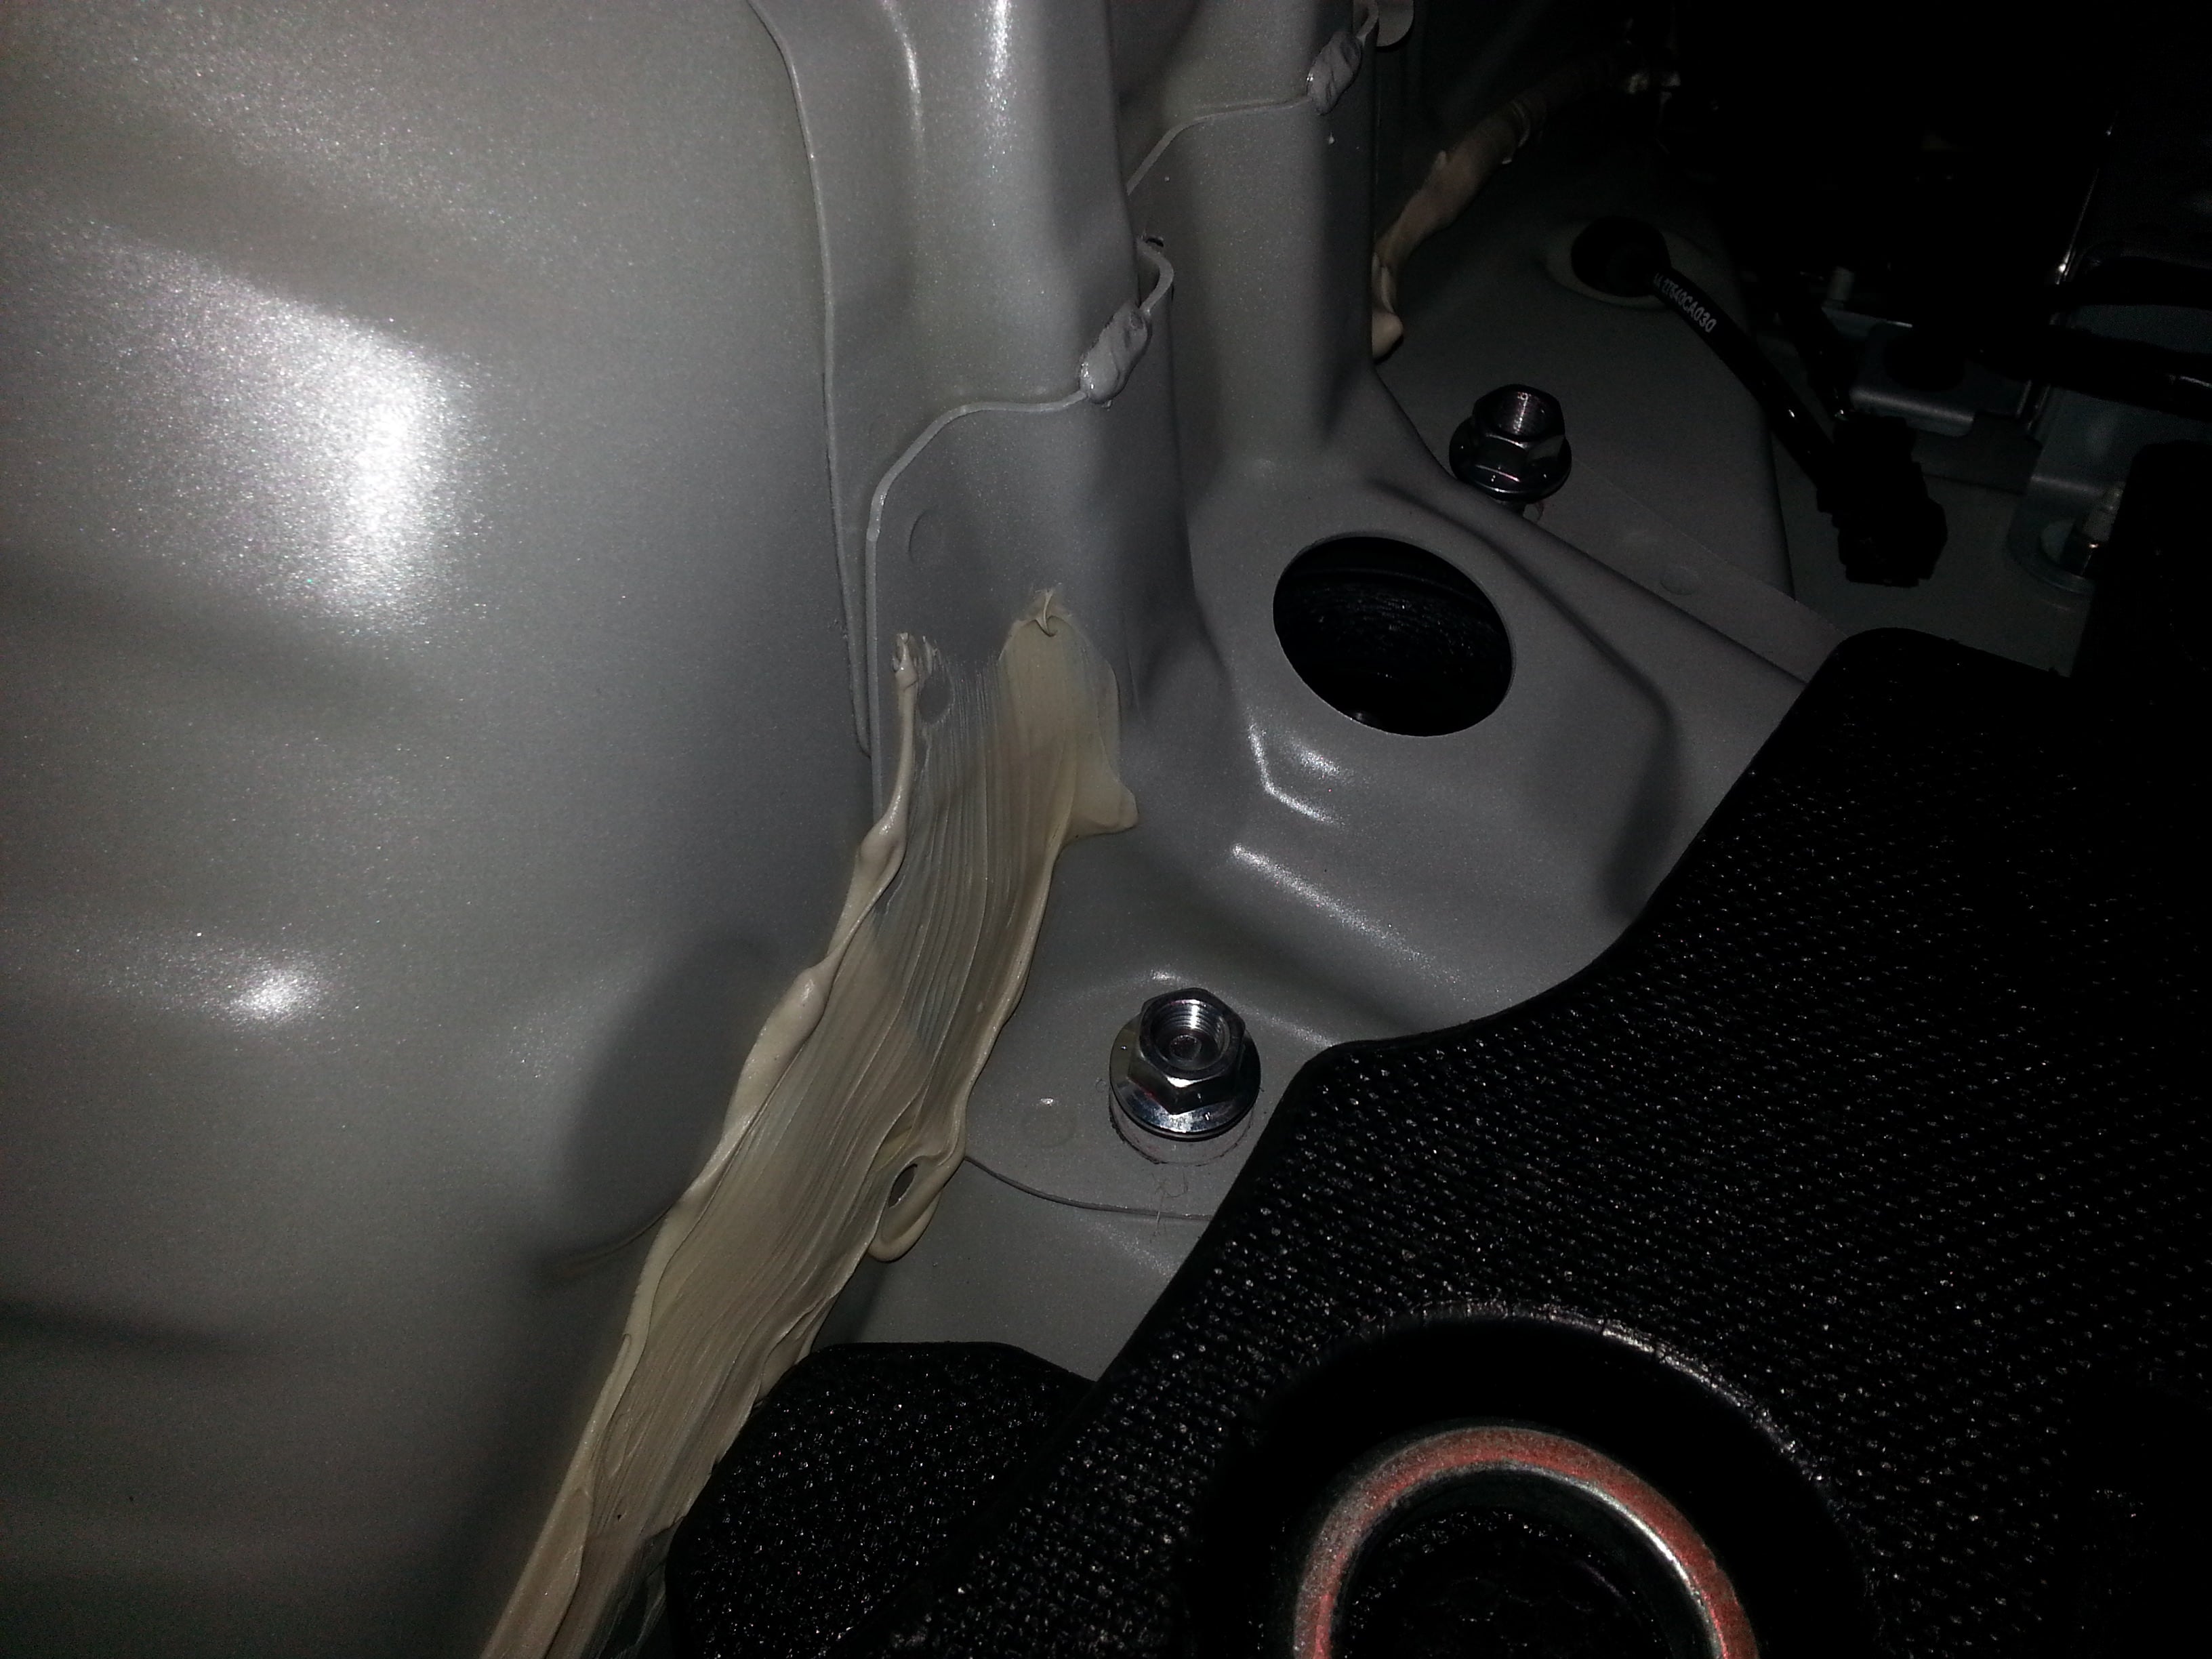
We'll start by feeding the top mounts in and starting these three nuts. Support the weight of the unit and finger tighten all three nuts.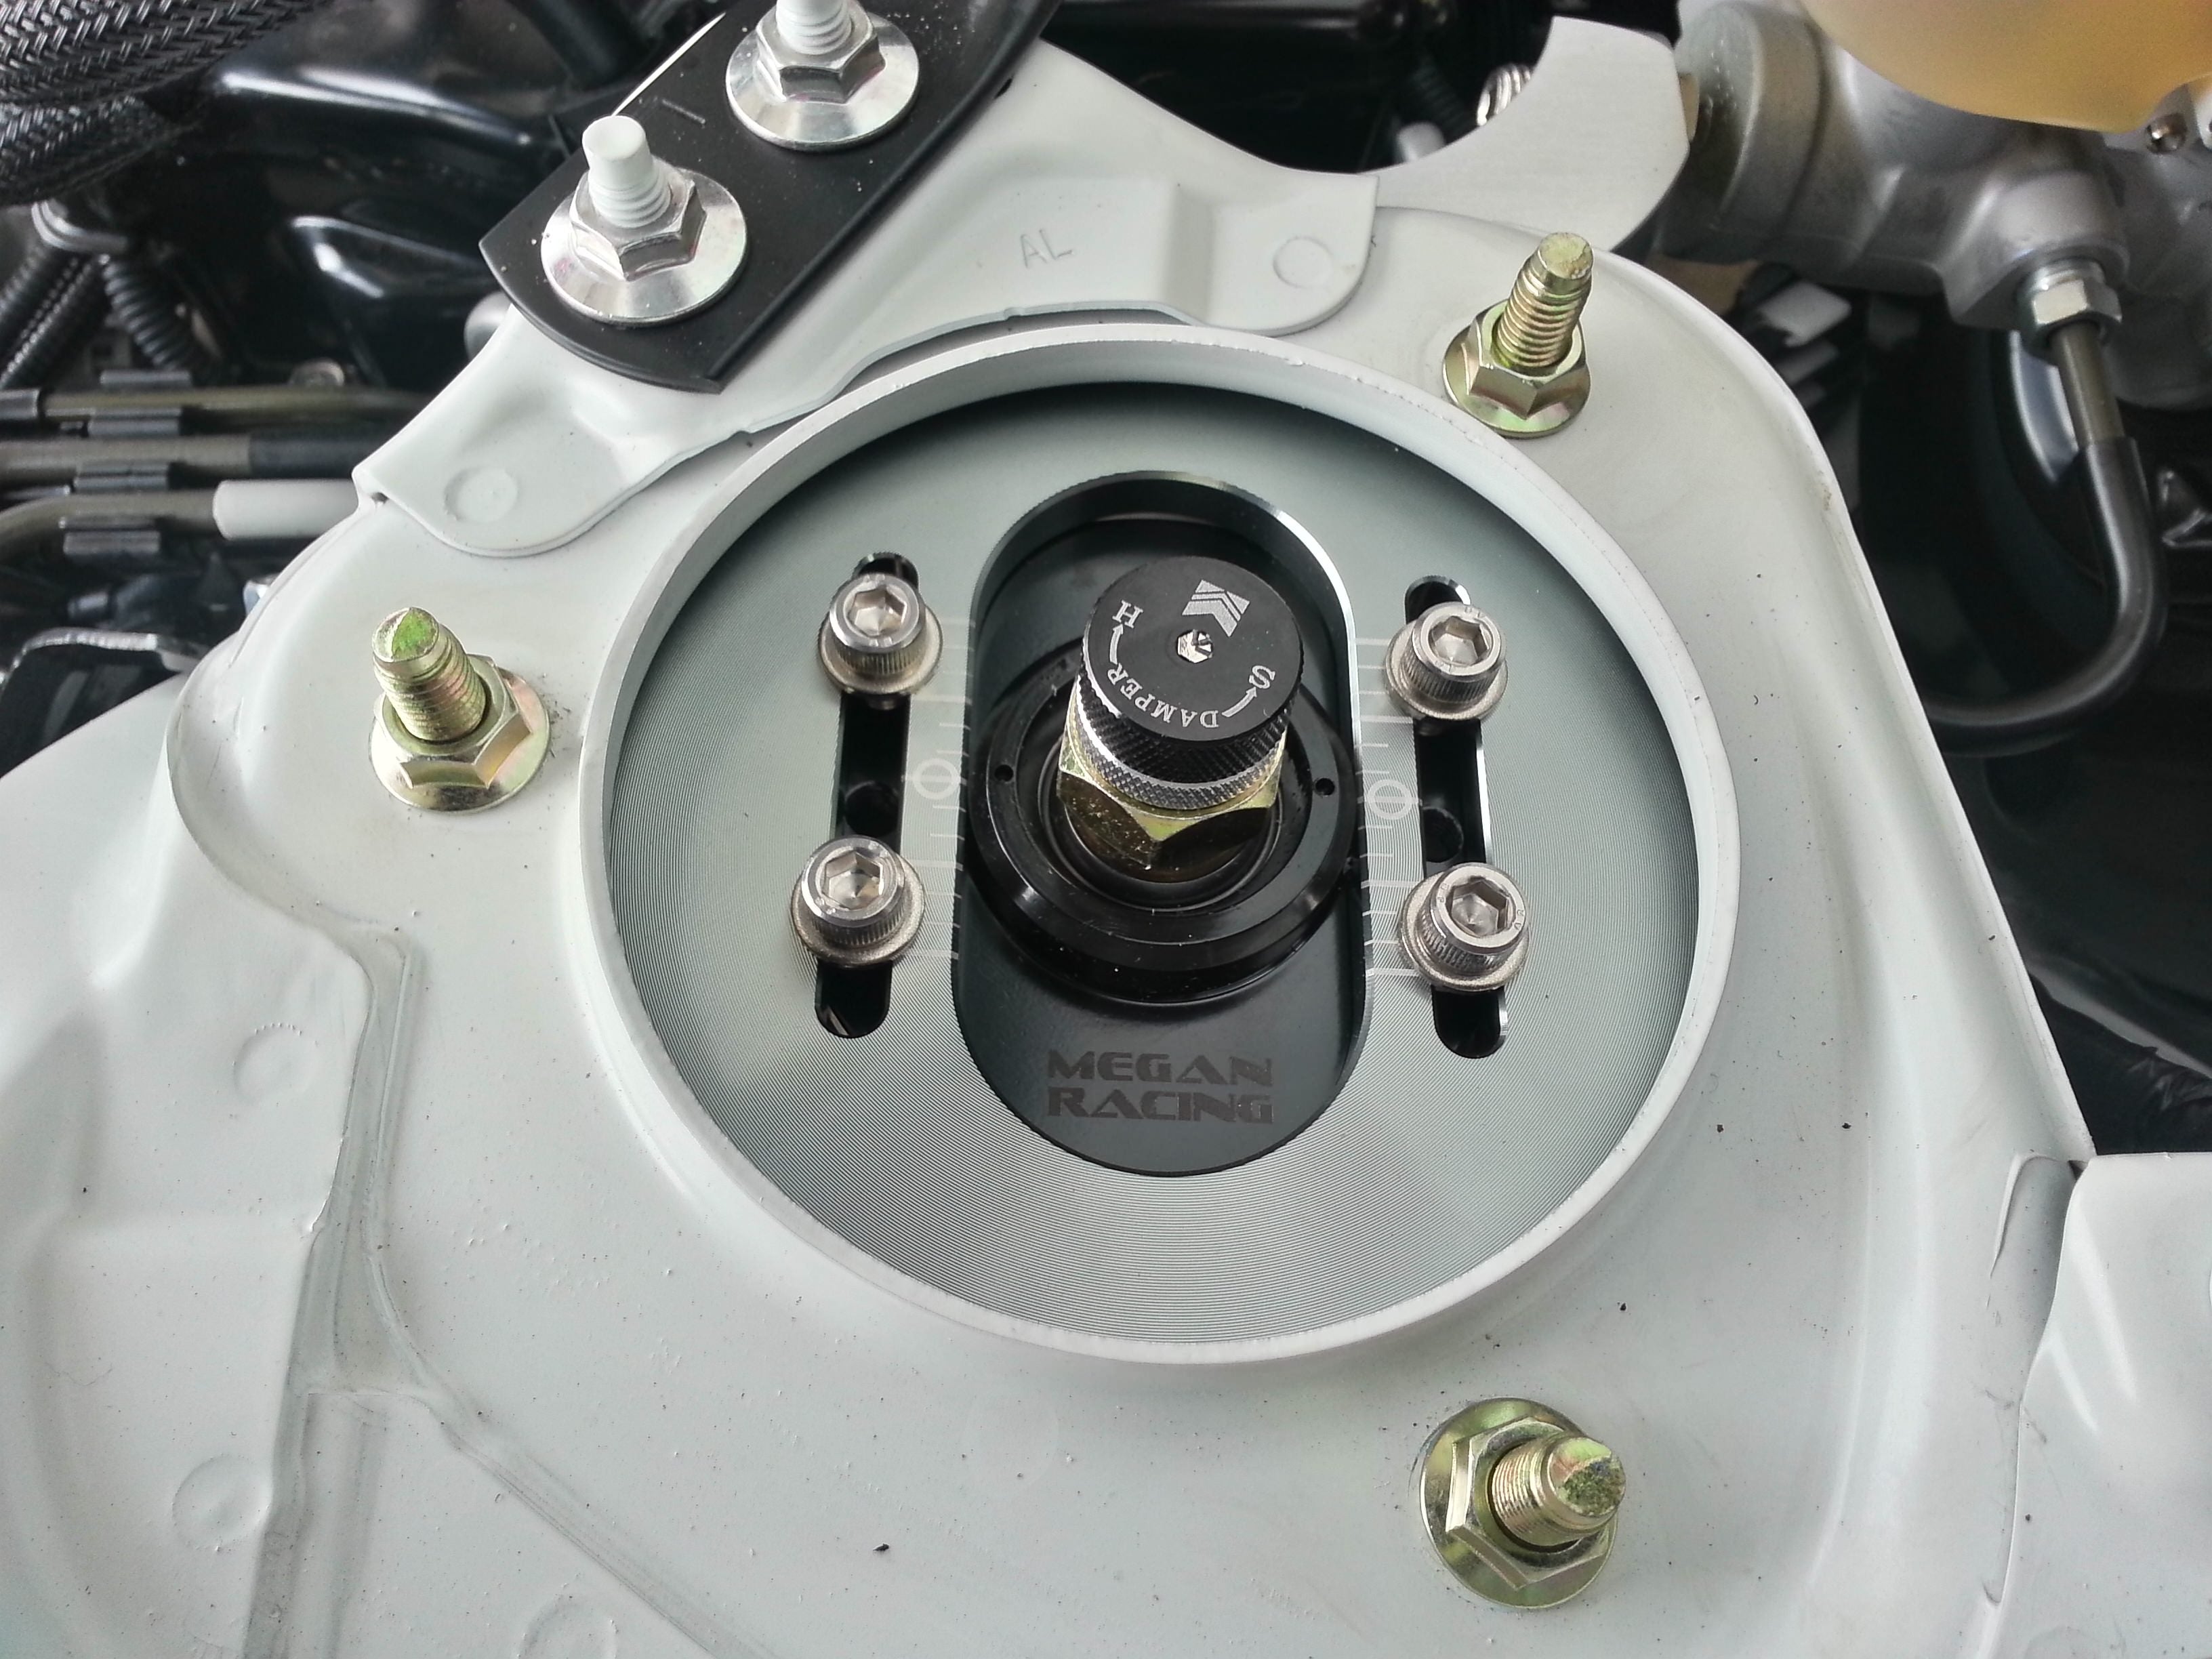 In these next two pictures I illustrate how much movement there is on the upper hole. This is to allow the alignment technicians to move the knuckle where it needs to be to read zero on the camber plate, so you can accurately use your camber plates to dial in camber.
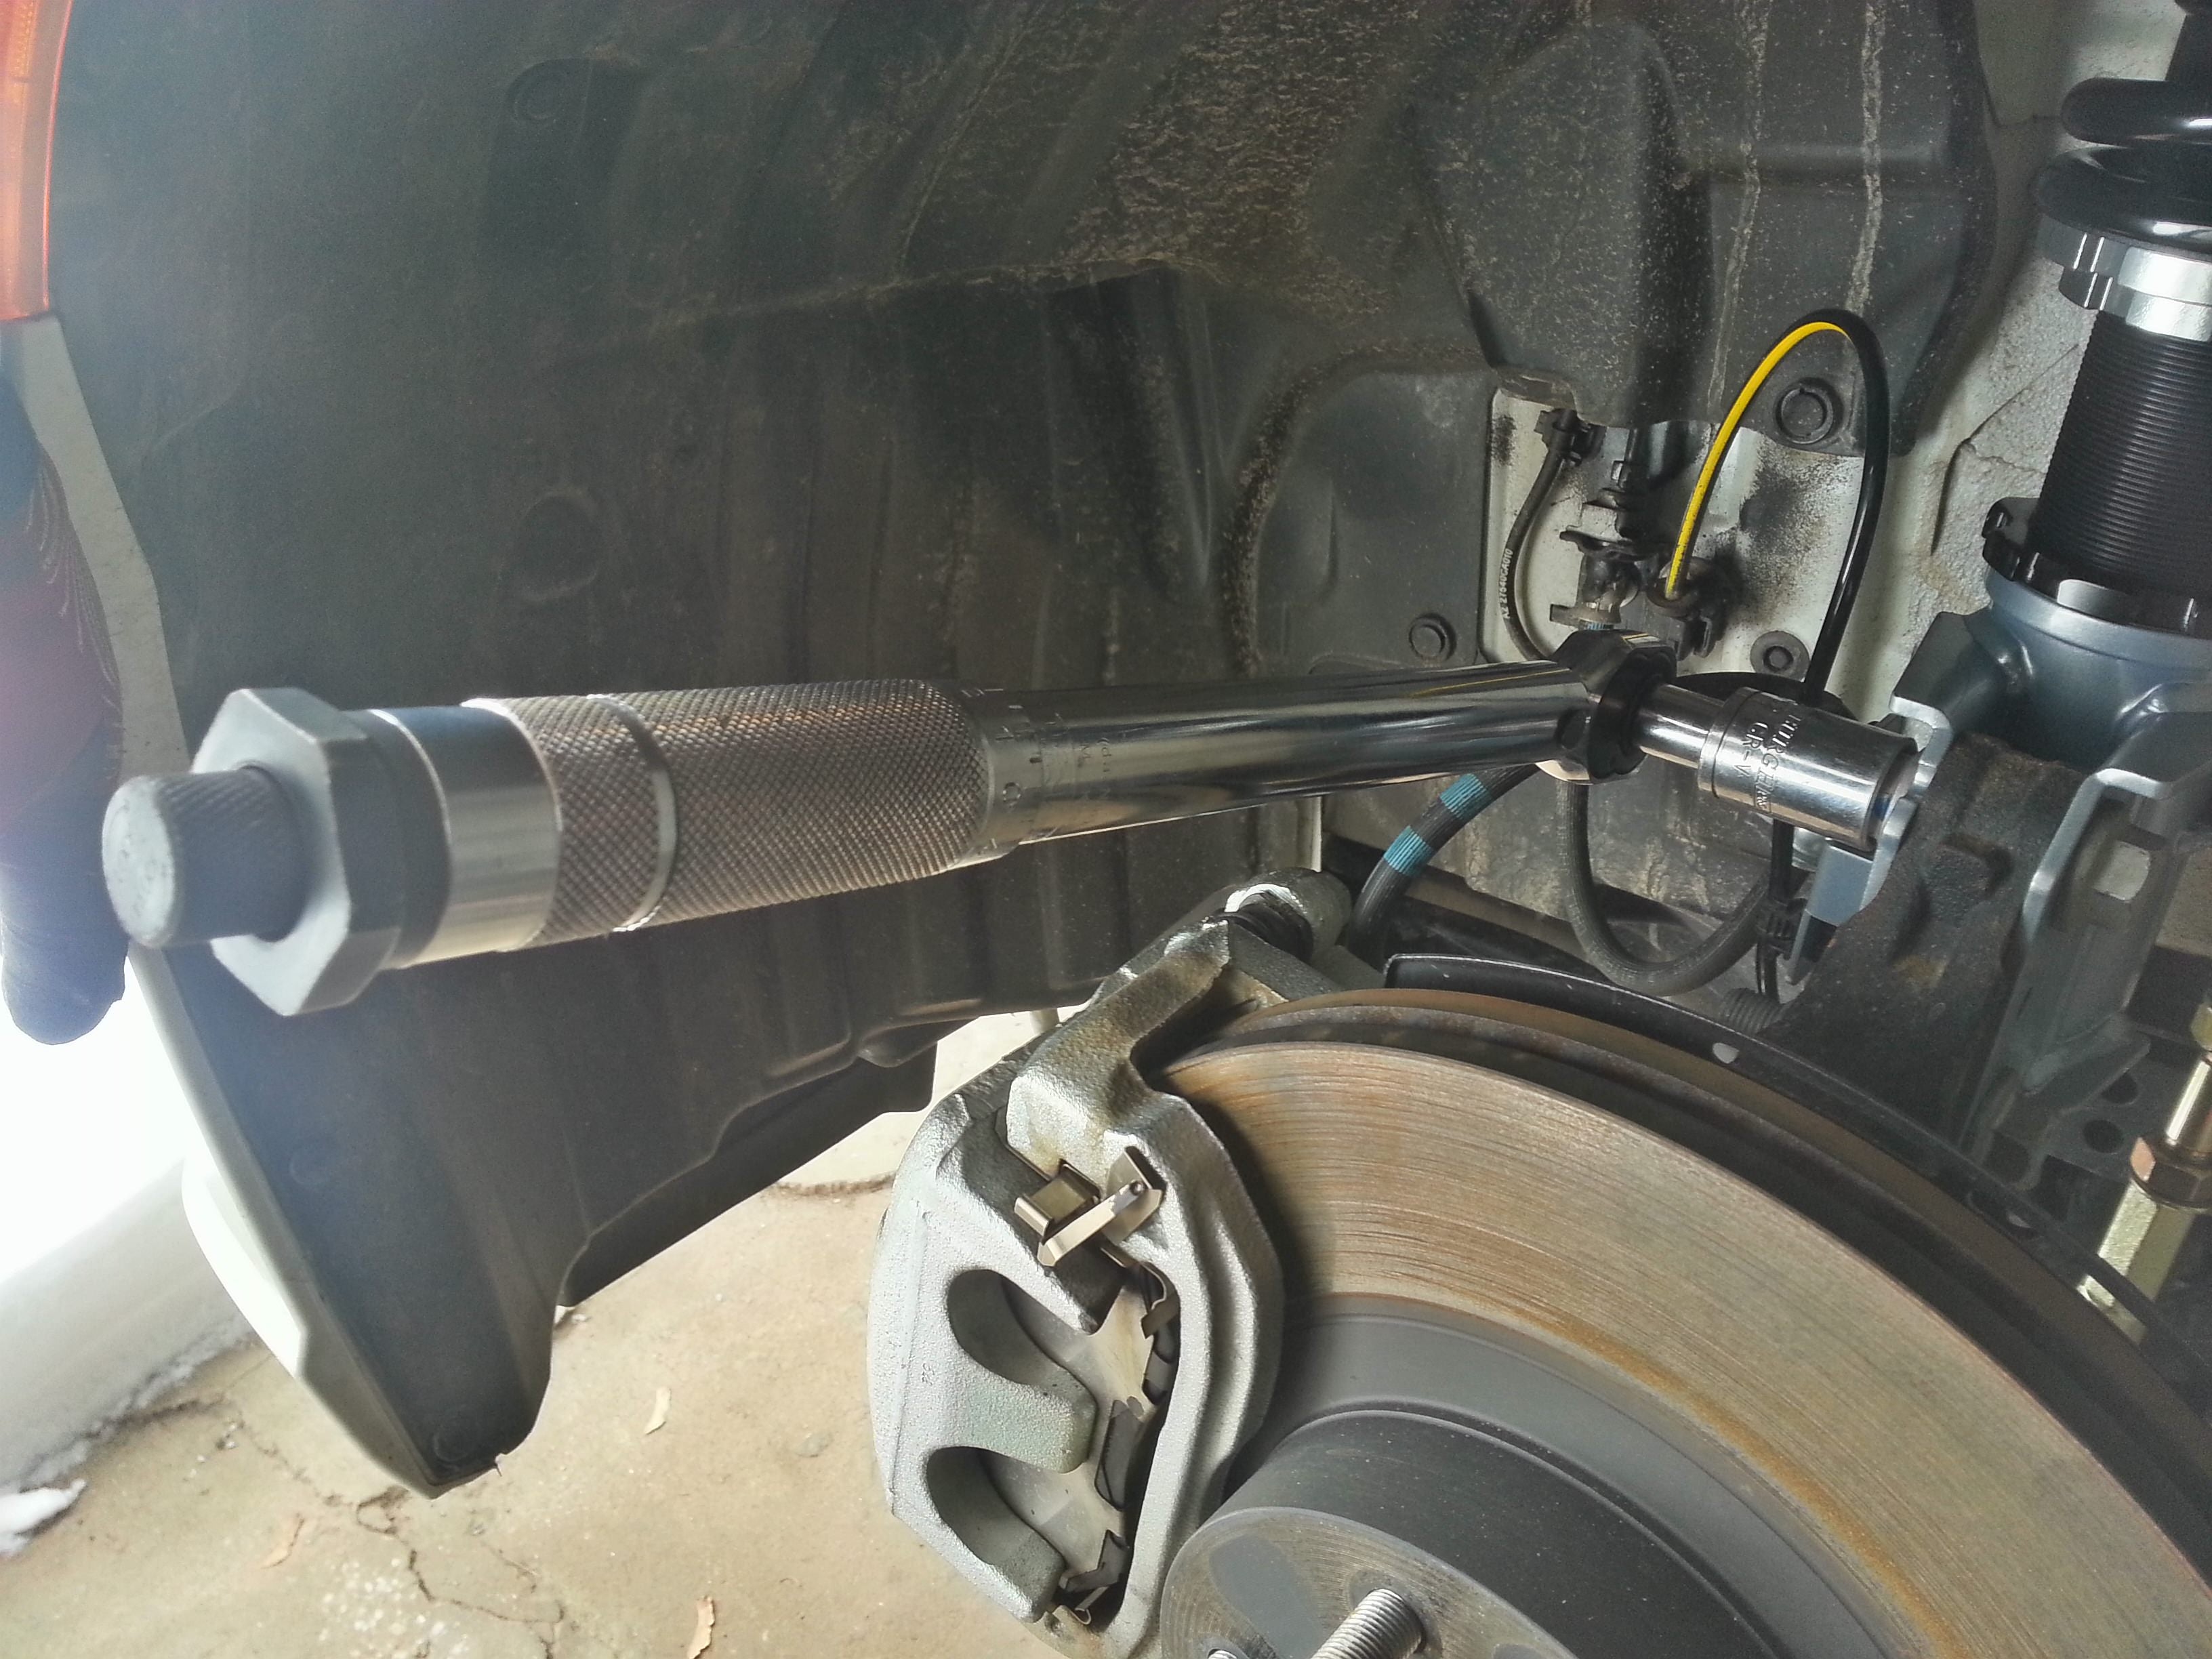
 Slide your knuckle in to the coilover and install your two bolts, threaded portion towards the front of the car. Torque these bolts down to factory specifications.
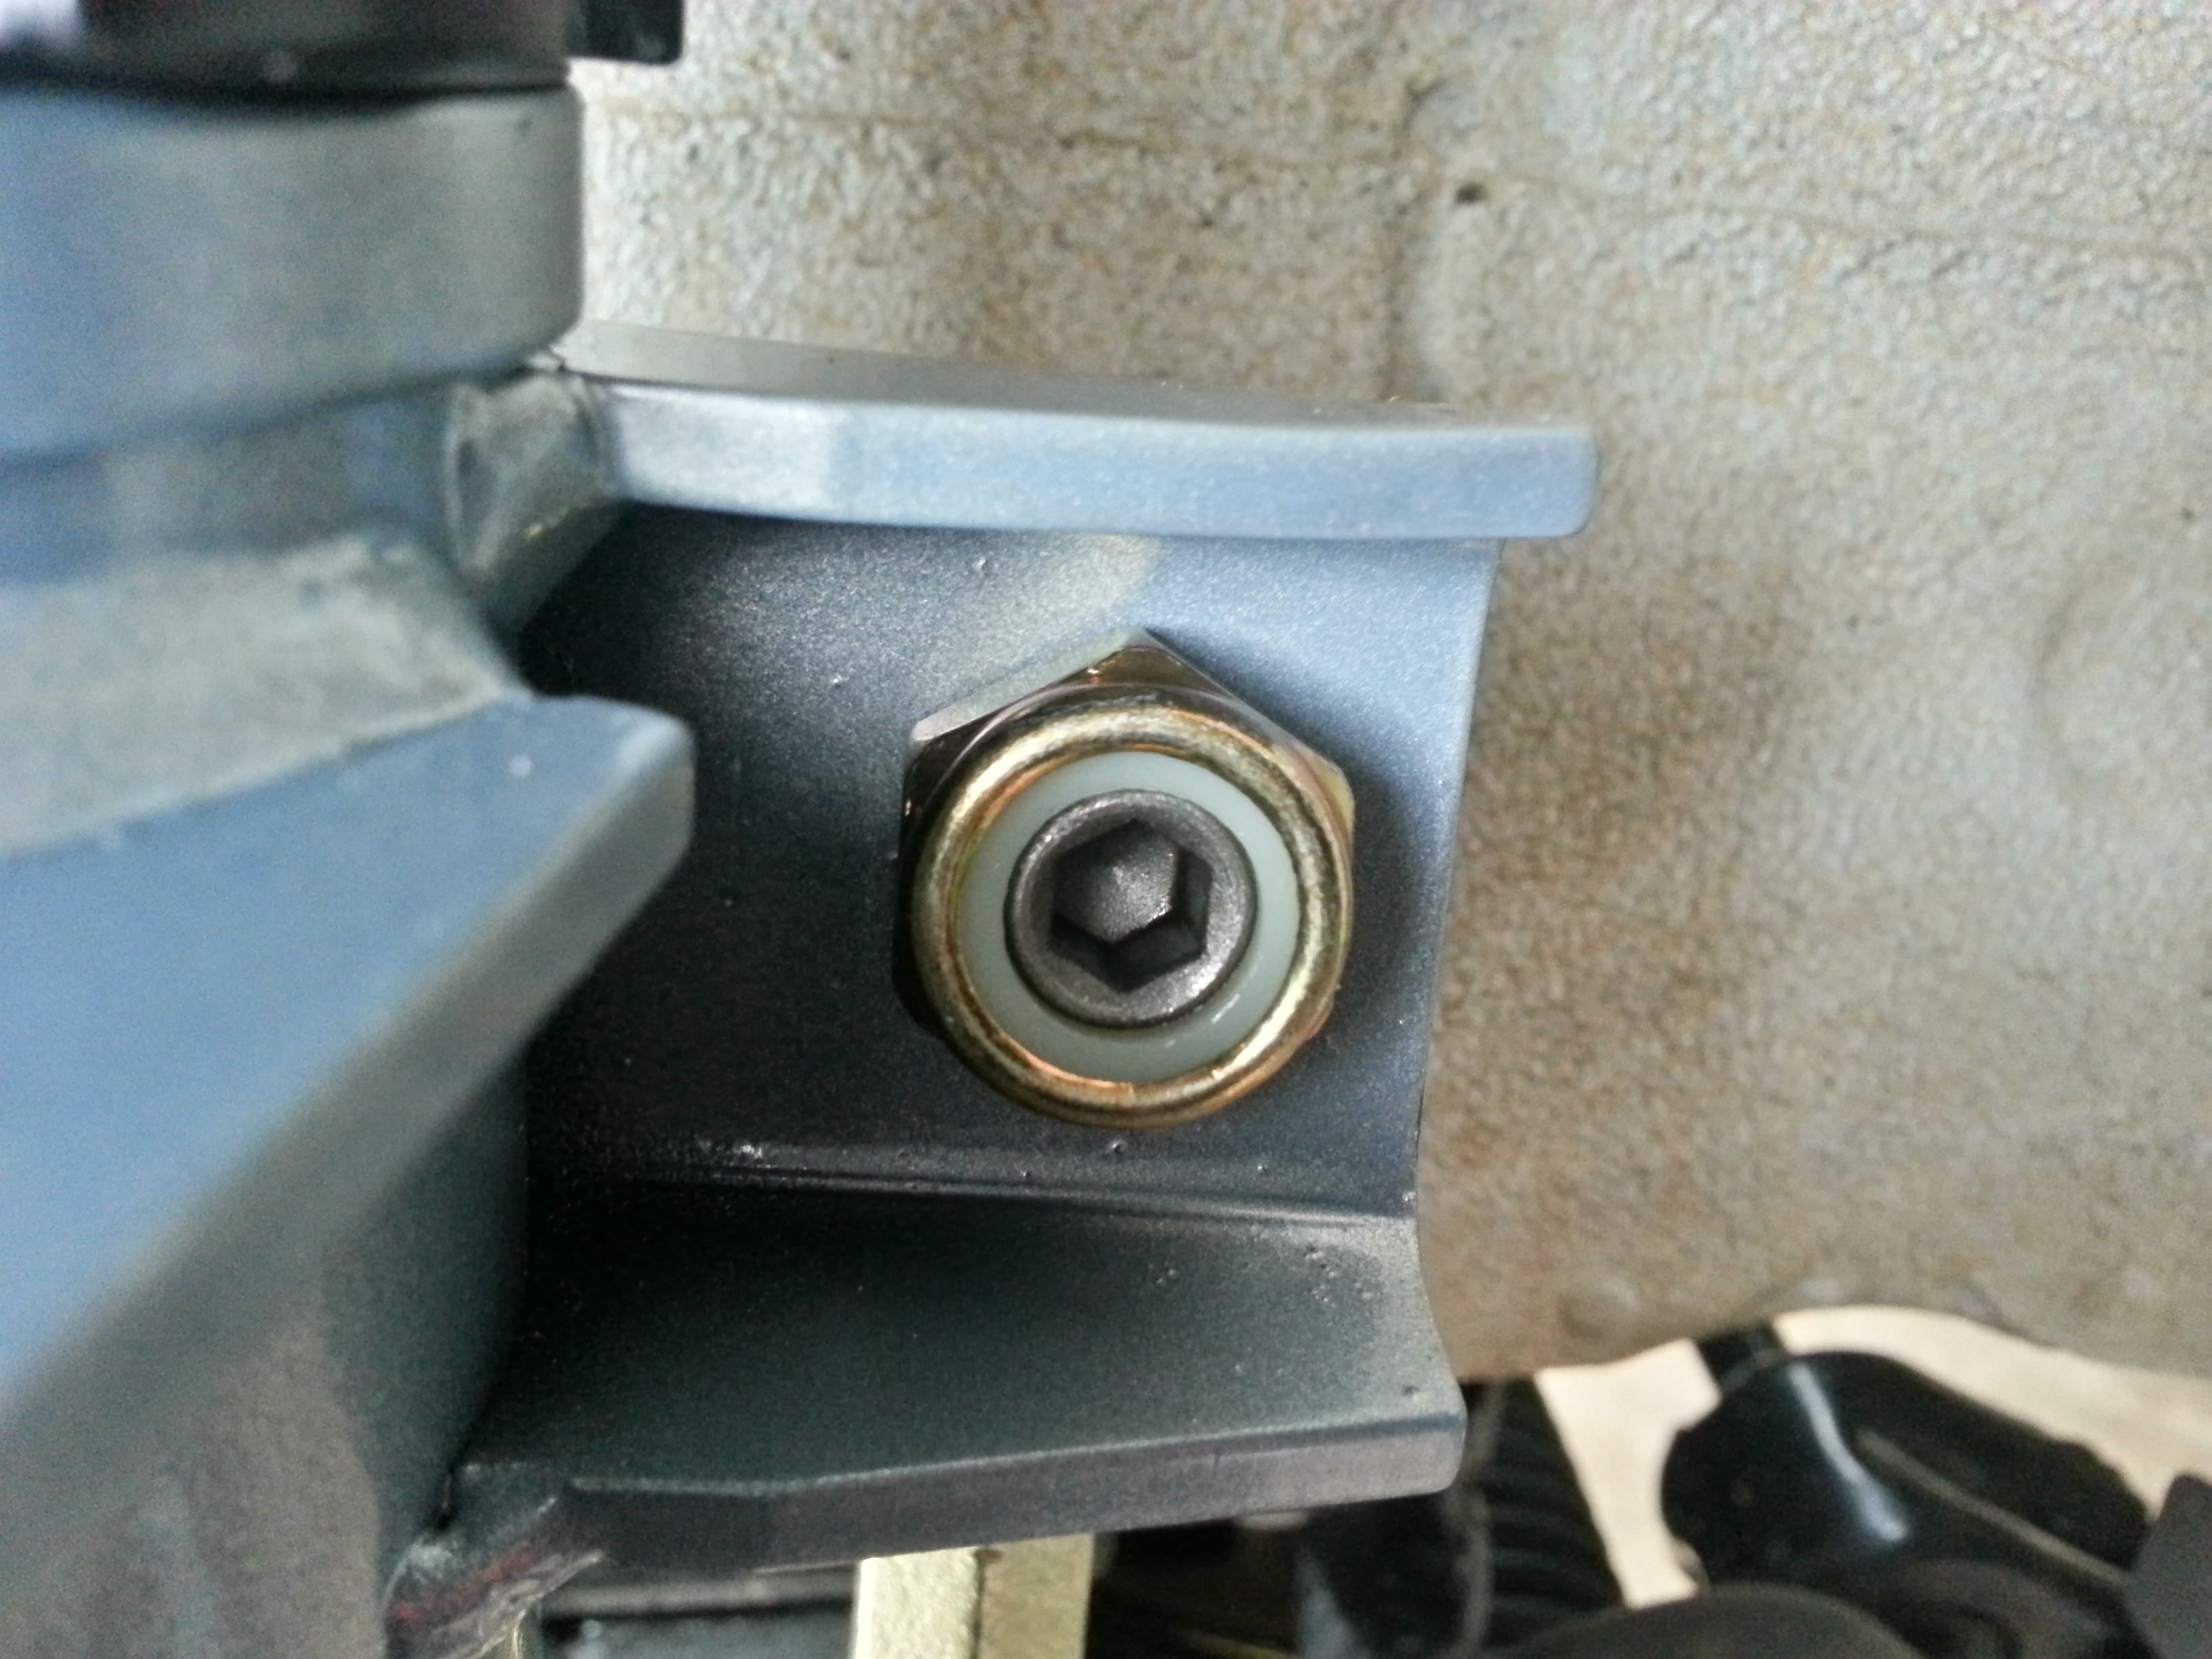
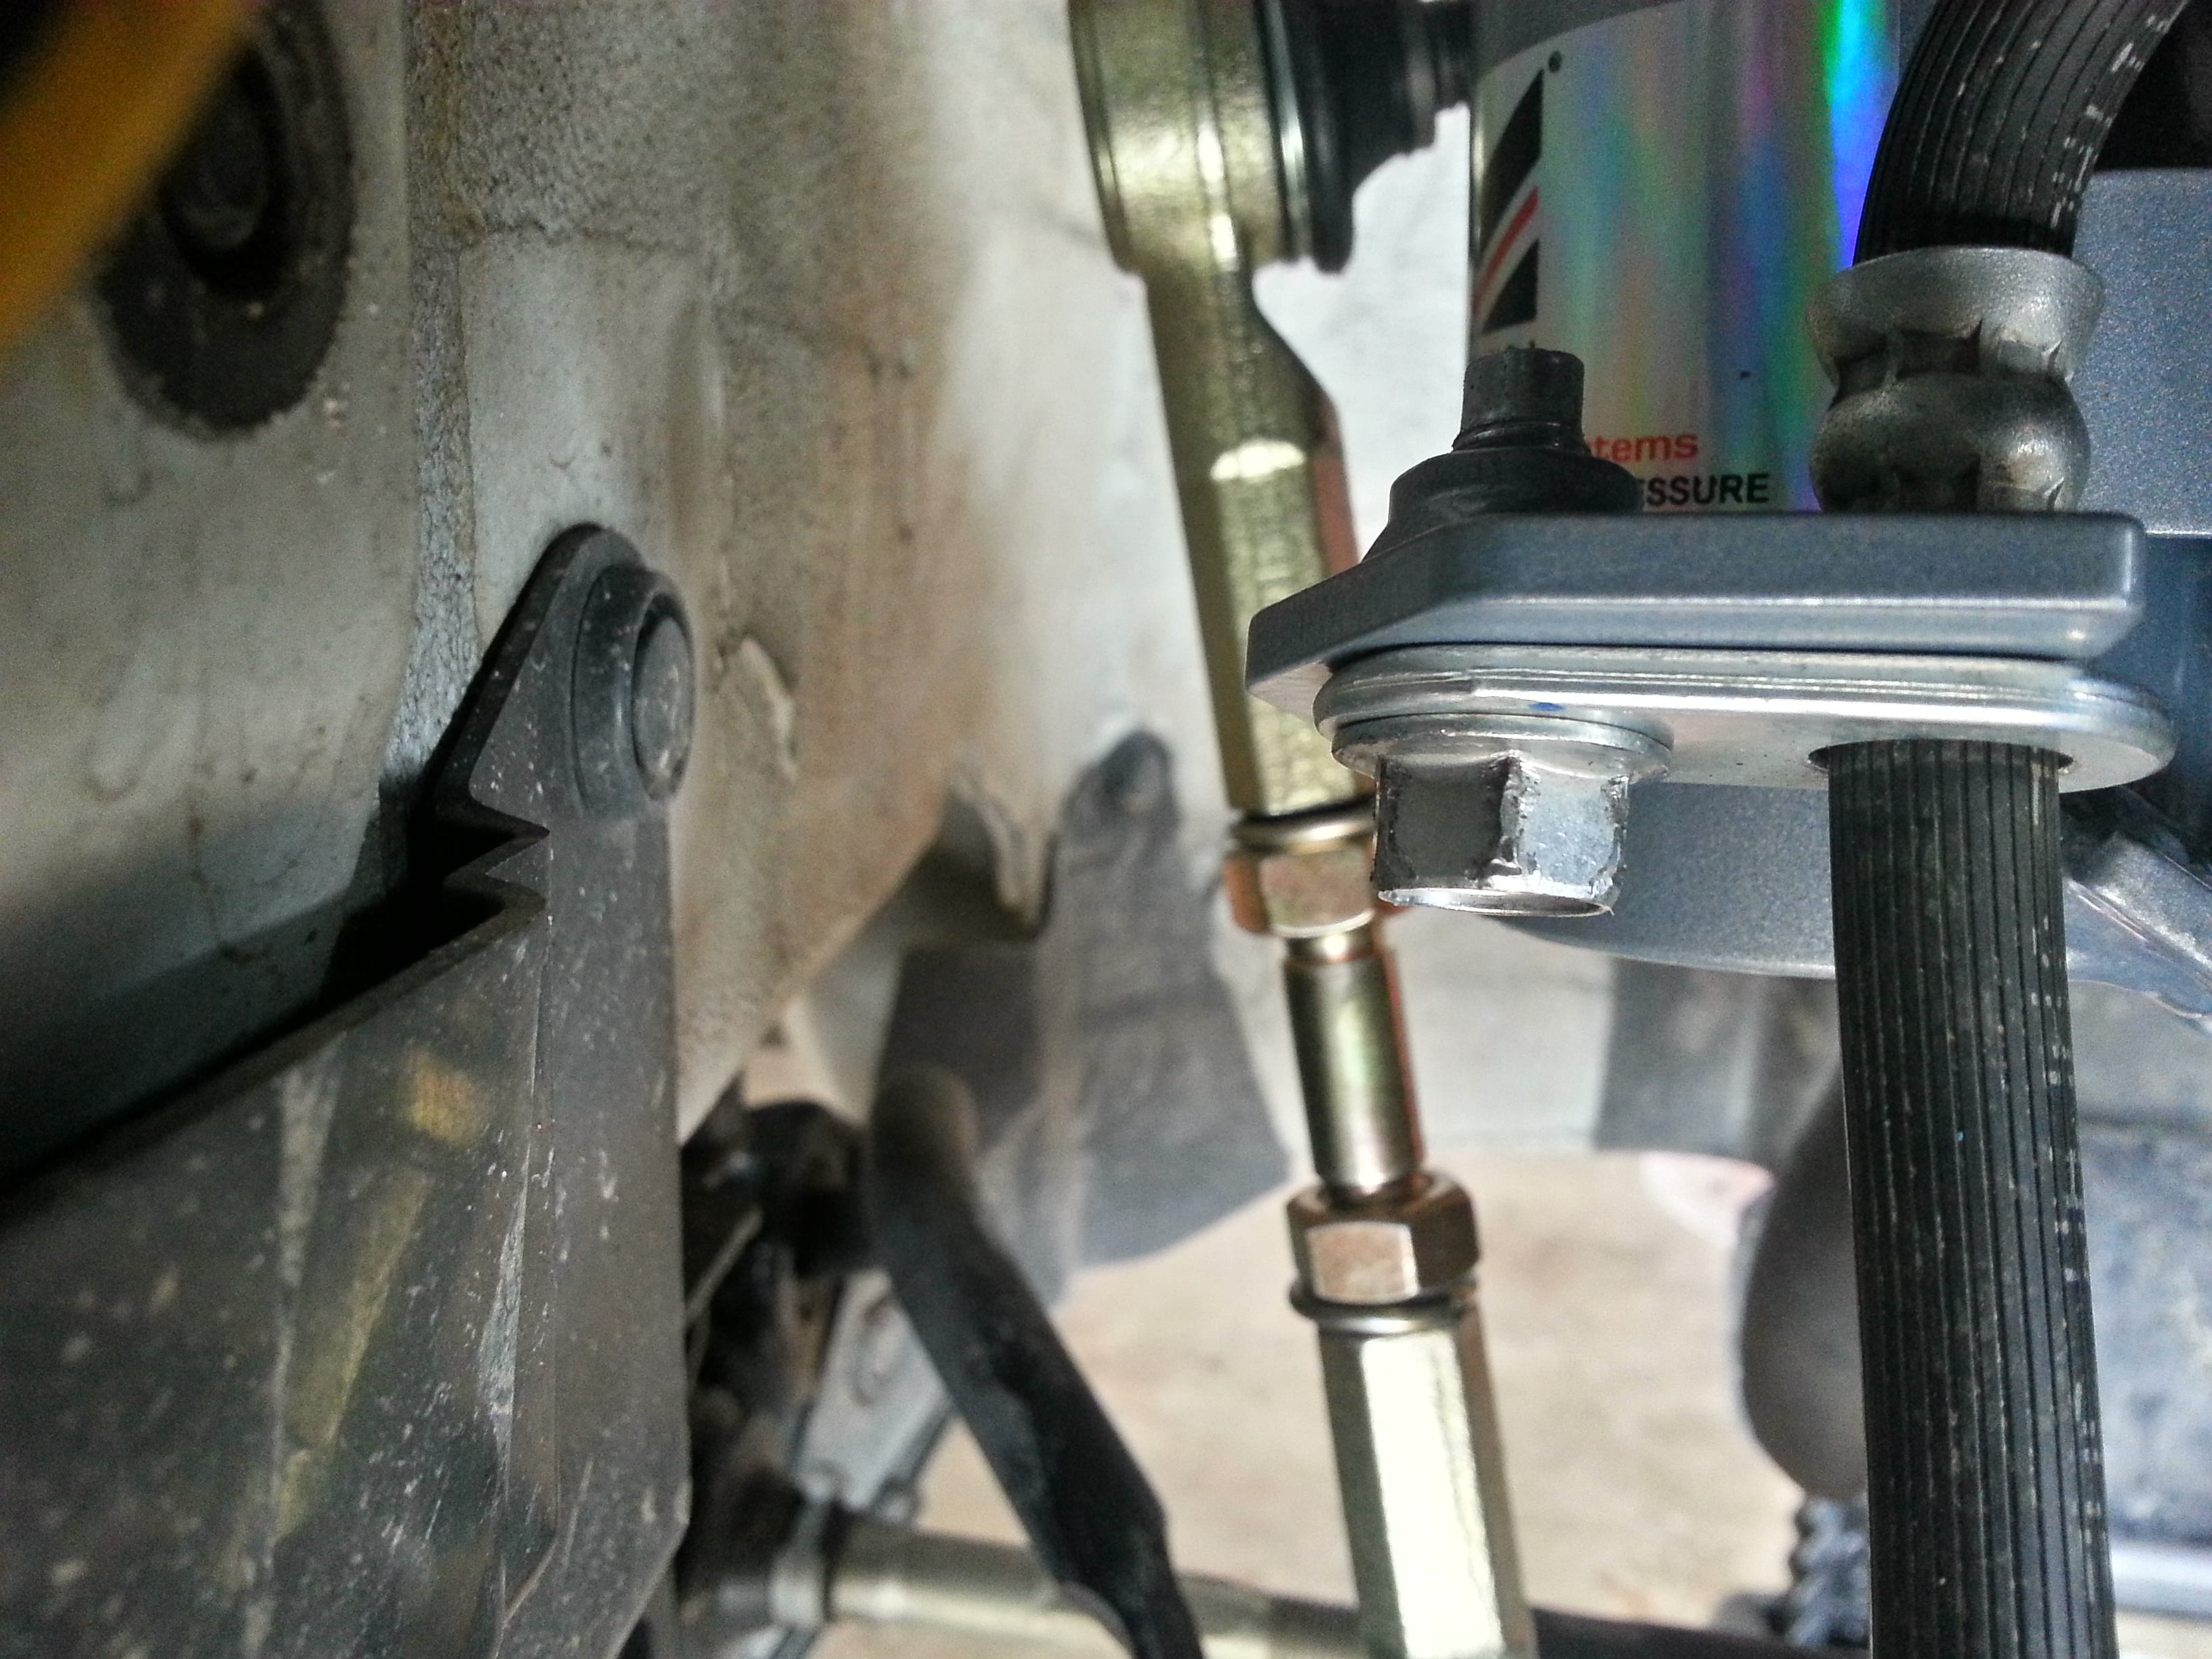
 You can see that the supplied adjustable sway bar end links are like the factory units they replace in that they have the hex keyed shaft. This is to allow you to use a pass-through socket set/wrench while still holding the balljoint from spinning. Same as removal, I had no issues and did not need to use them.
 Measure your two end links and get them as close as you can to the same length. Fine adjustments will no doubt need to be made, but that can come later after you decide how much of a drop you're going to want. Use your 19mm socket and tighten the upper nut. Space was at a premium for me on the lower nut and I had to use a 19mm wrench to tighten it.
 Also use your 19mm wrench to tighten the locking nuts against the balljoints/sway bar end links.
 ***WORD OF CAUTION***
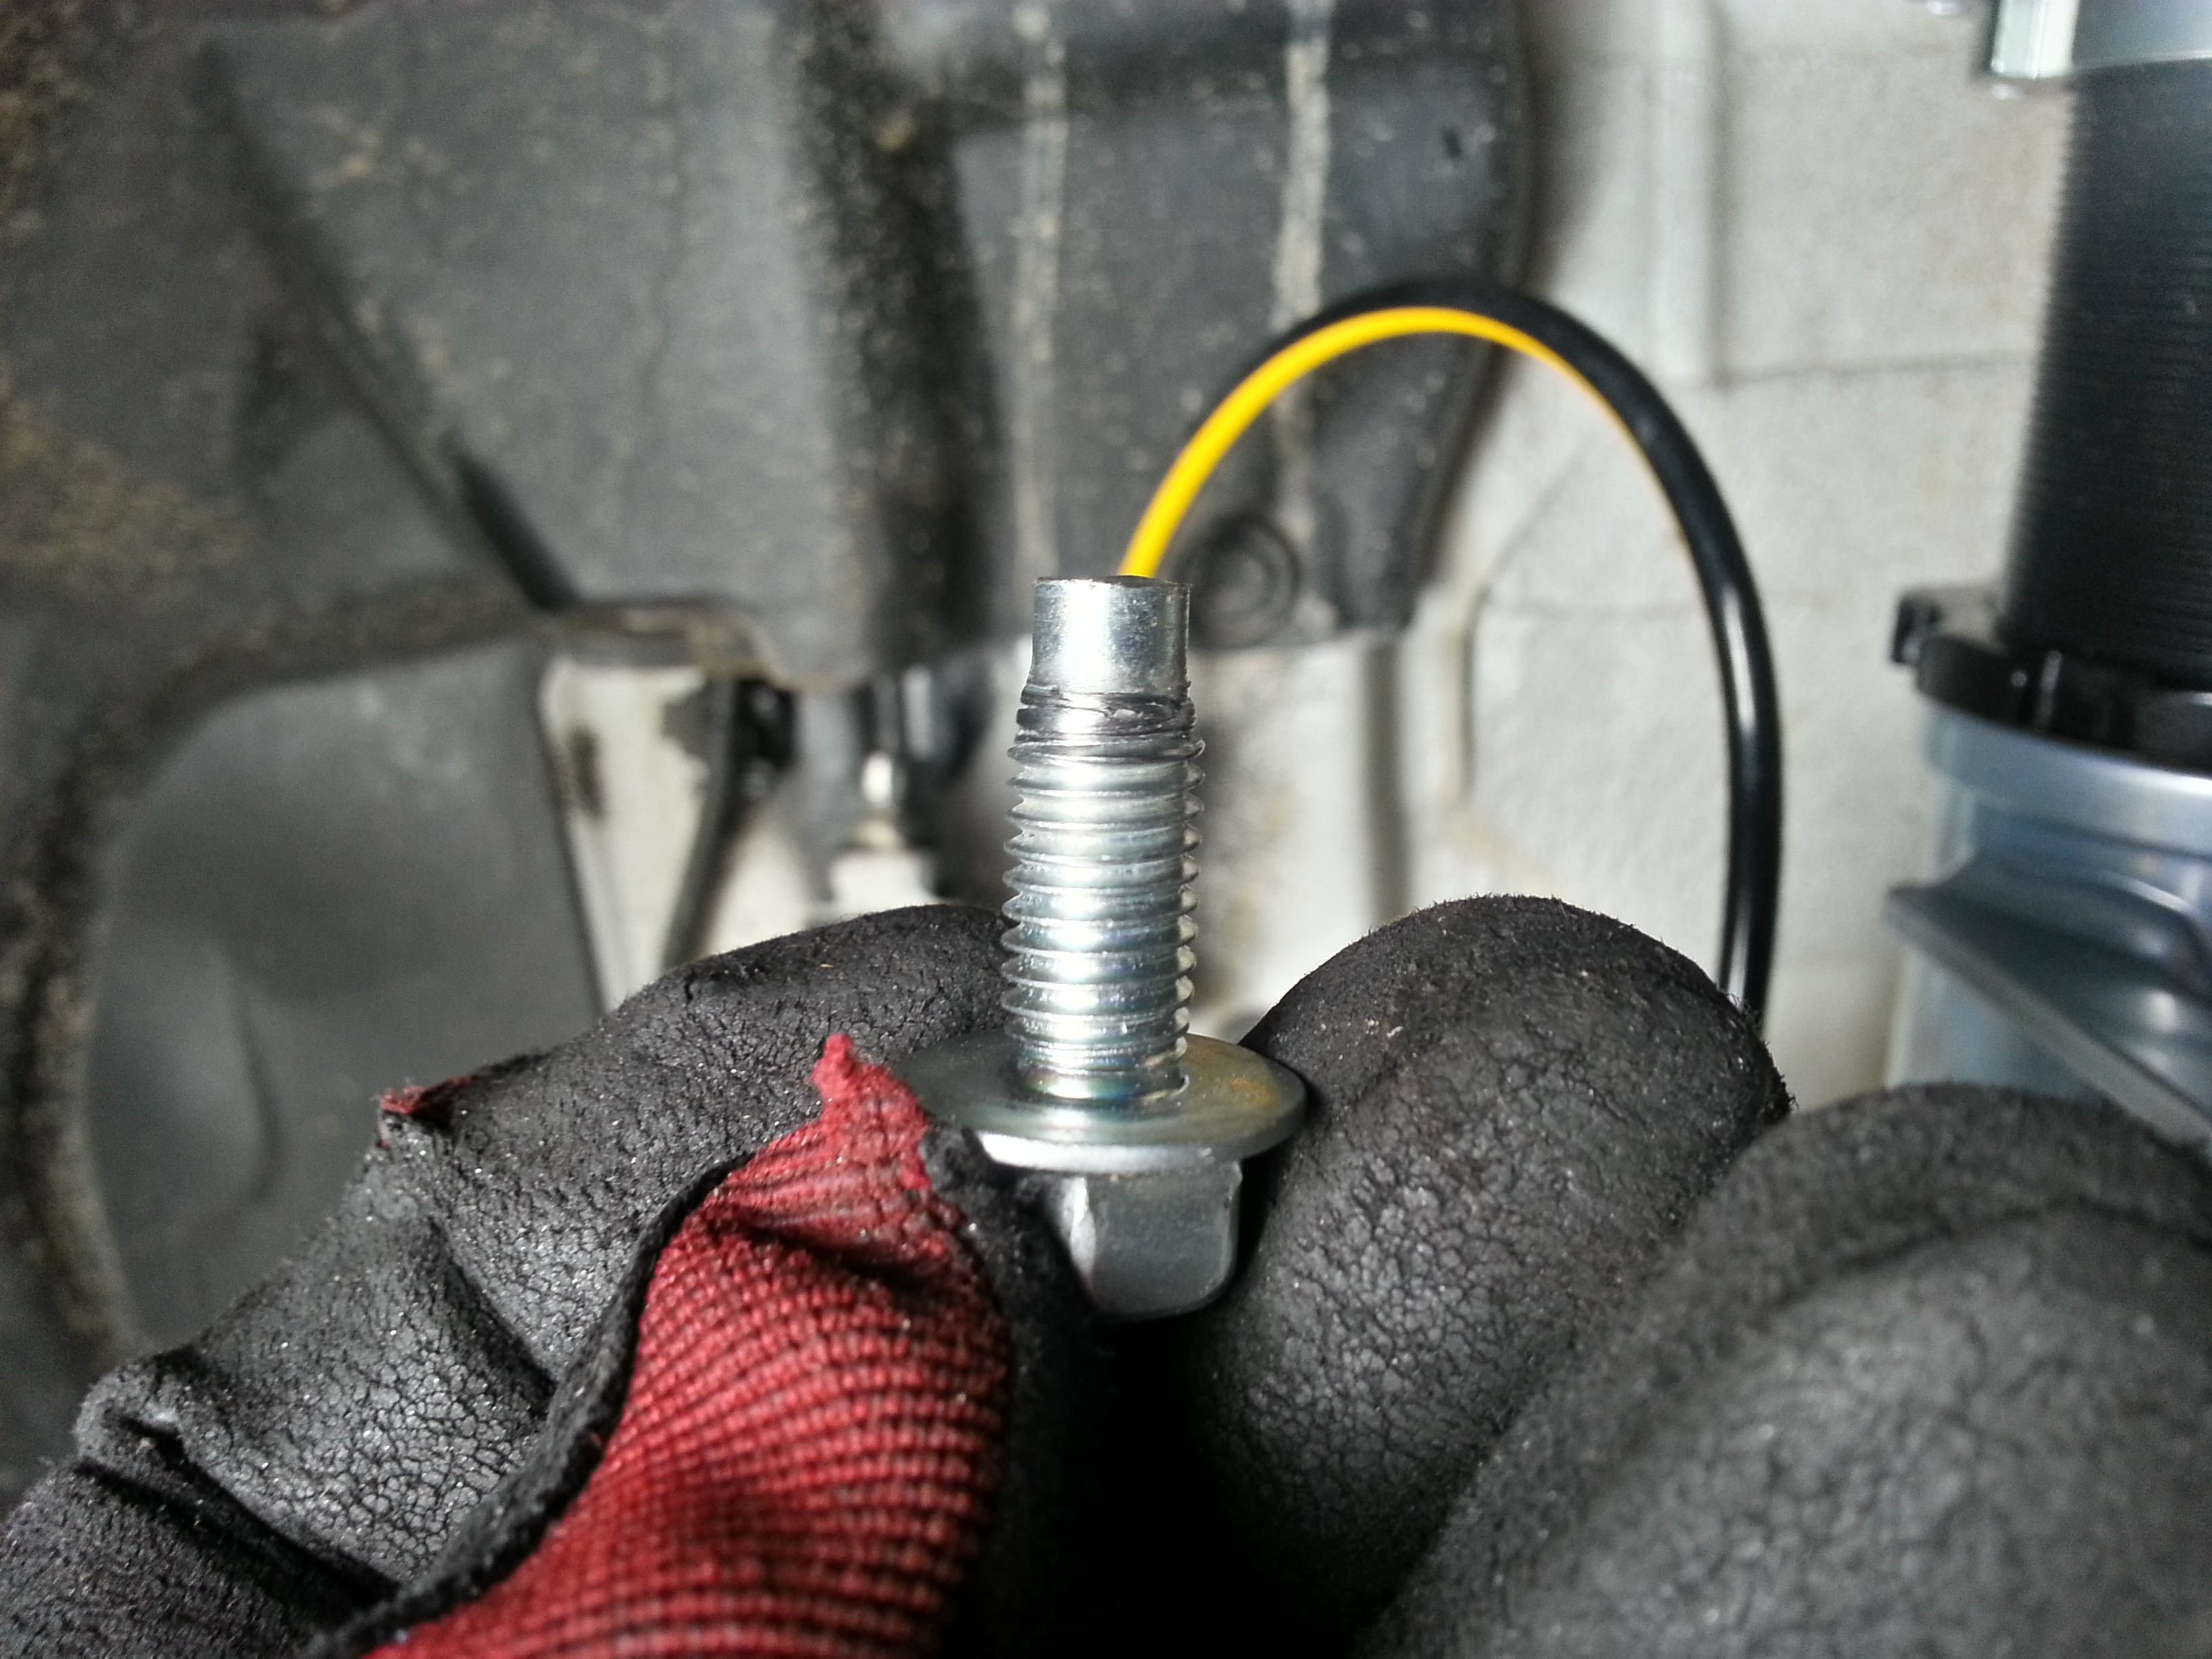
This is the only spot that I ran in to an issue with the entire kit. The threaded holes that your soft line bracket bolts to have powdercoat on them, which makes the diameter too small for the factory bolts. You can either buy a tap/chase and run it through, or do what I did: Using the factory bolt, spray some of your penetrating fluid on the threads to act as a lube. Thread the bolt in a turn or two, or until it starts to feel very tight, then remove the bolt and clean out the hole and the bolt. This will take some time, but is the cheapest/easiest way to do it correctly.
If you do what I did and figure, "Eh, it's just tight because of paint, it'll push through though.", you'll get what I got, a spun bolt. I had an extra, and luckily the coilovers are a harder material and survived unscathed.
***WORD OF CAUTION***
This is the only spot that I ran in to an issue with the entire kit. The threaded holes that your soft line bracket bolts to have powdercoat on them, which makes the diameter too small for the factory bolts. You can either buy a tap/chase and run it through, or do what I did: Using the factory bolt, spray some of your penetrating fluid on the threads to act as a lube. Thread the bolt in a turn or two, or until it starts to feel very tight, then remove the bolt and clean out the hole and the bolt. This will take some time, but is the cheapest/easiest way to do it correctly.
If you do what I did and figure, "Eh, it's just tight because of paint, it'll push through though.", you'll get what I got, a spun bolt. I had an extra, and luckily the coilovers are a harder material and survived unscathed.
 Soft line and bracket installed. Go ahead and tighten this one up.
 12mm, and we're up top again! Tighten these up, and we're ready for the wheels to go back on.
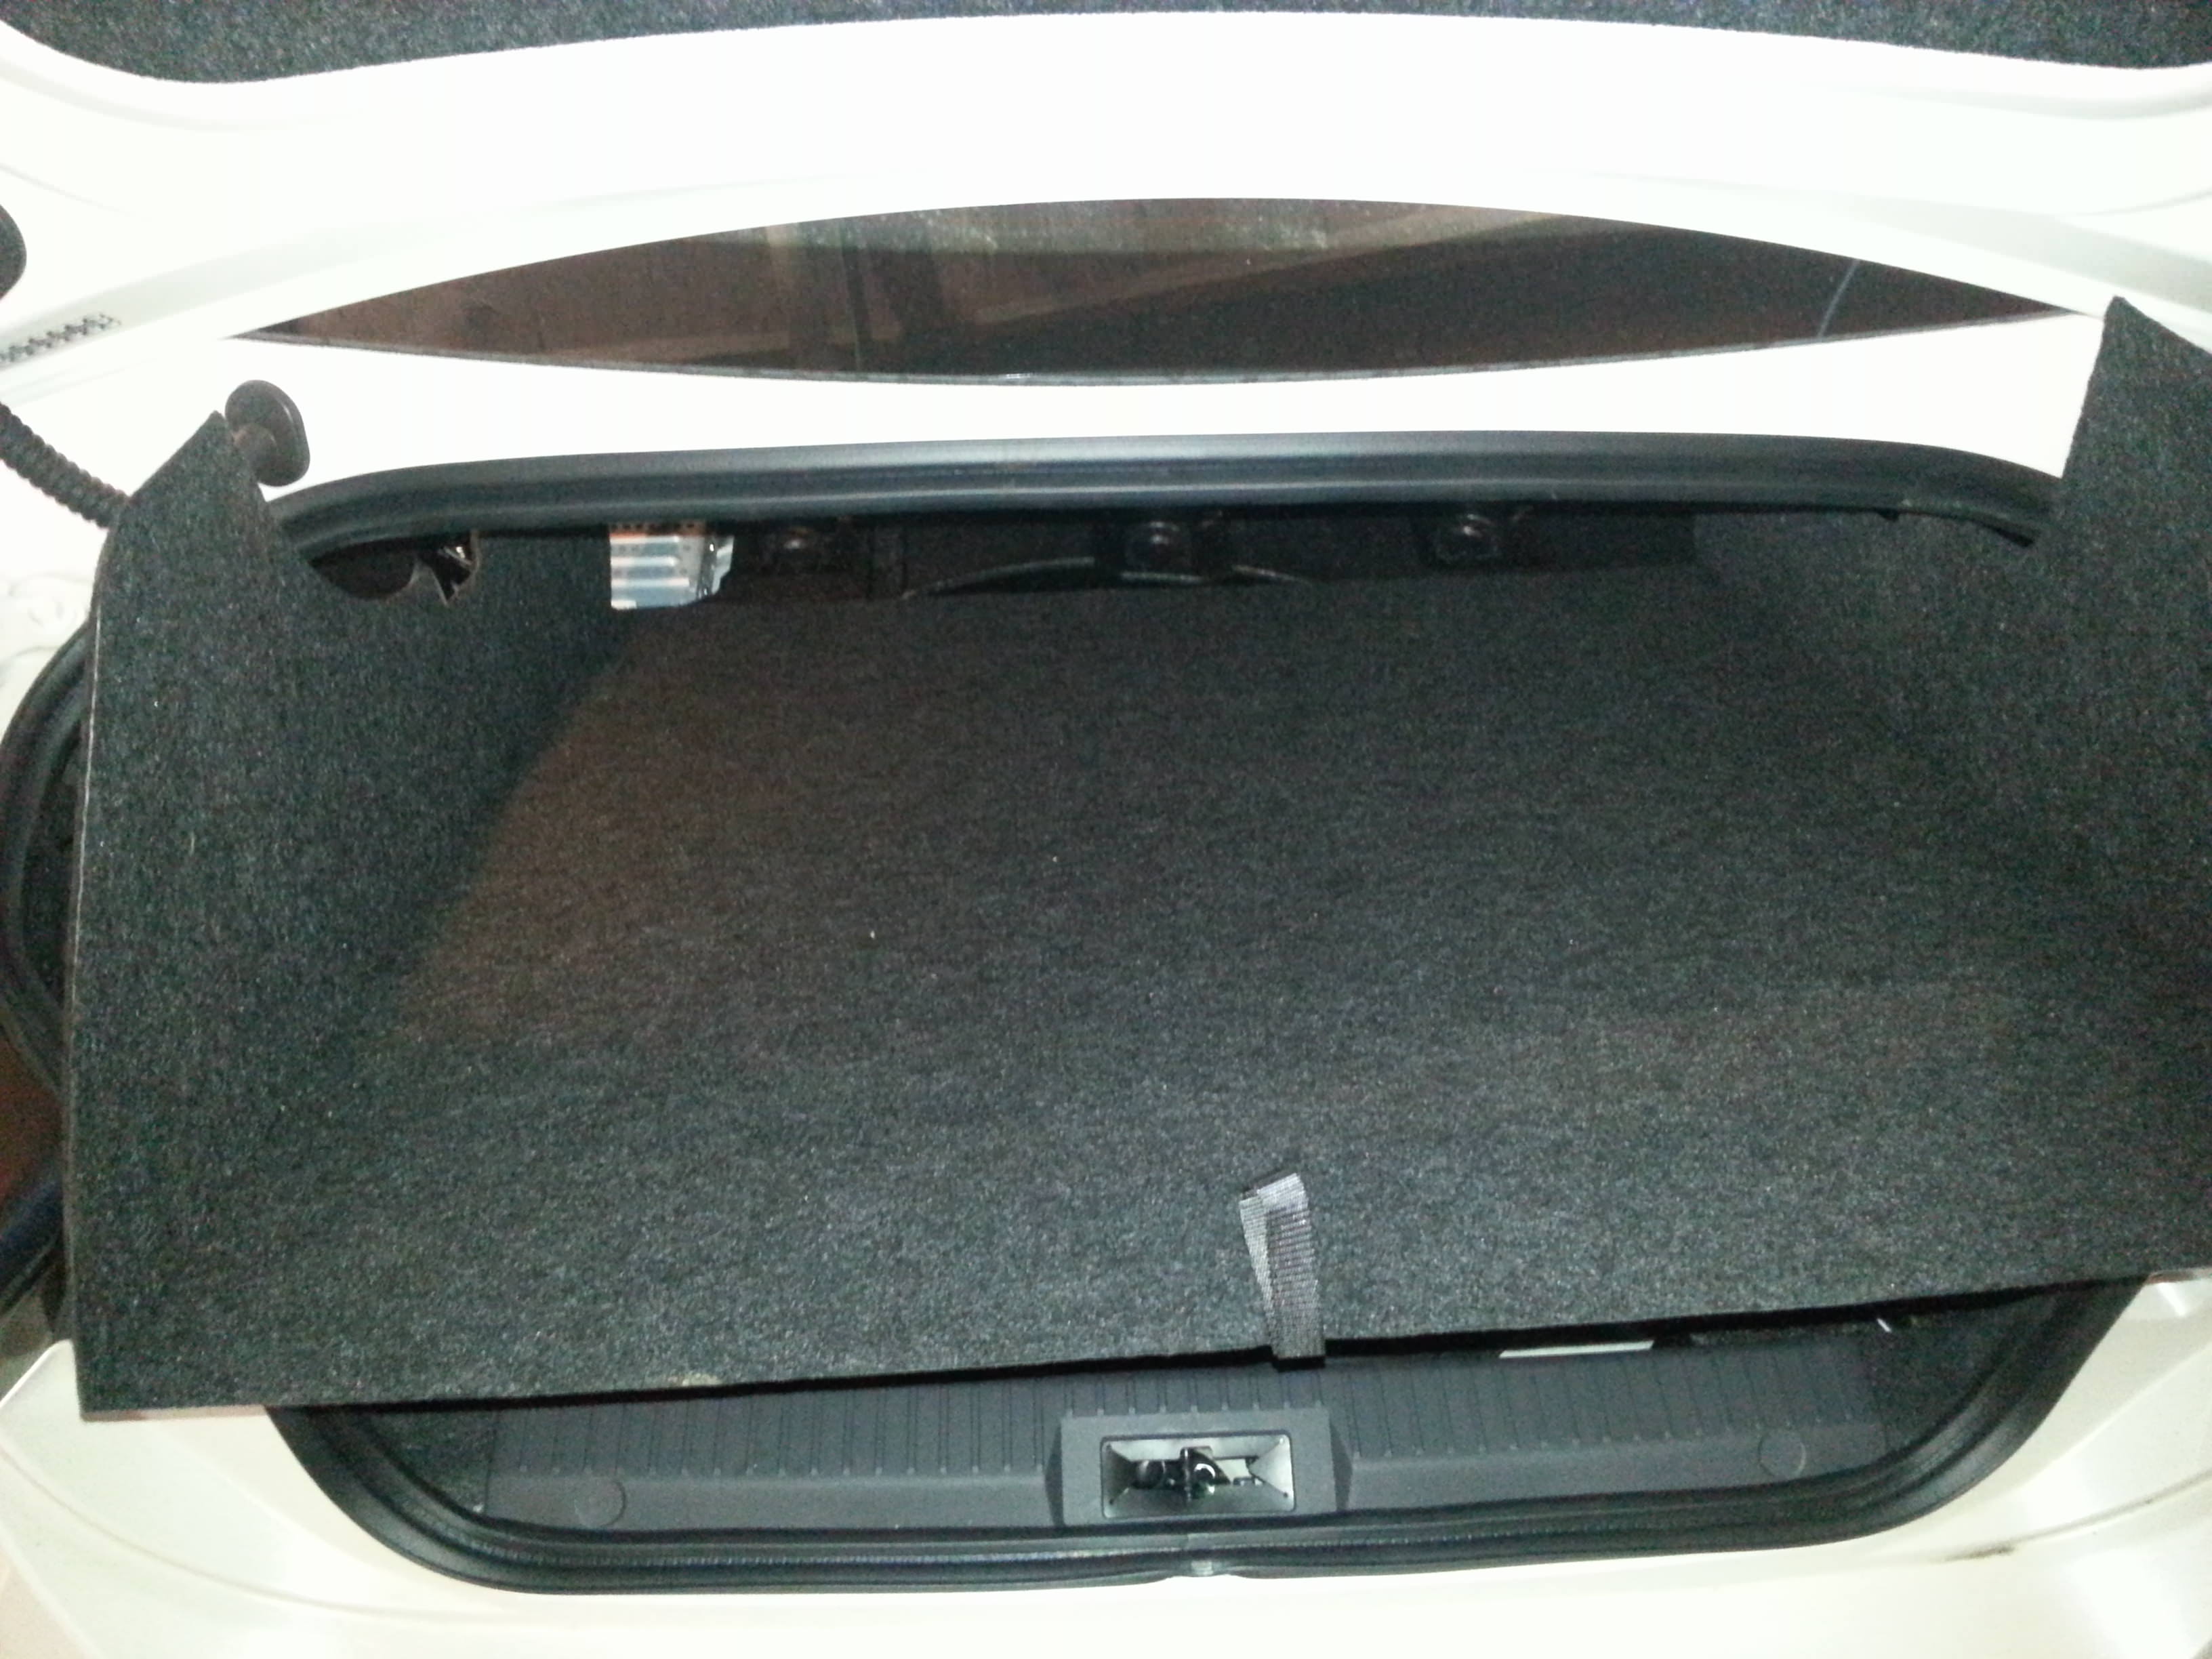
 Depending on your car/trim, you may or may not have the liner, but I do. Pull it out!
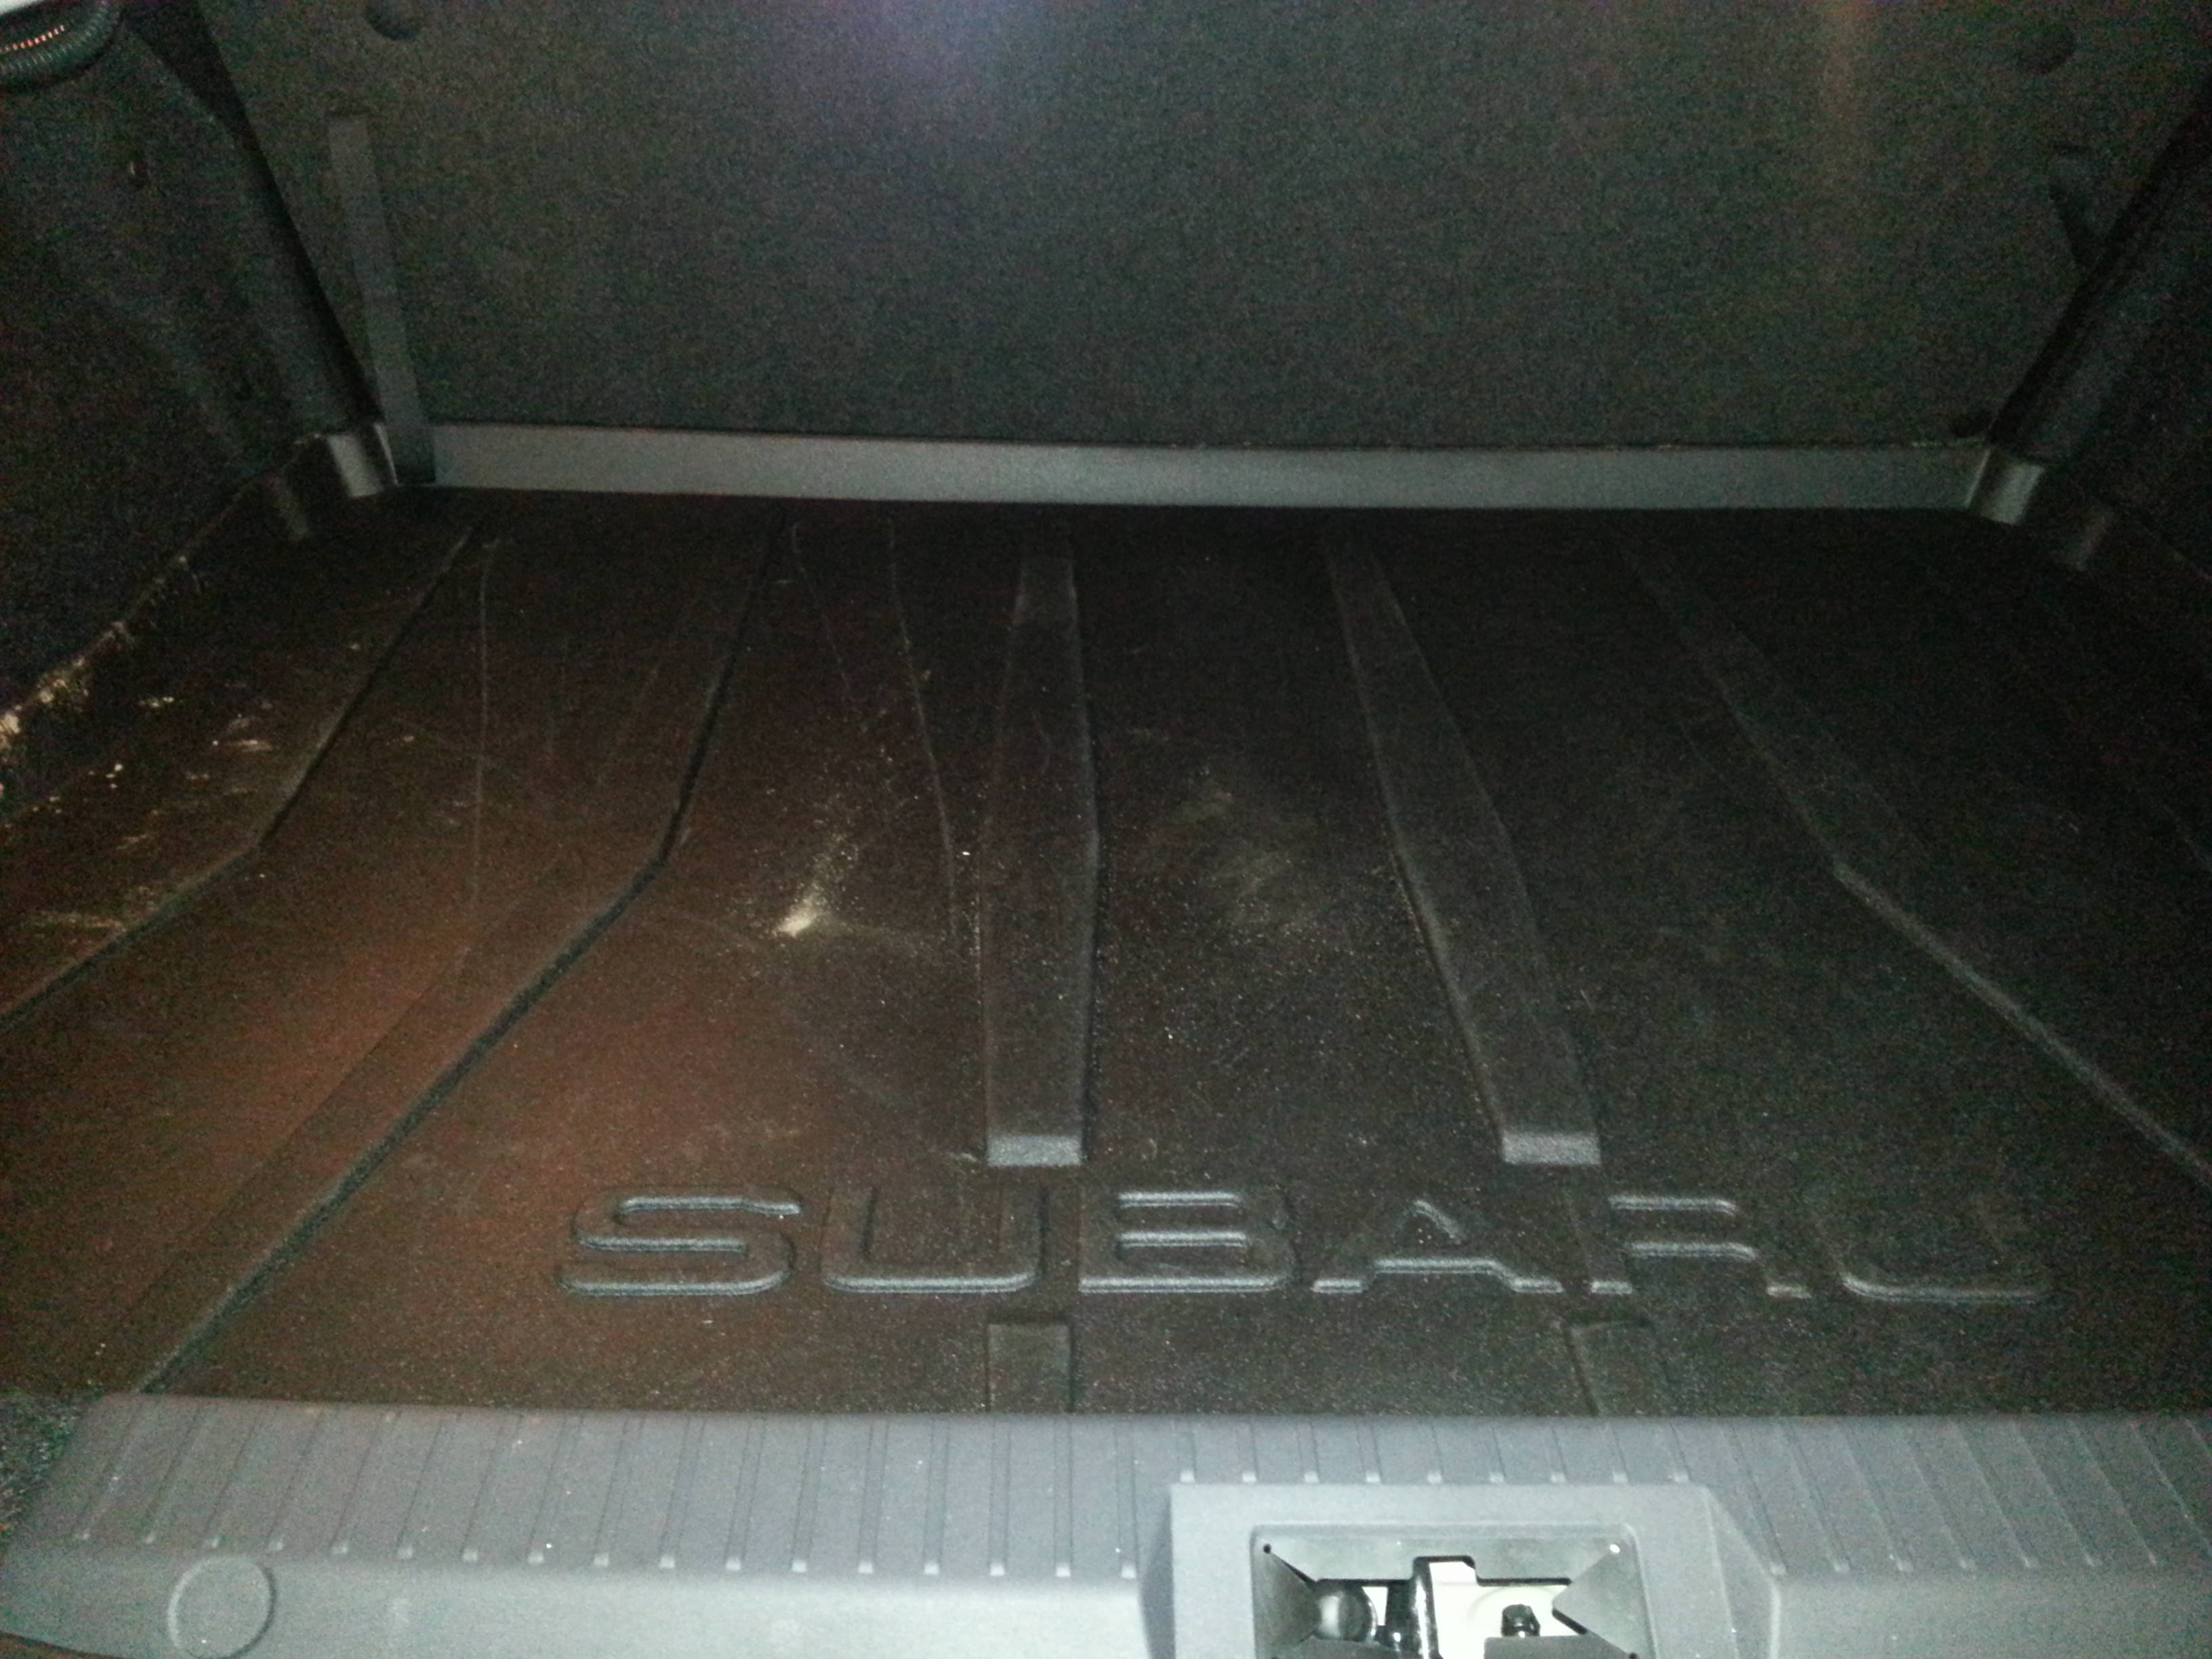 Next up, the spare tire cover has to come out. It has fold lines in it, so fold it up and yank this out too.
 You'll need to remove the plastic cover piece that is the trunk protector. They use these push-lock clips across their length.
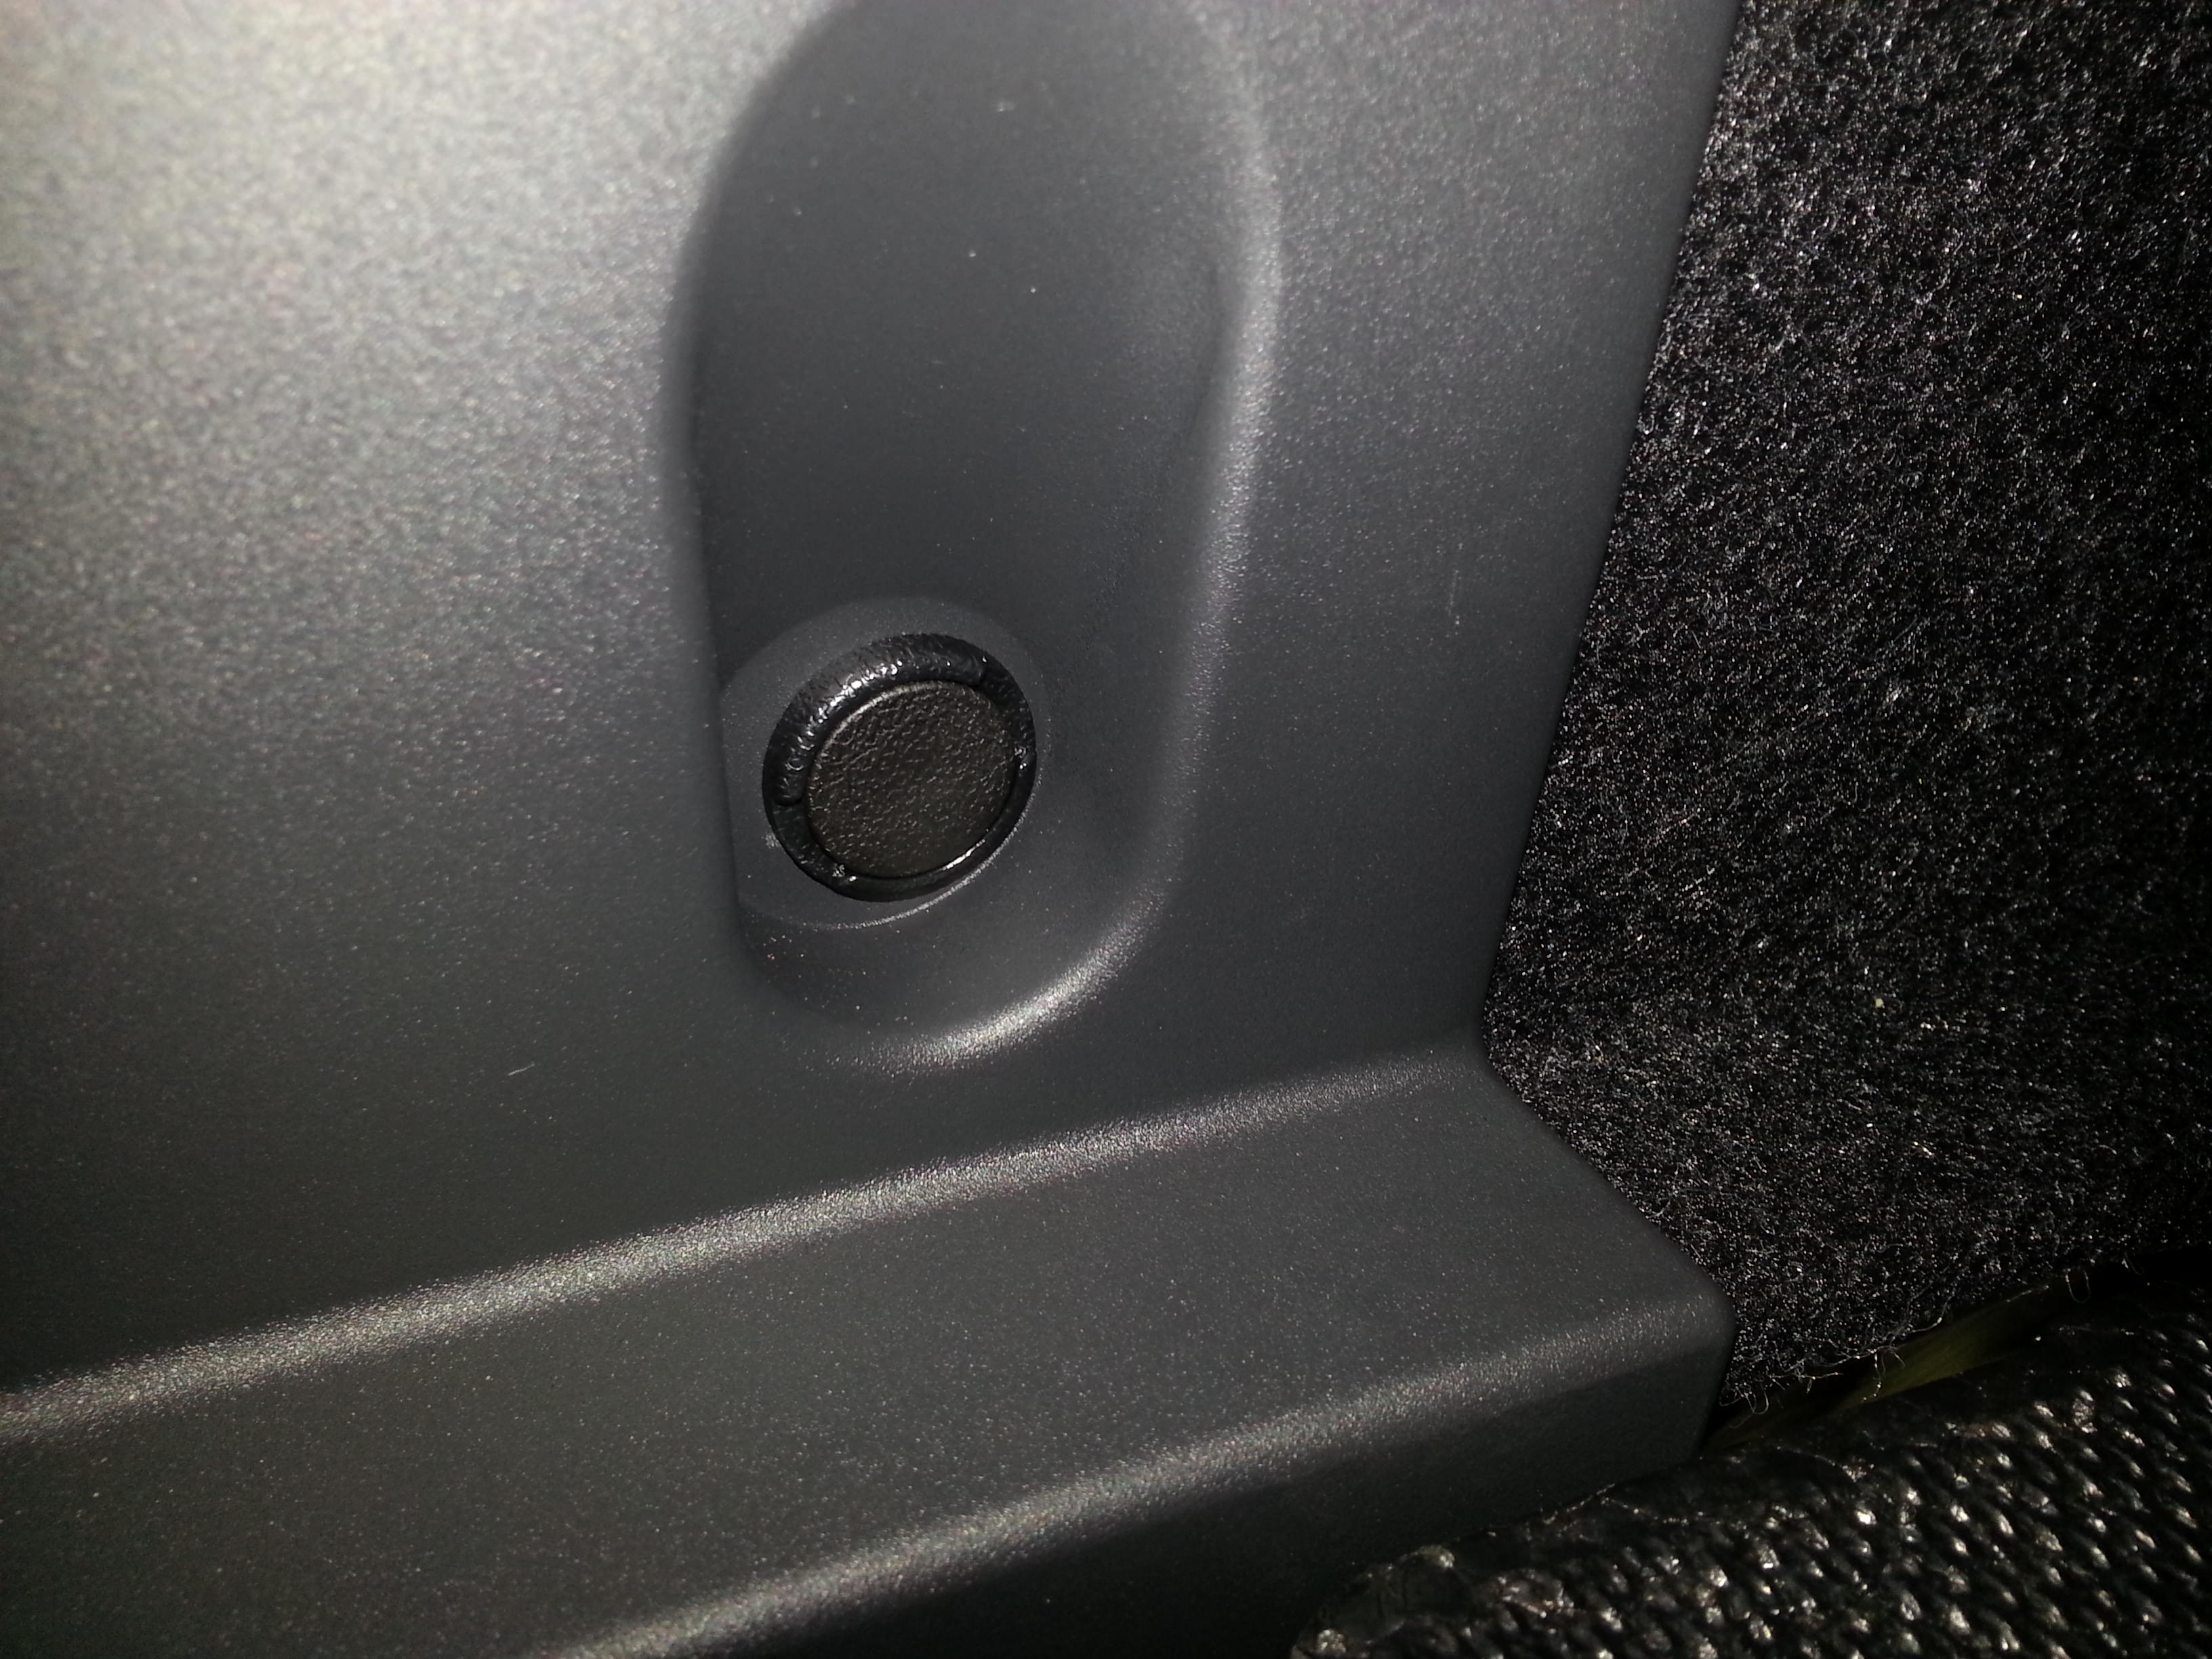 Take your small flat screwdriver, locate the relief in the clip and slide it in.
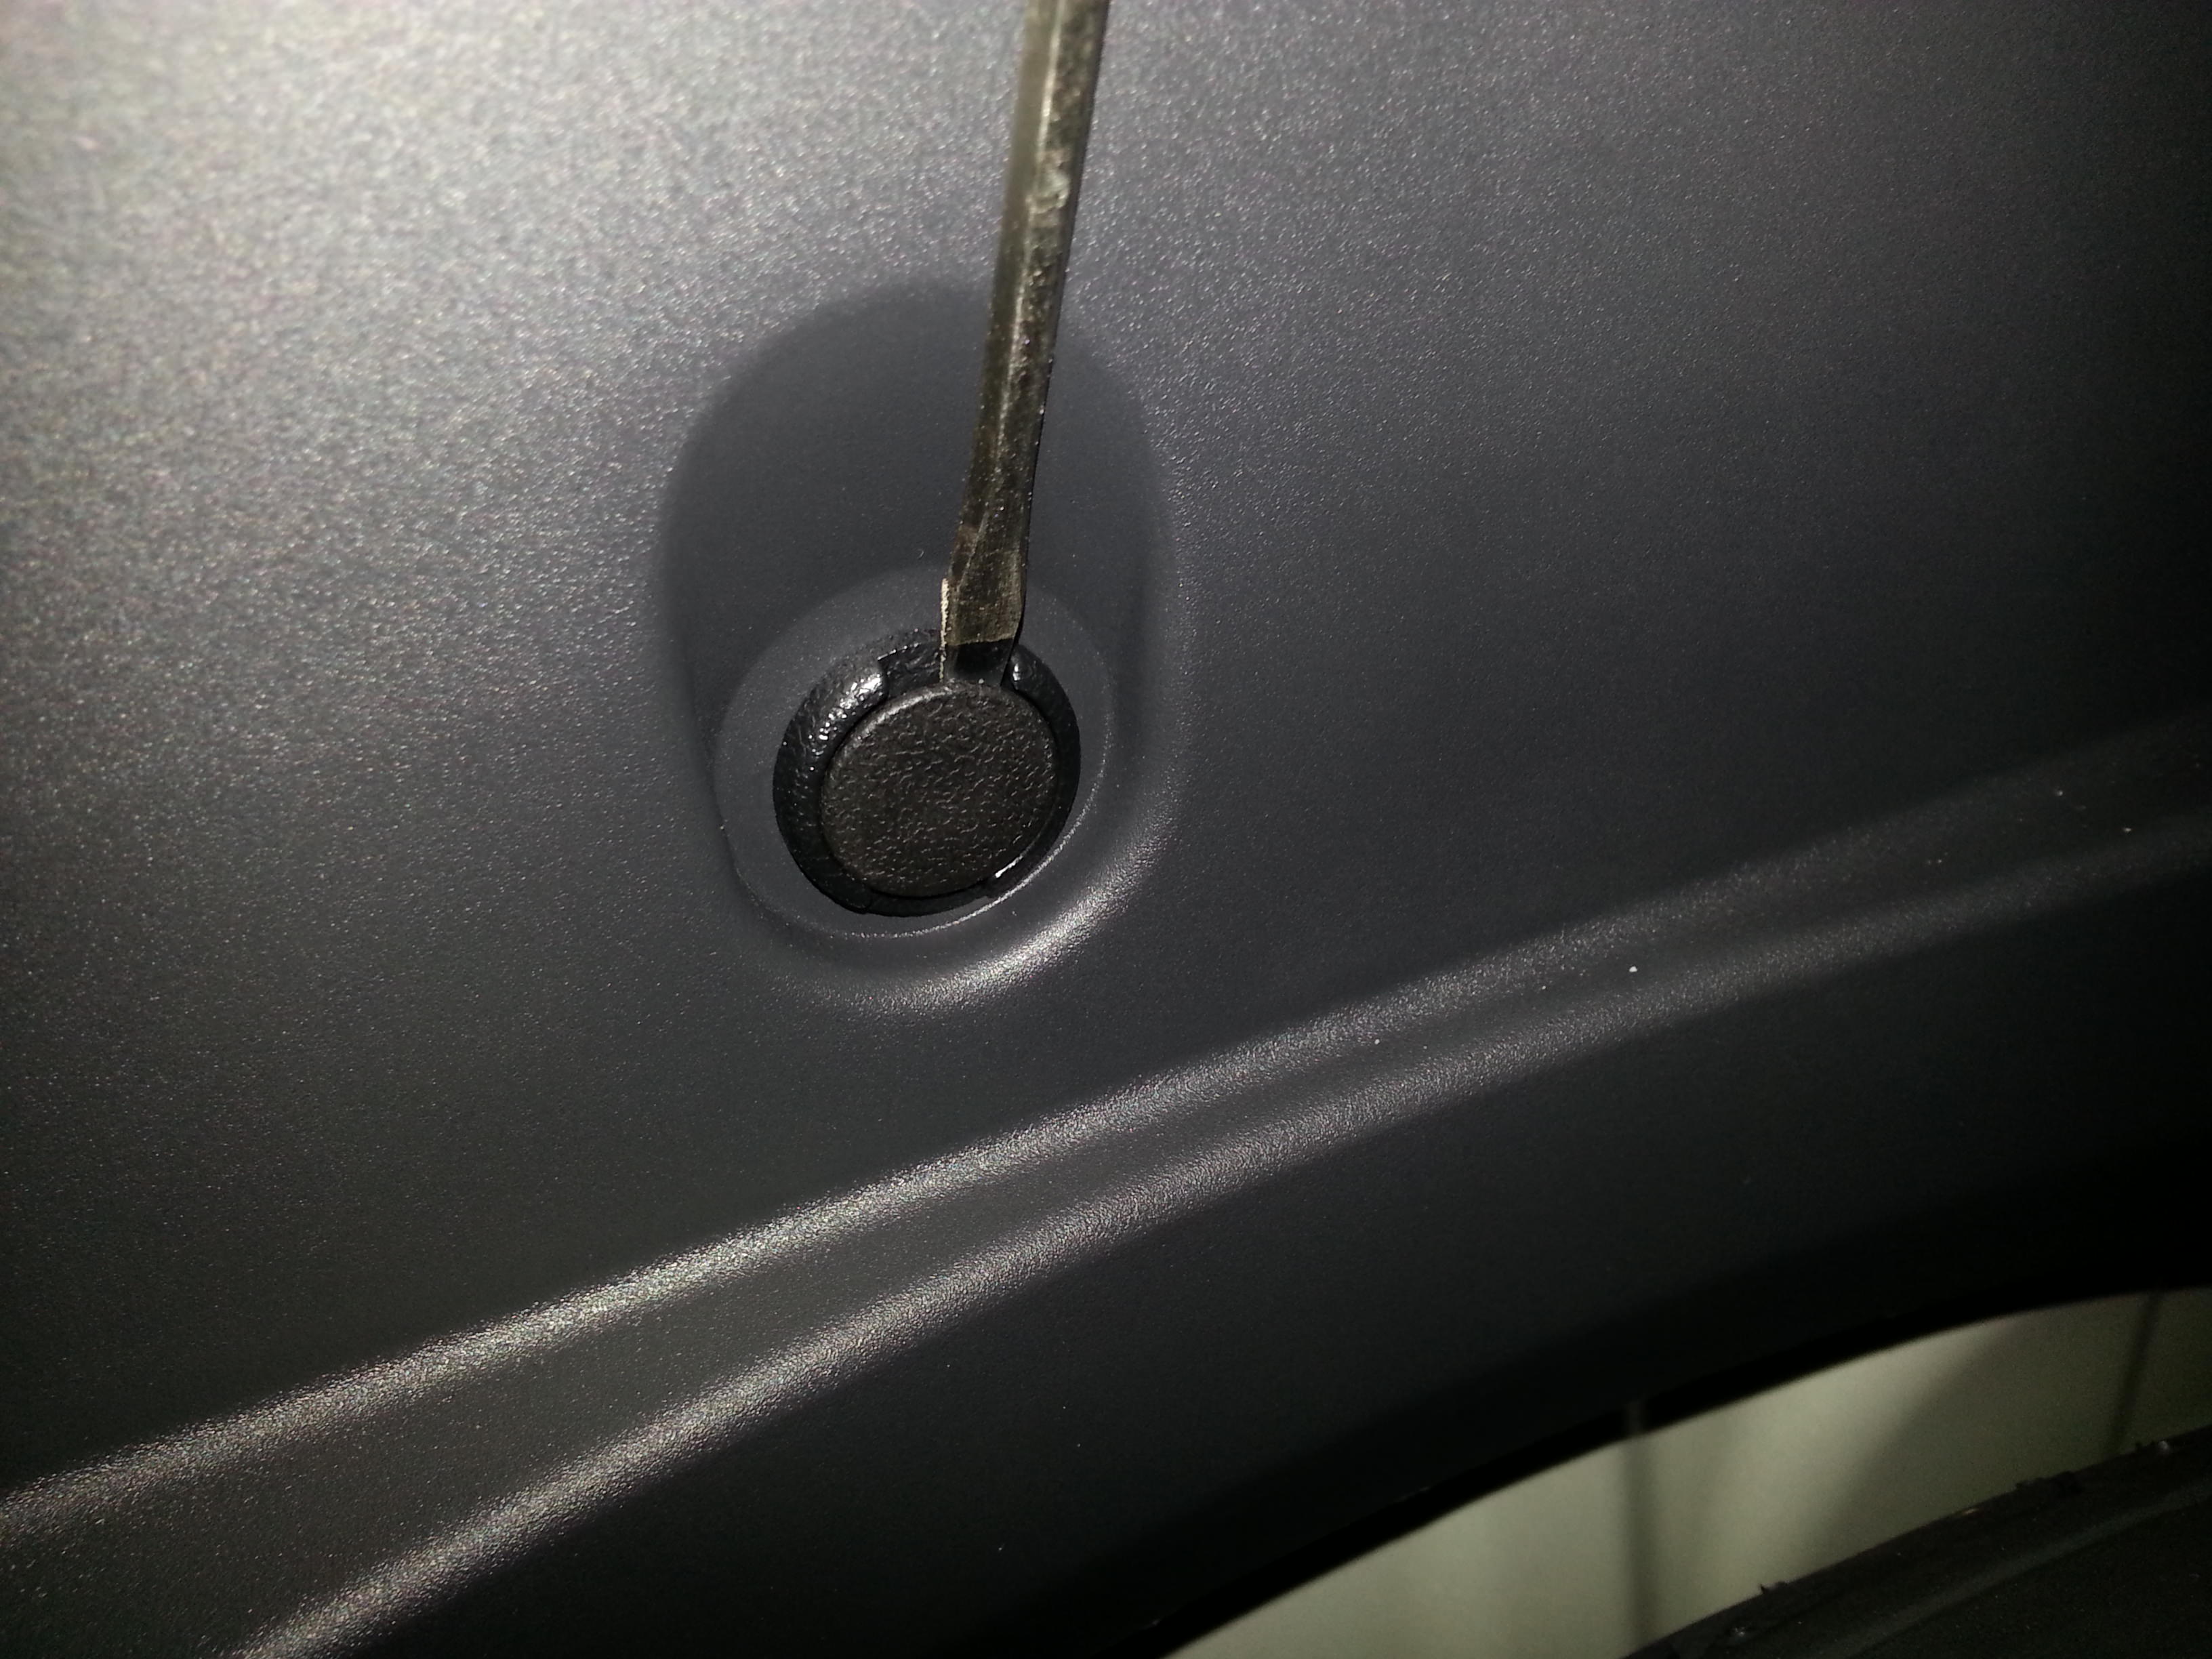 Gently twist the drill and the head pops out. Grab on to the head and pull out on the clip. The base and the insert should come out as a unit.
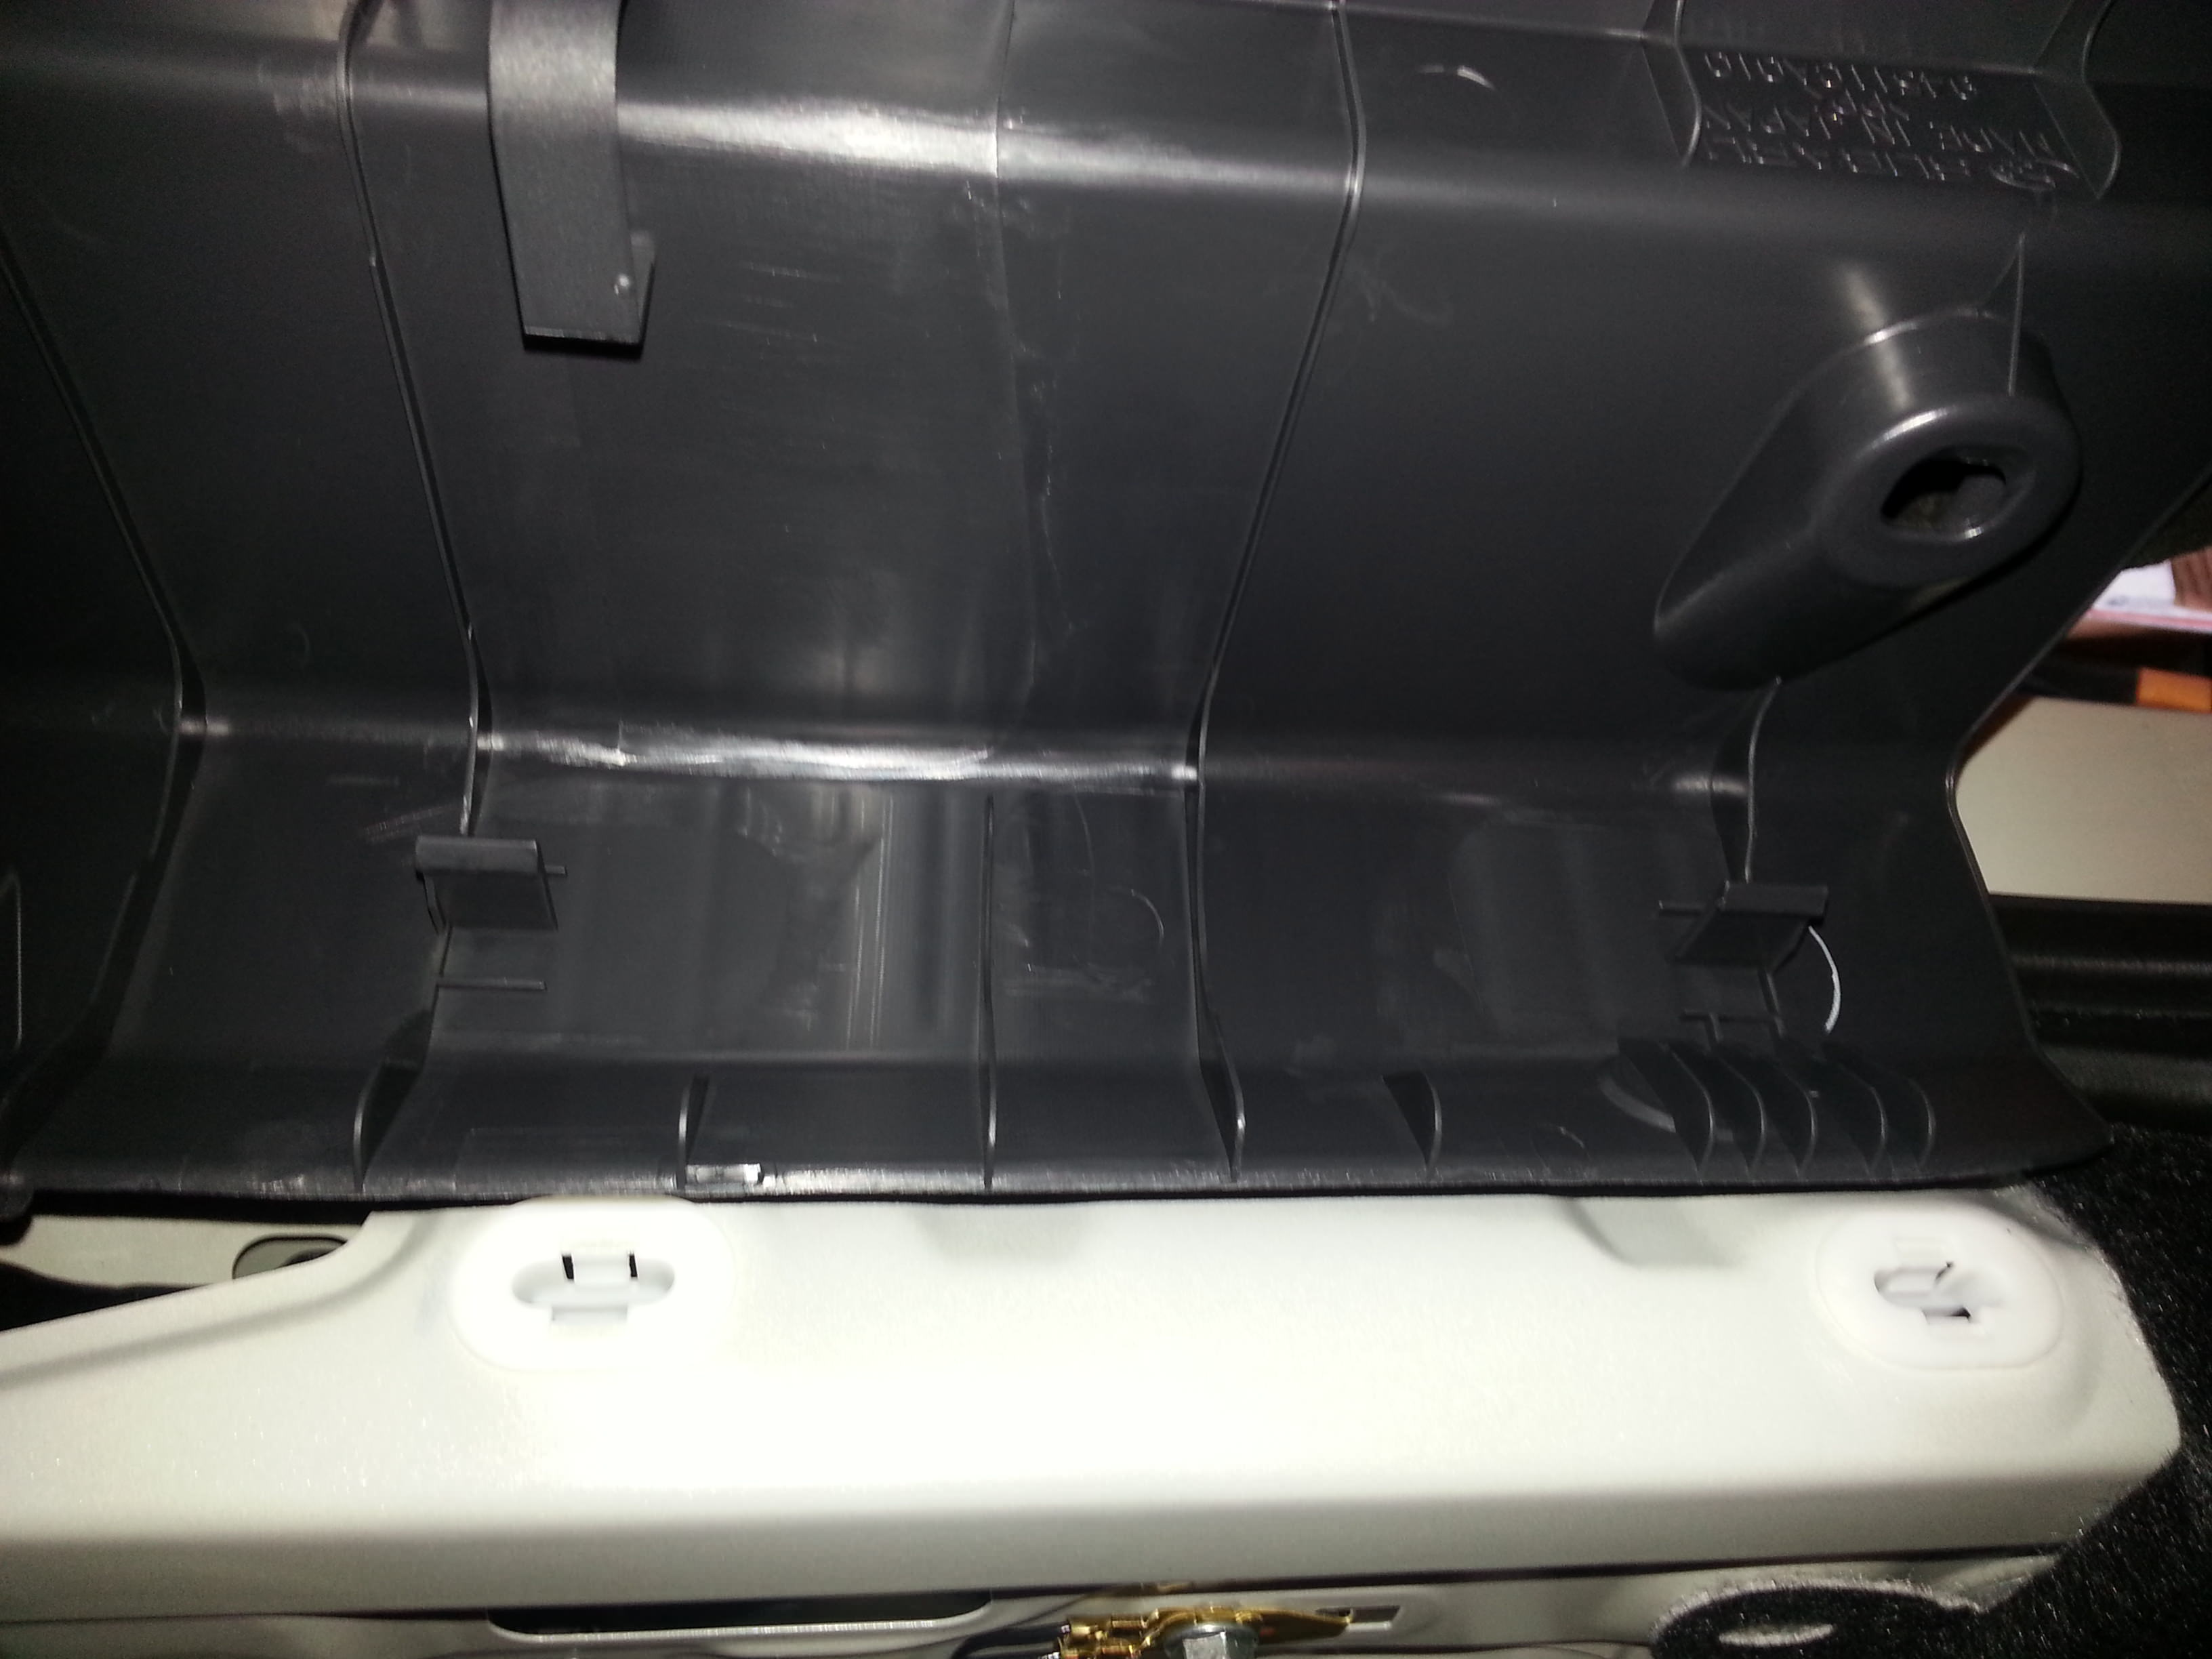
 This picture is hard to see, but you can see the two tabs sticking up on the darker piece, and the corresponding female brackets they clip in to. This is the plastic cover you just removed the push-locks from. Grab the bottom side of the cover, and lift straight up. If you pull or push, you're likely to break the male tabs and your cover probably won't seat correctly. Be careful please.
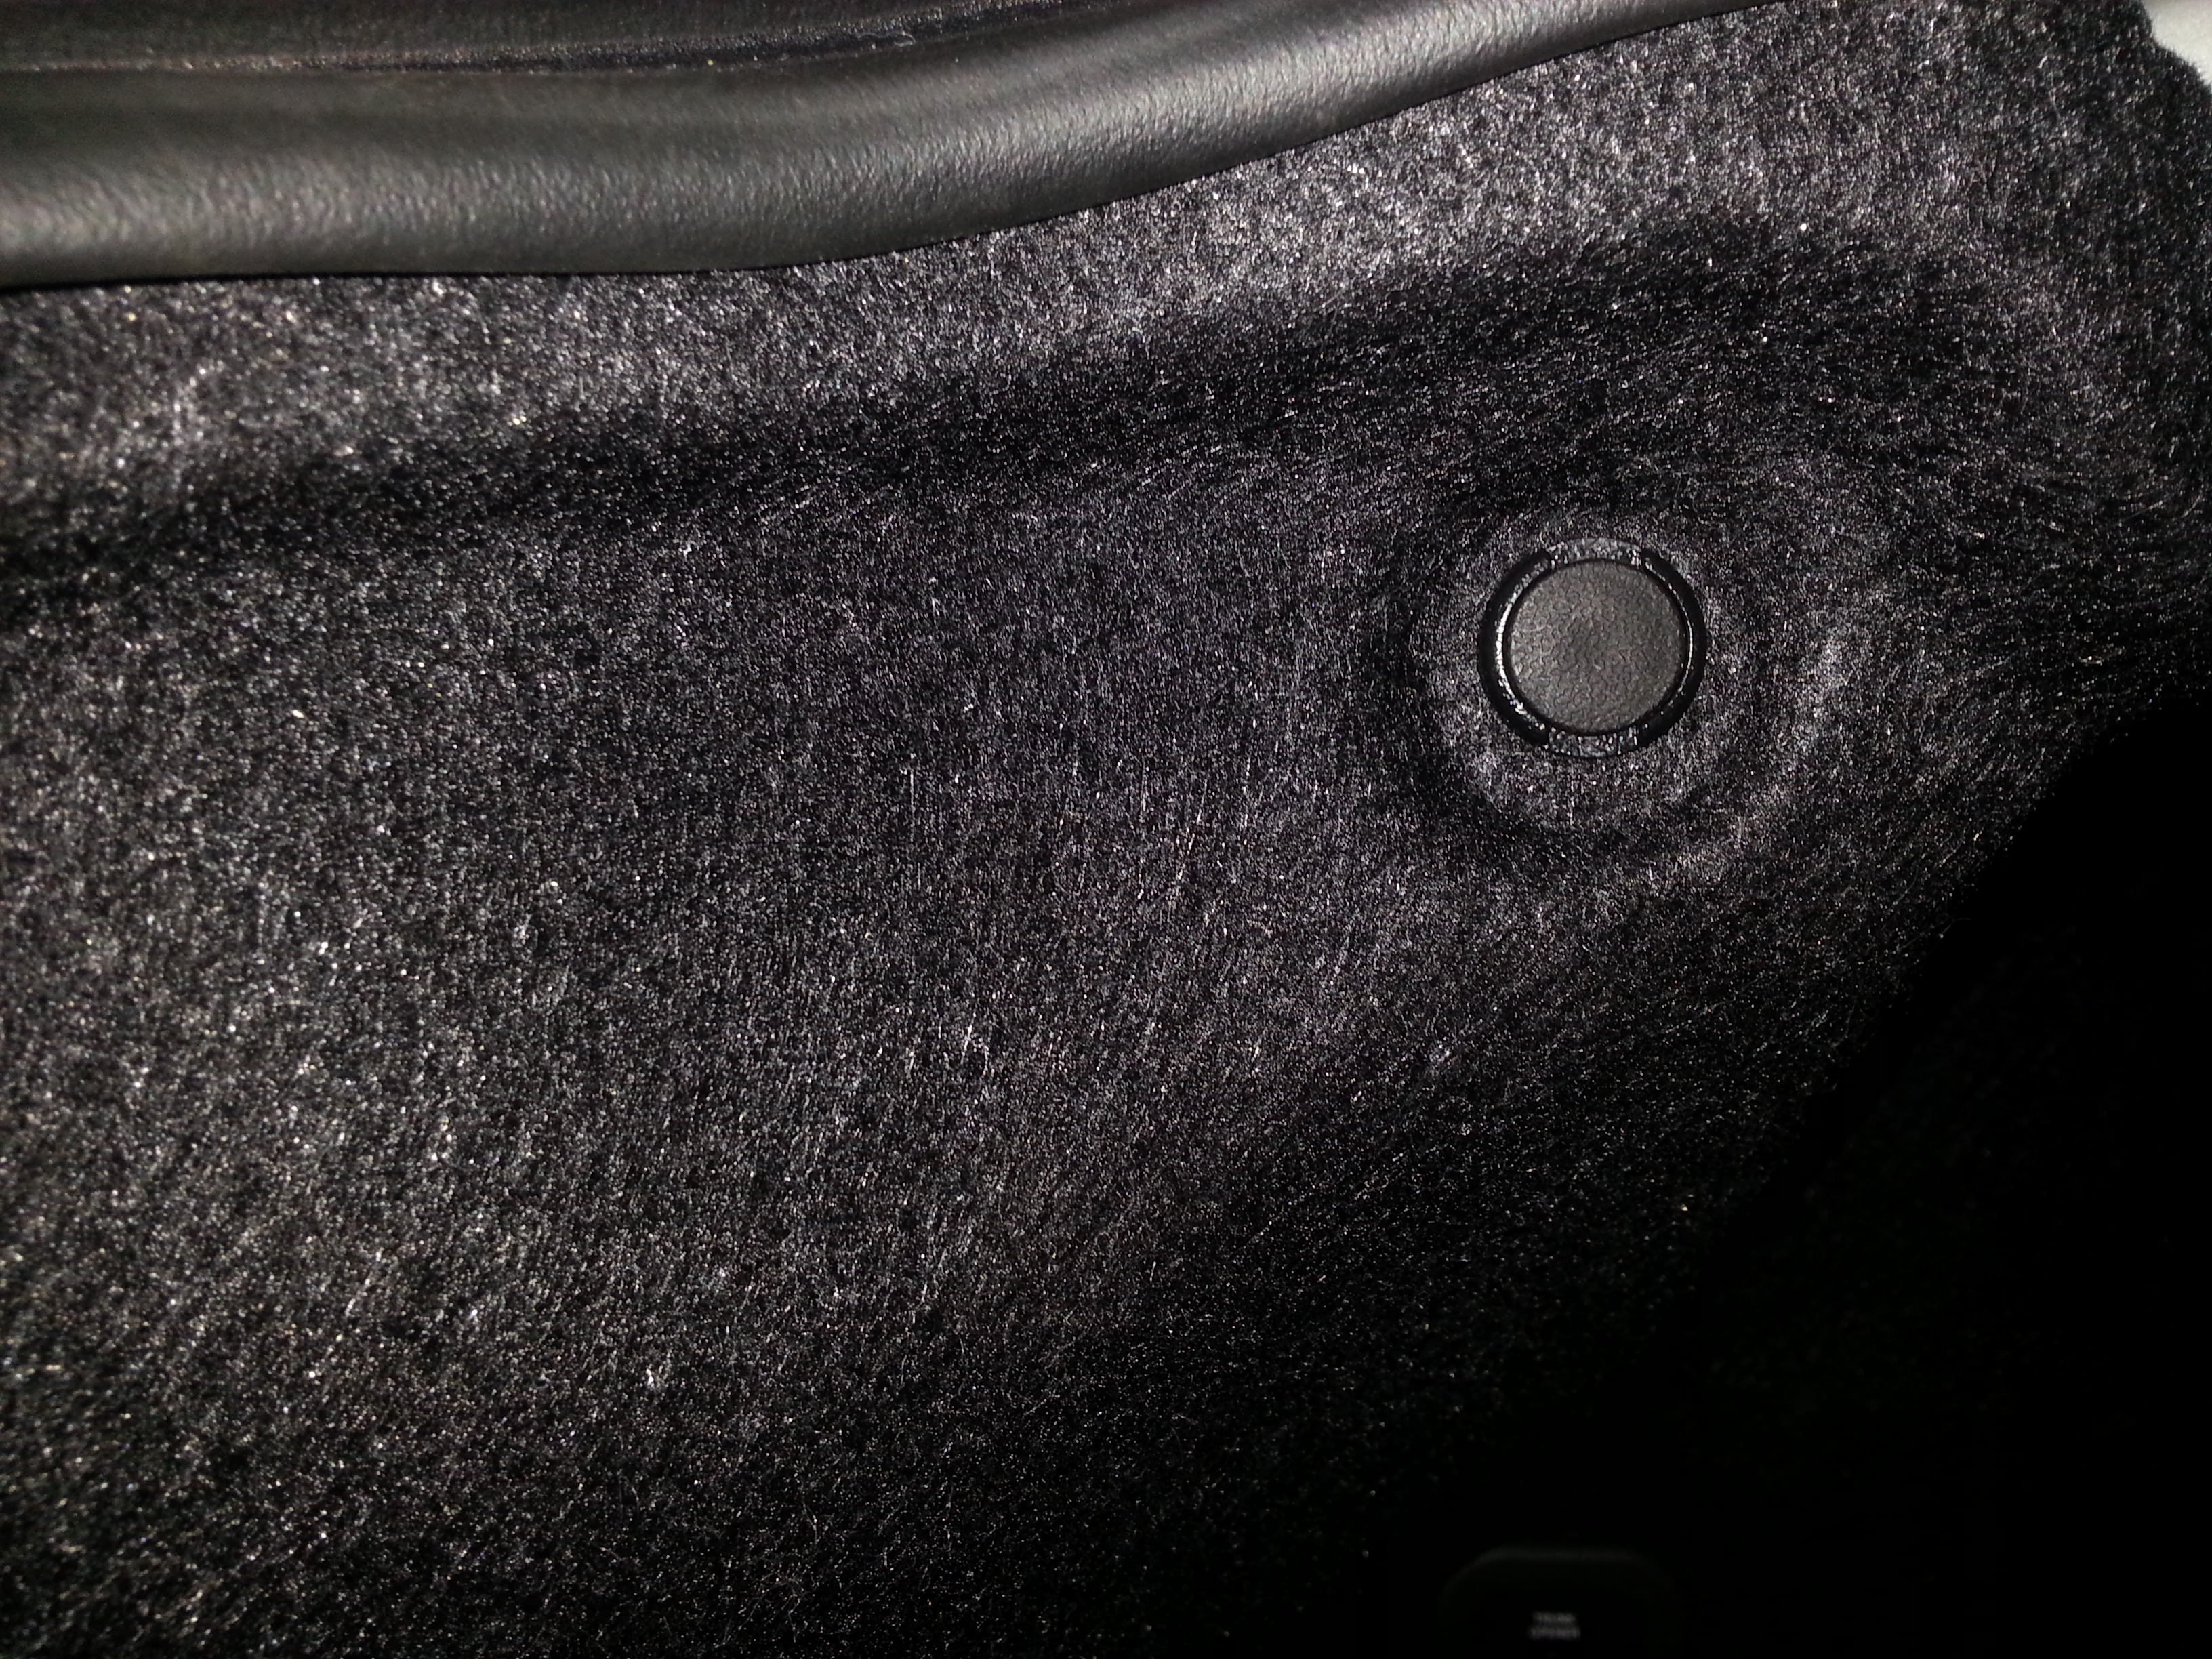
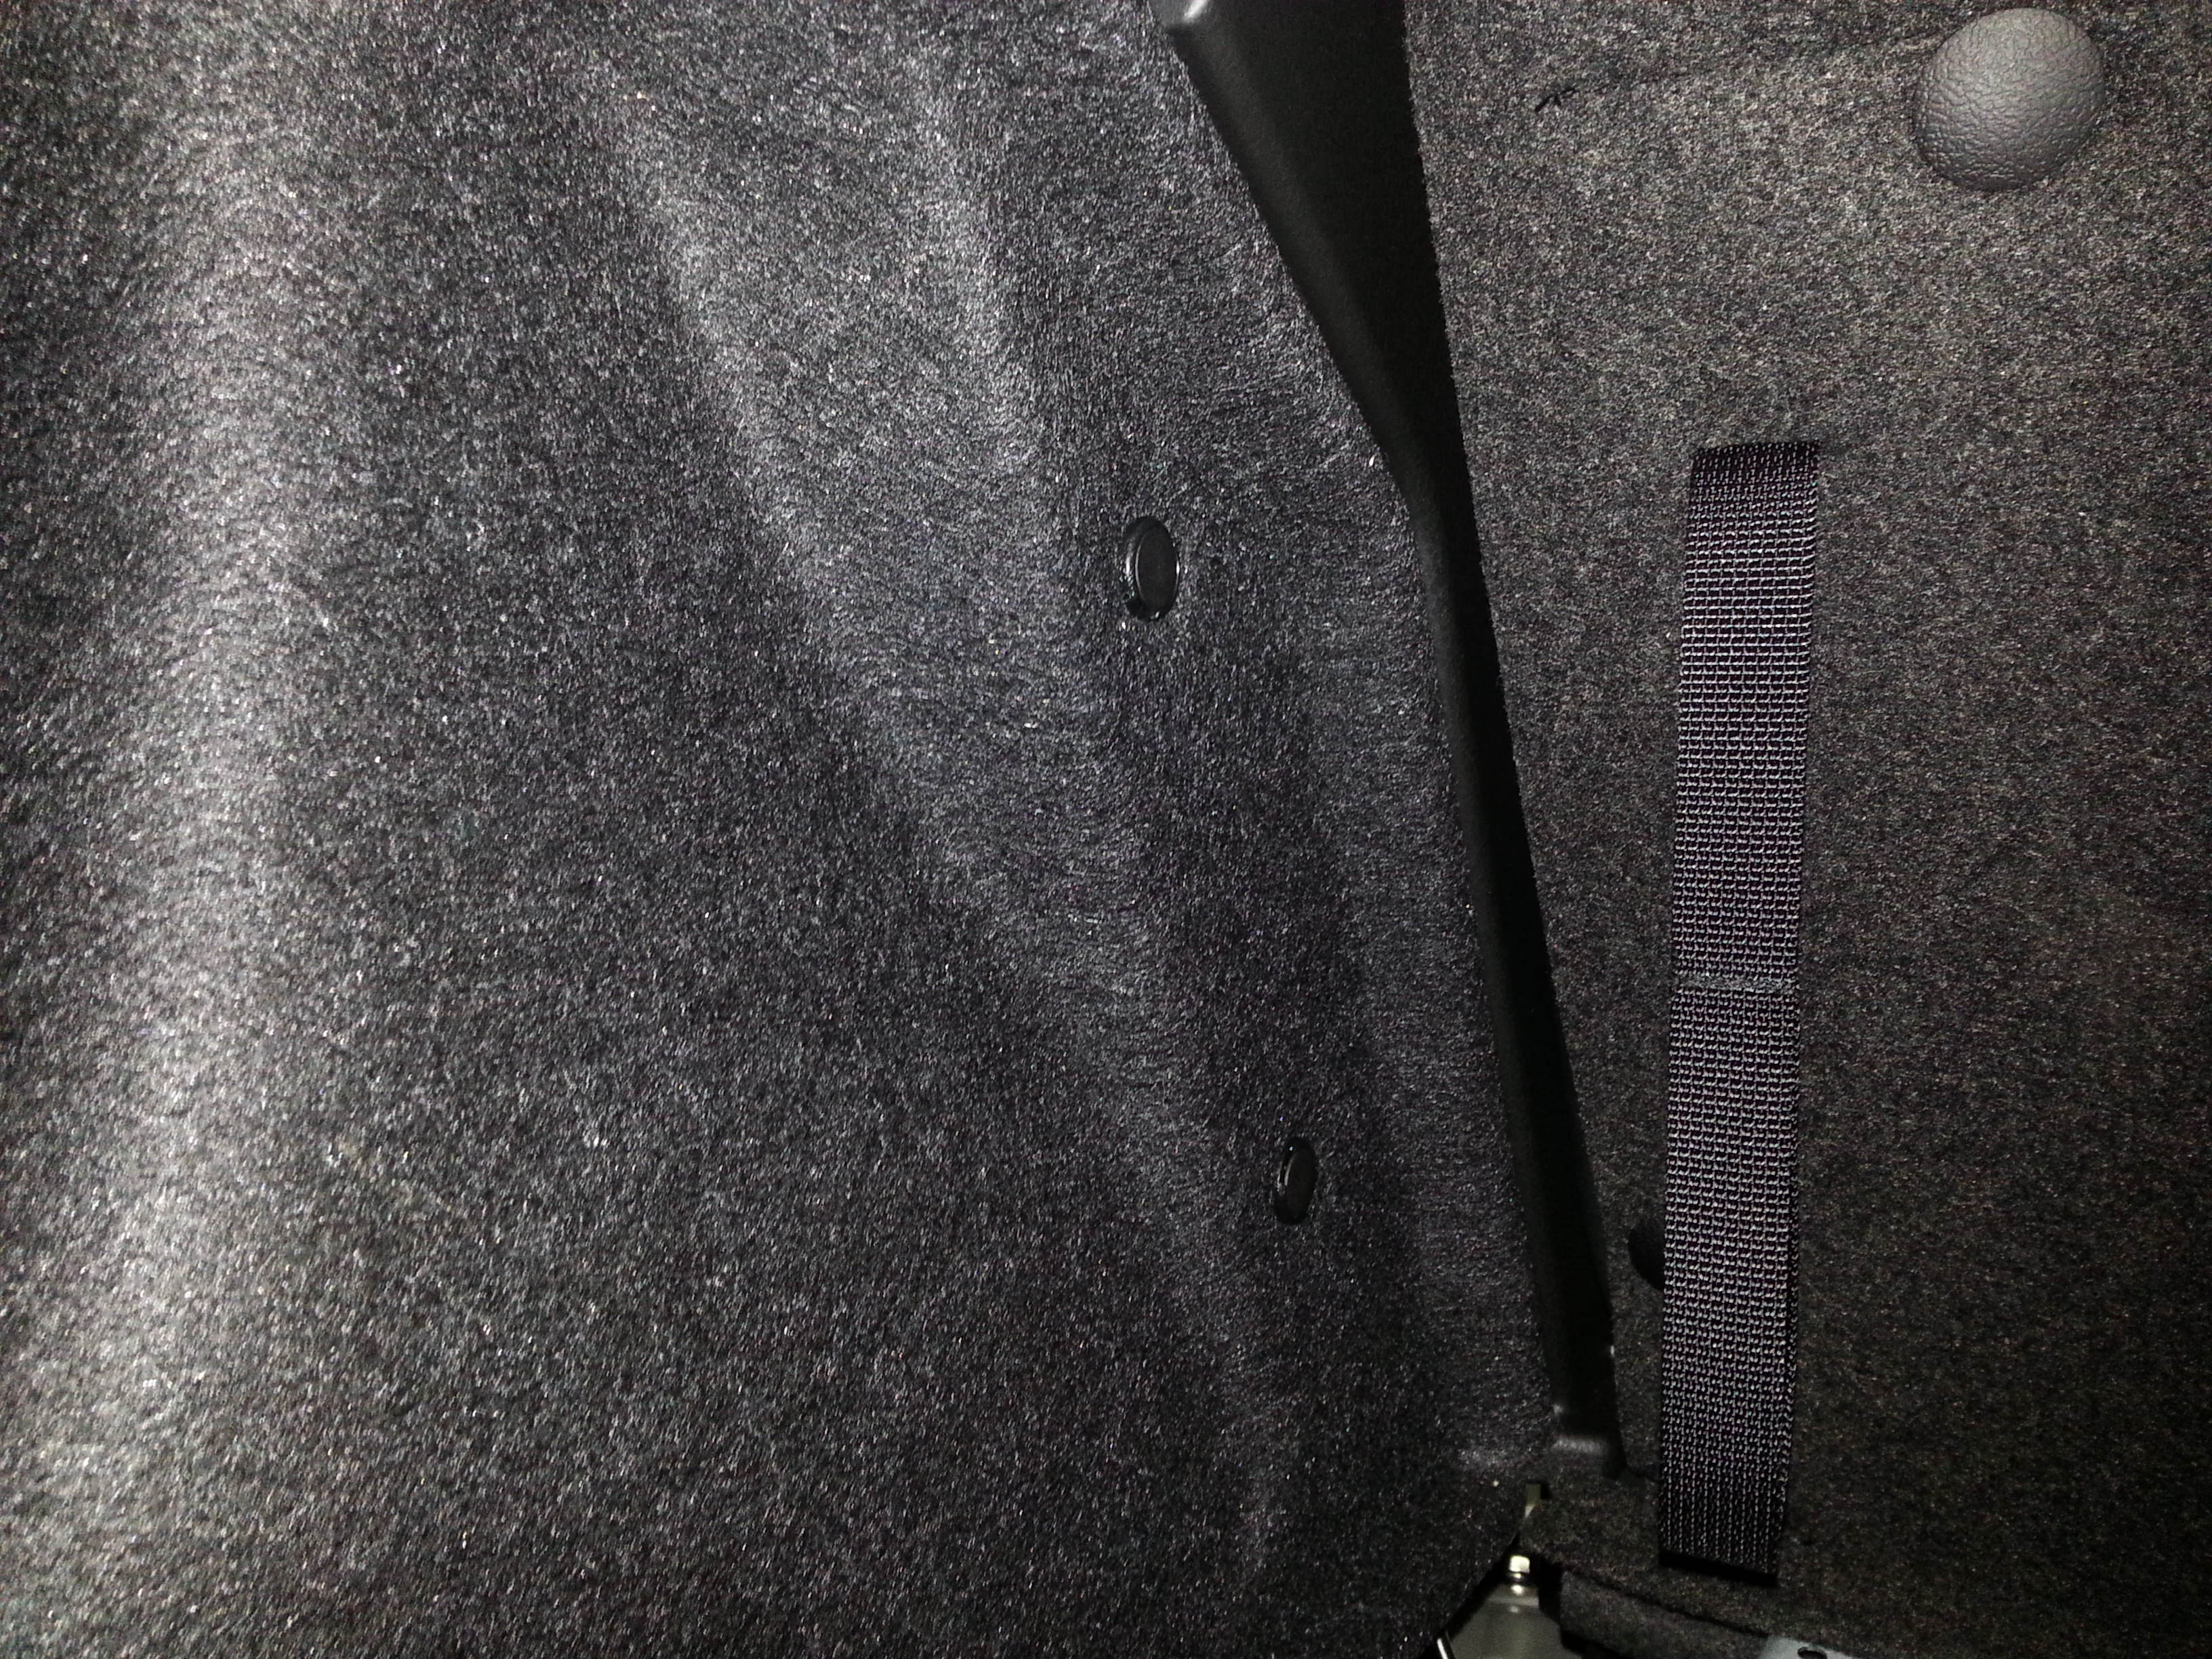
 Now we need to remove the wheel tub covers. More push lock units, 5 per piece if I remember correctly.
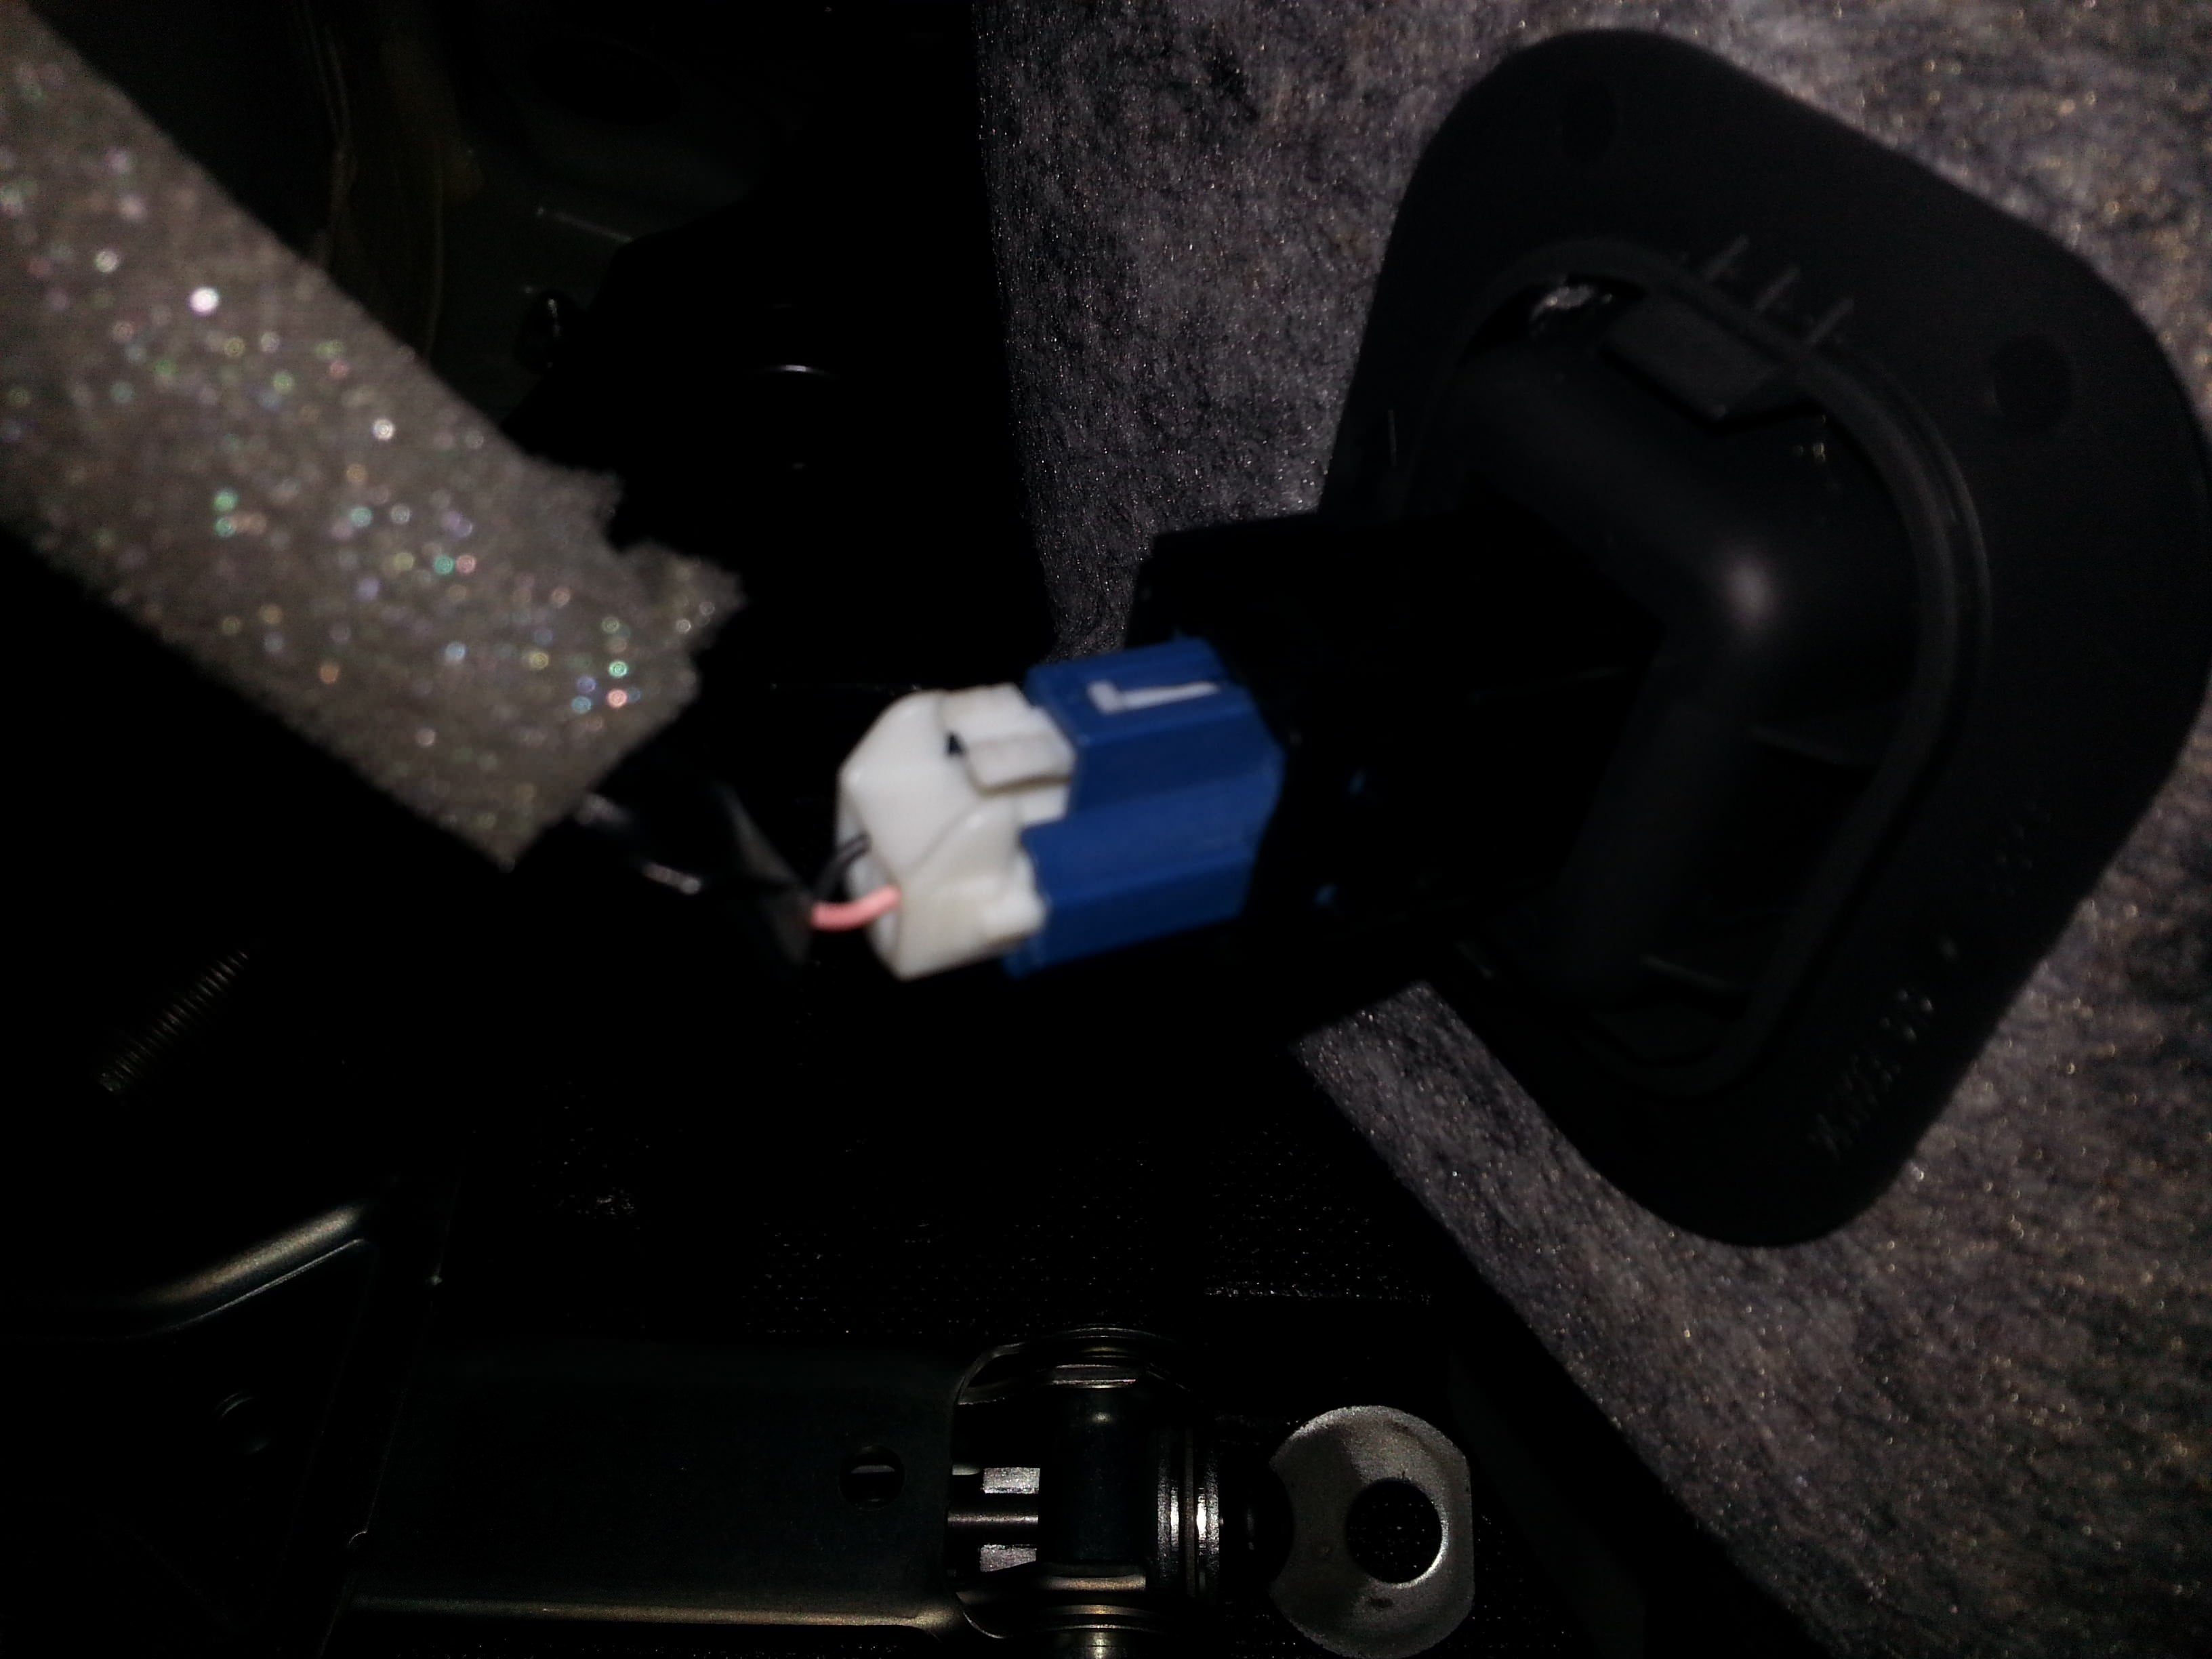
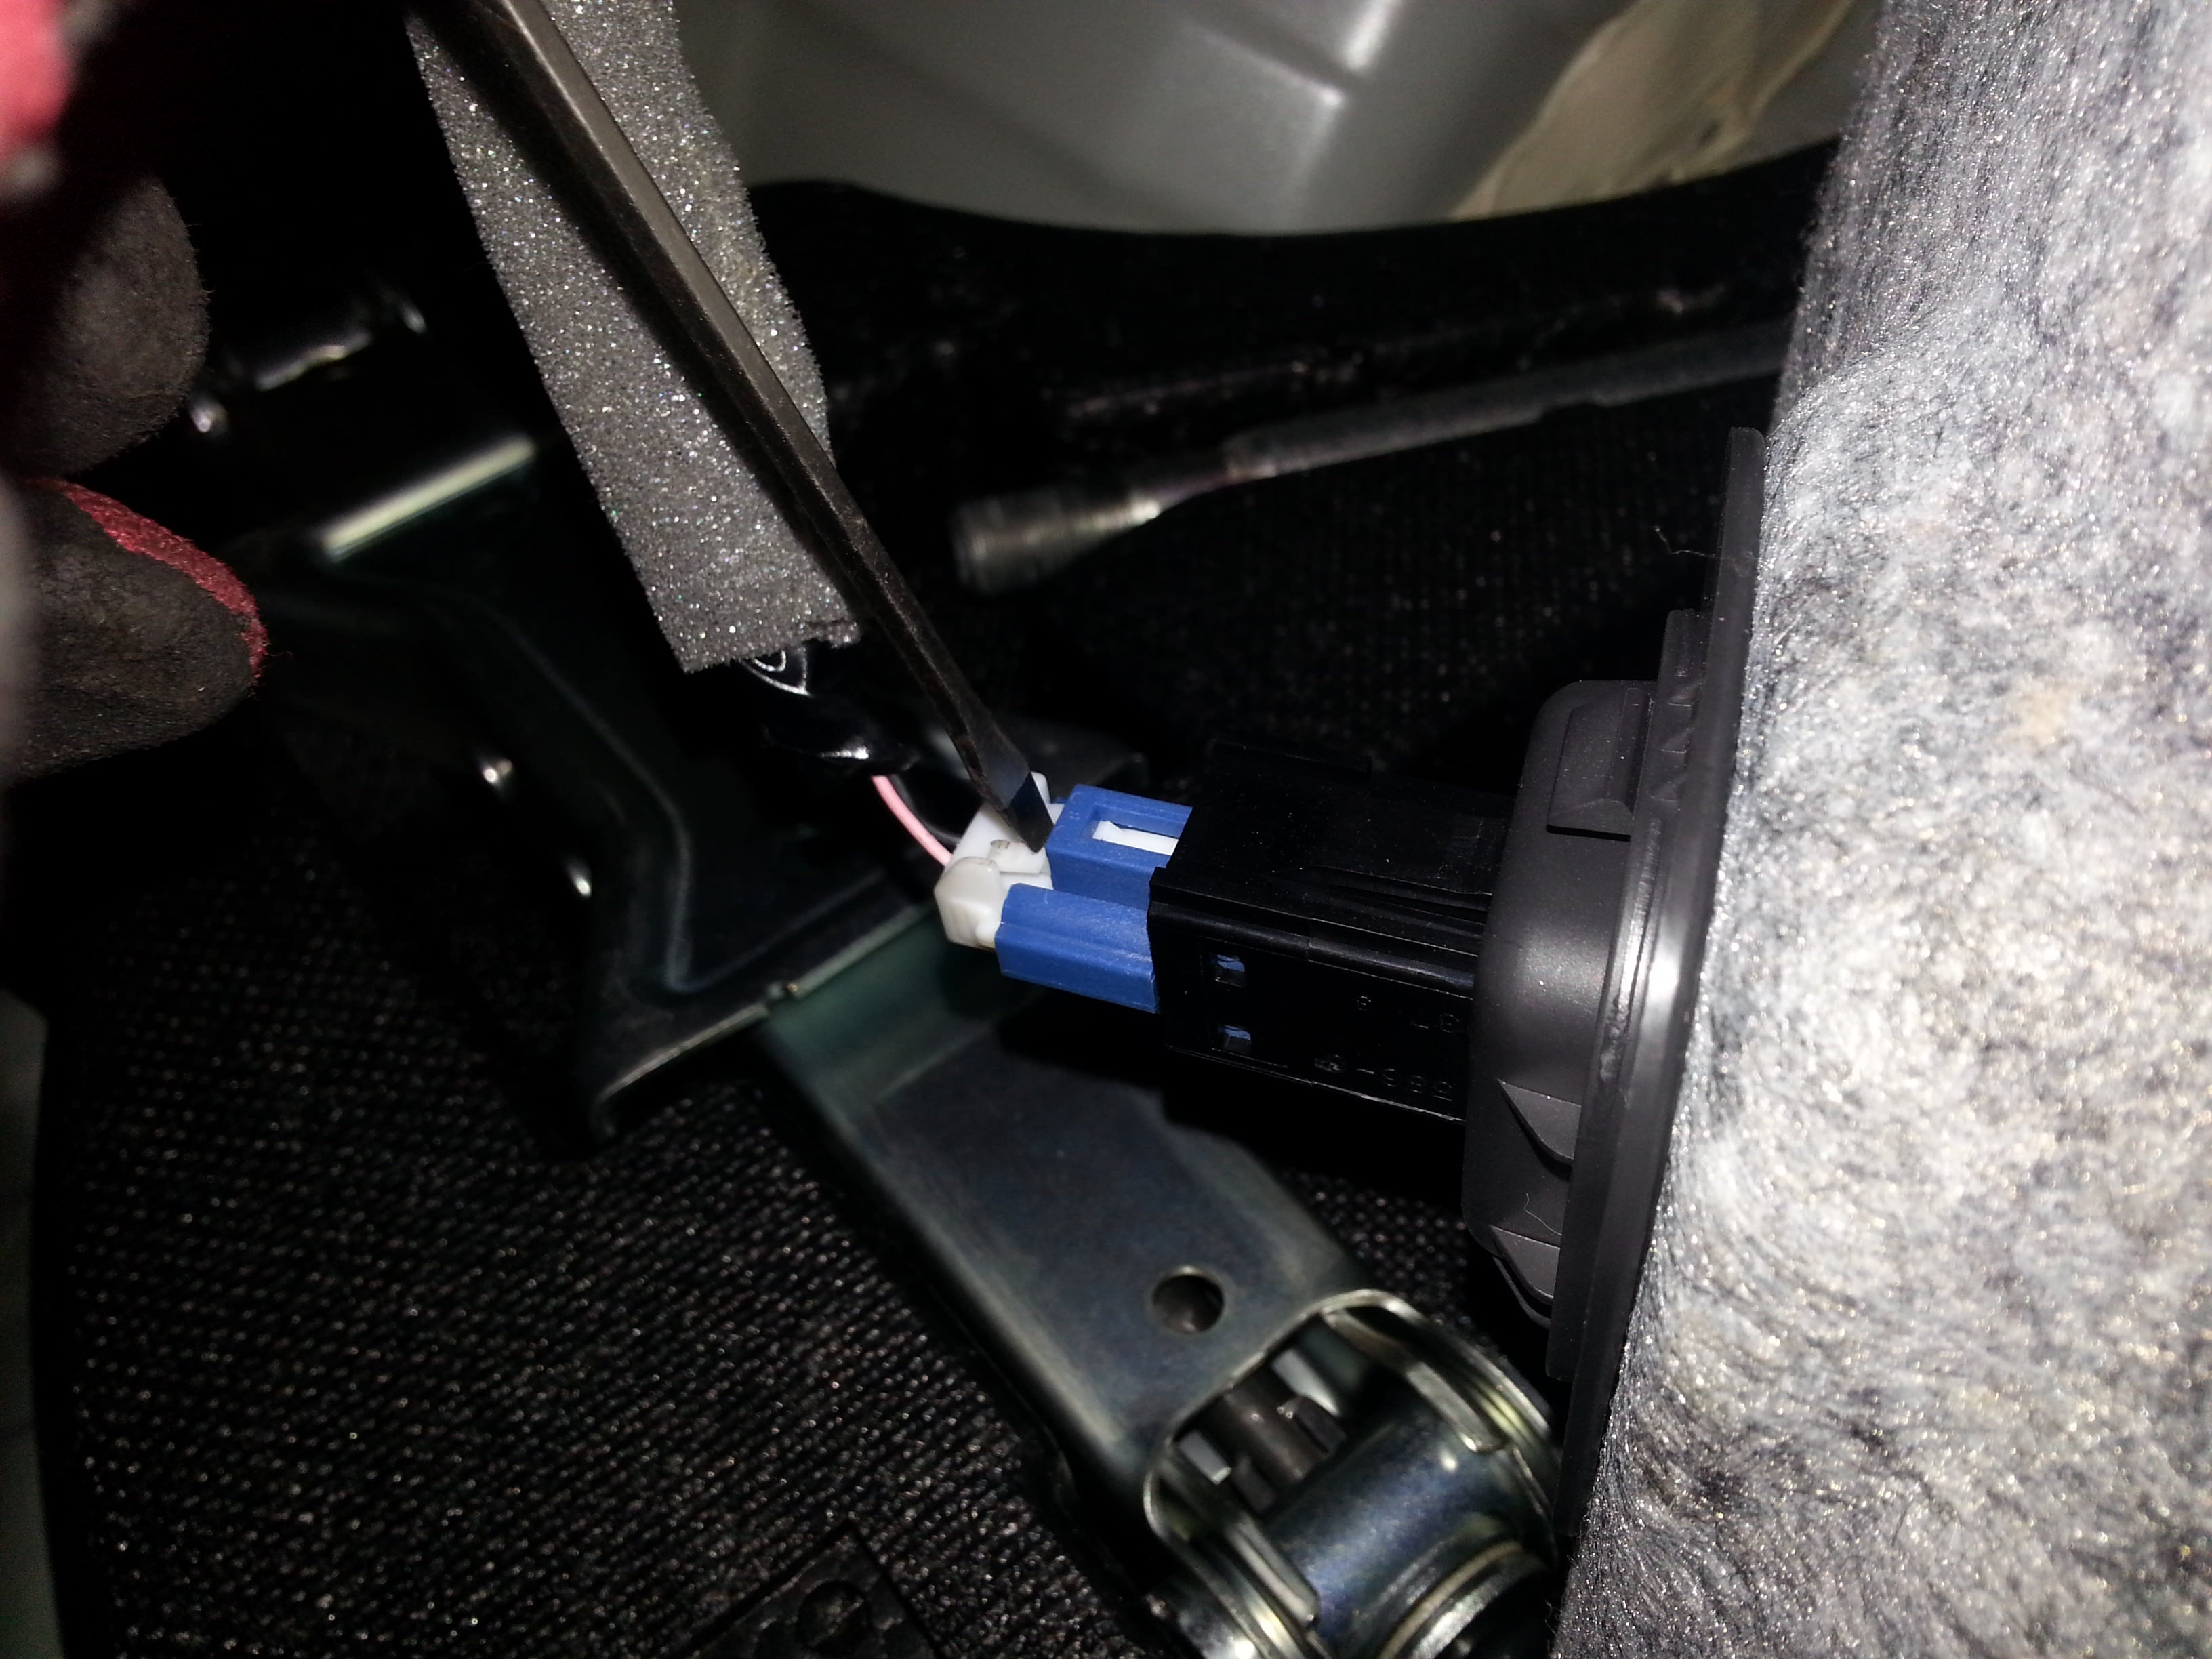
 The Trunk Release Cancellation button will stay with the trim when you pull that out, but we need to disconnect the connector. Grab your small screwdriver again, and push down on the white tab while pulling it away from the blue female connector.
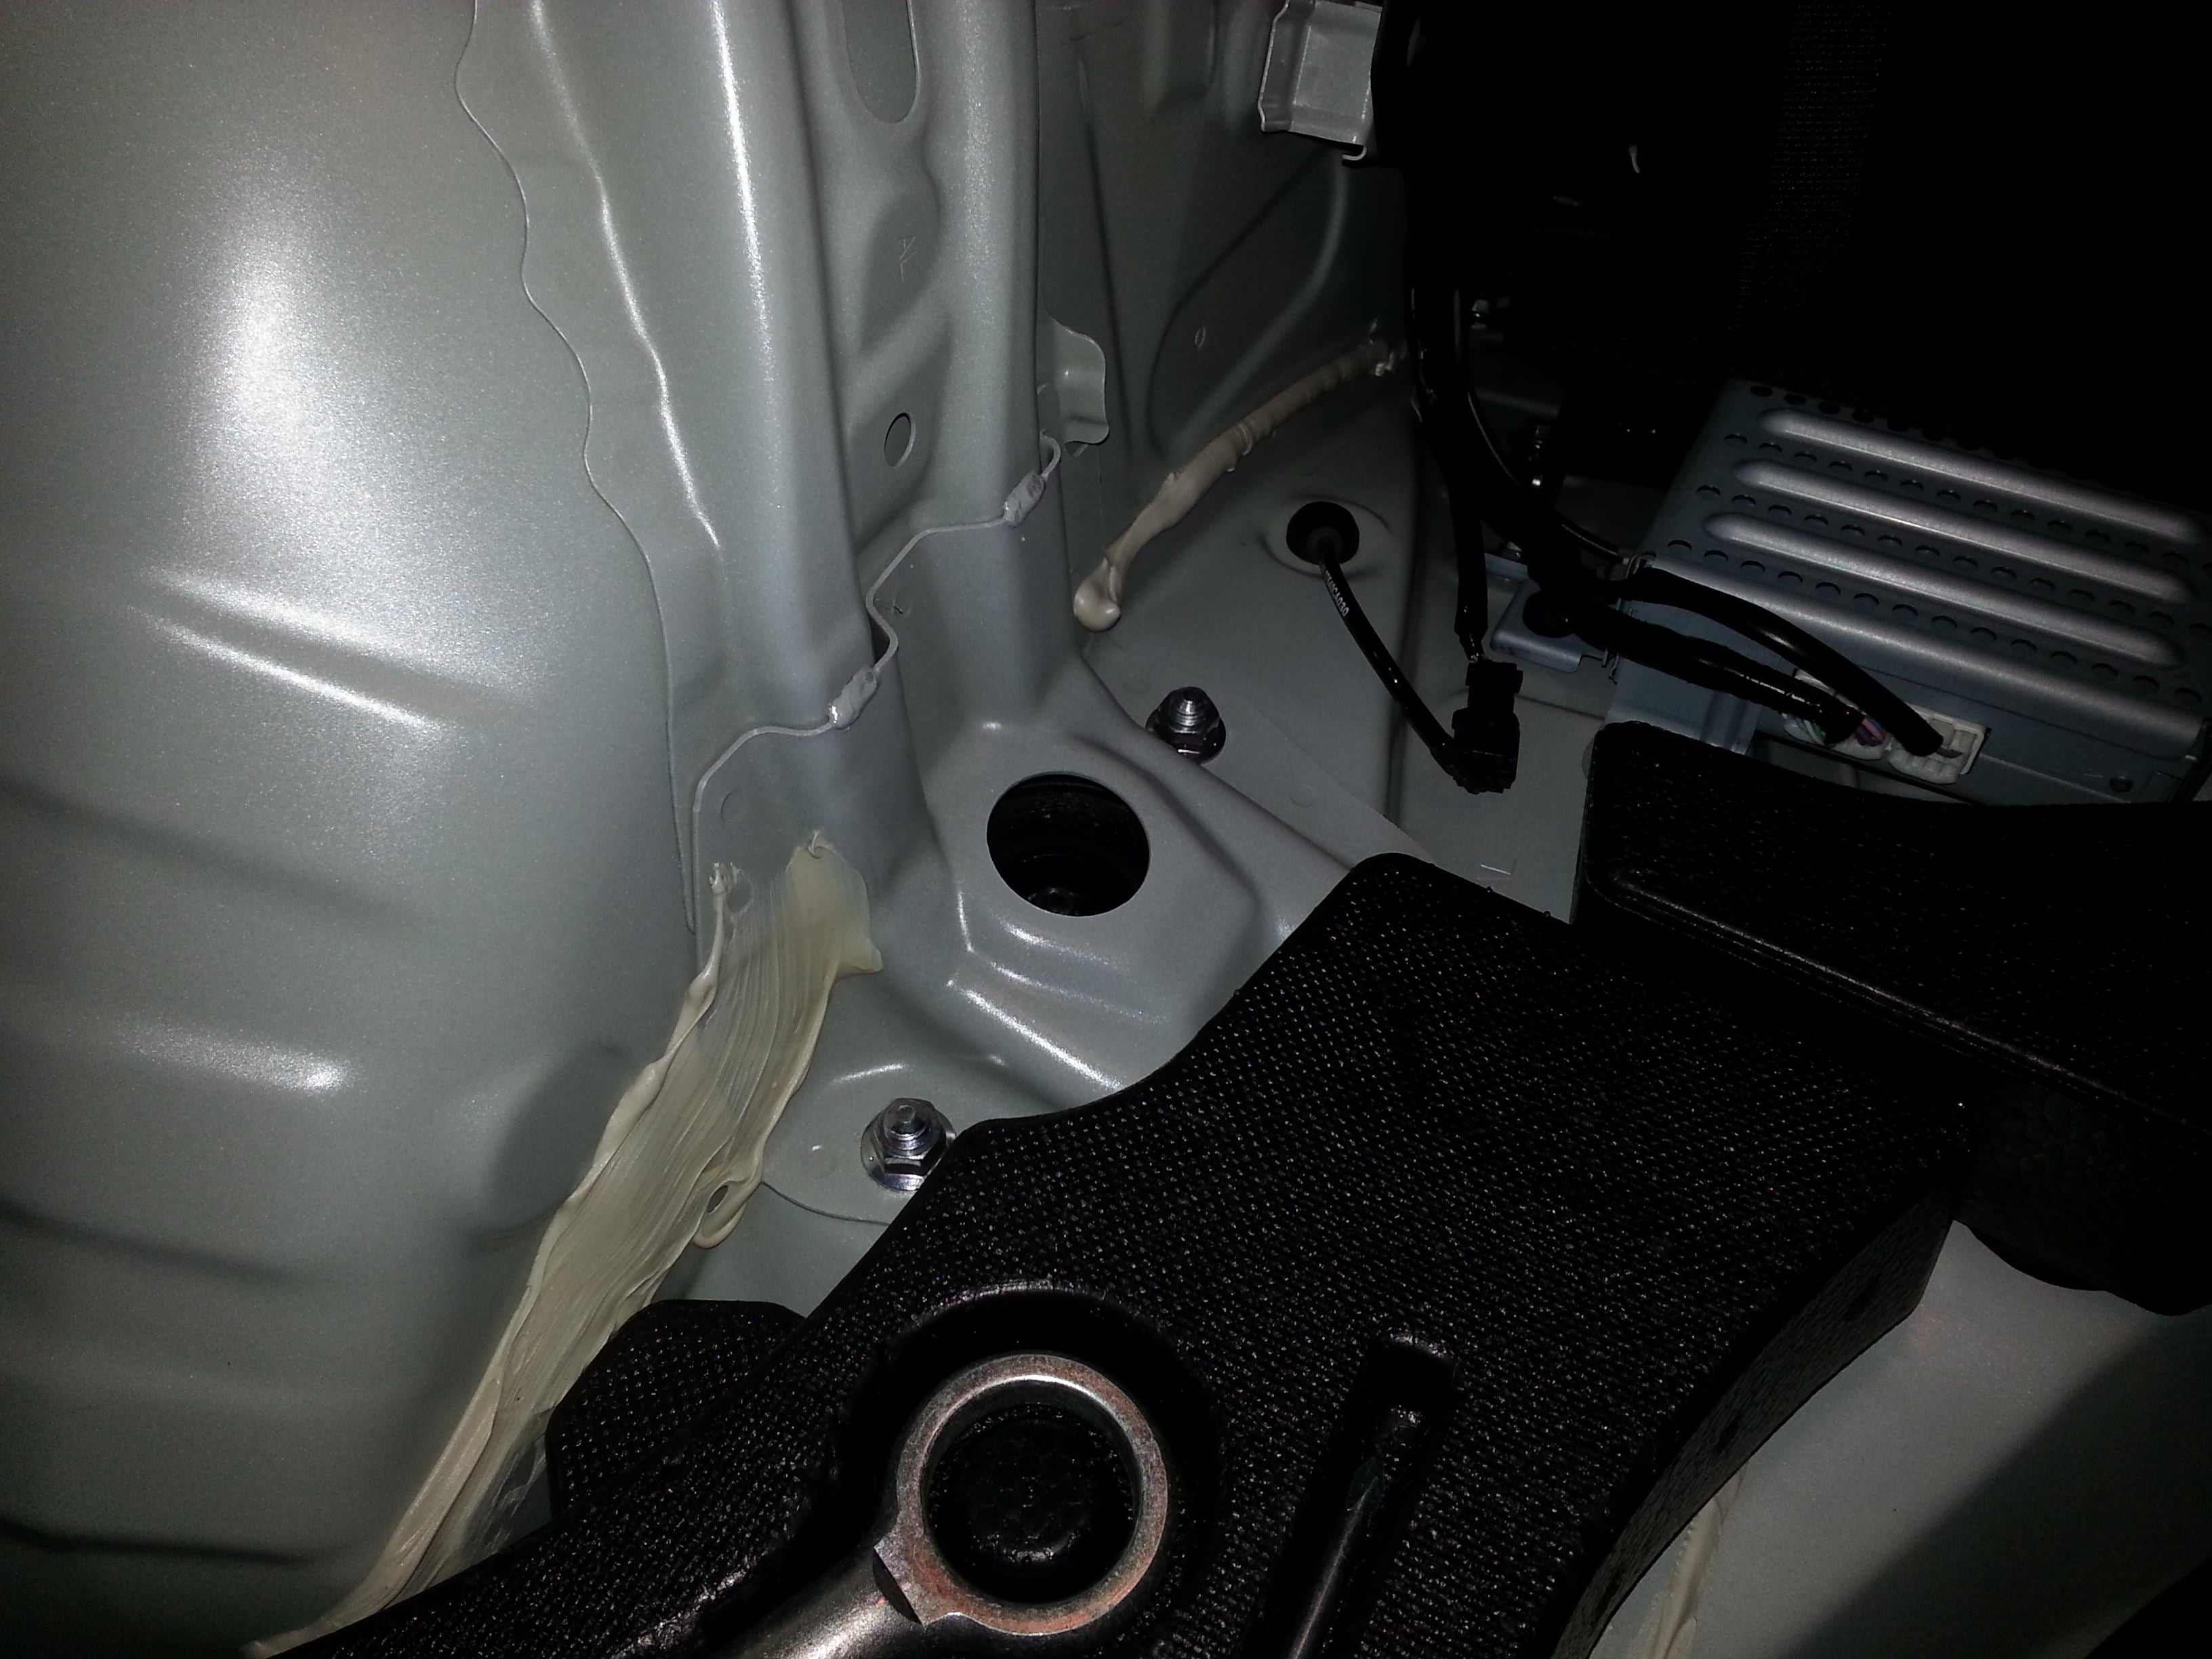
 You can take out your trunk tools if you decide to, but I left mine in because they're not in the way at all. Pictured are the two upper strut nuts.
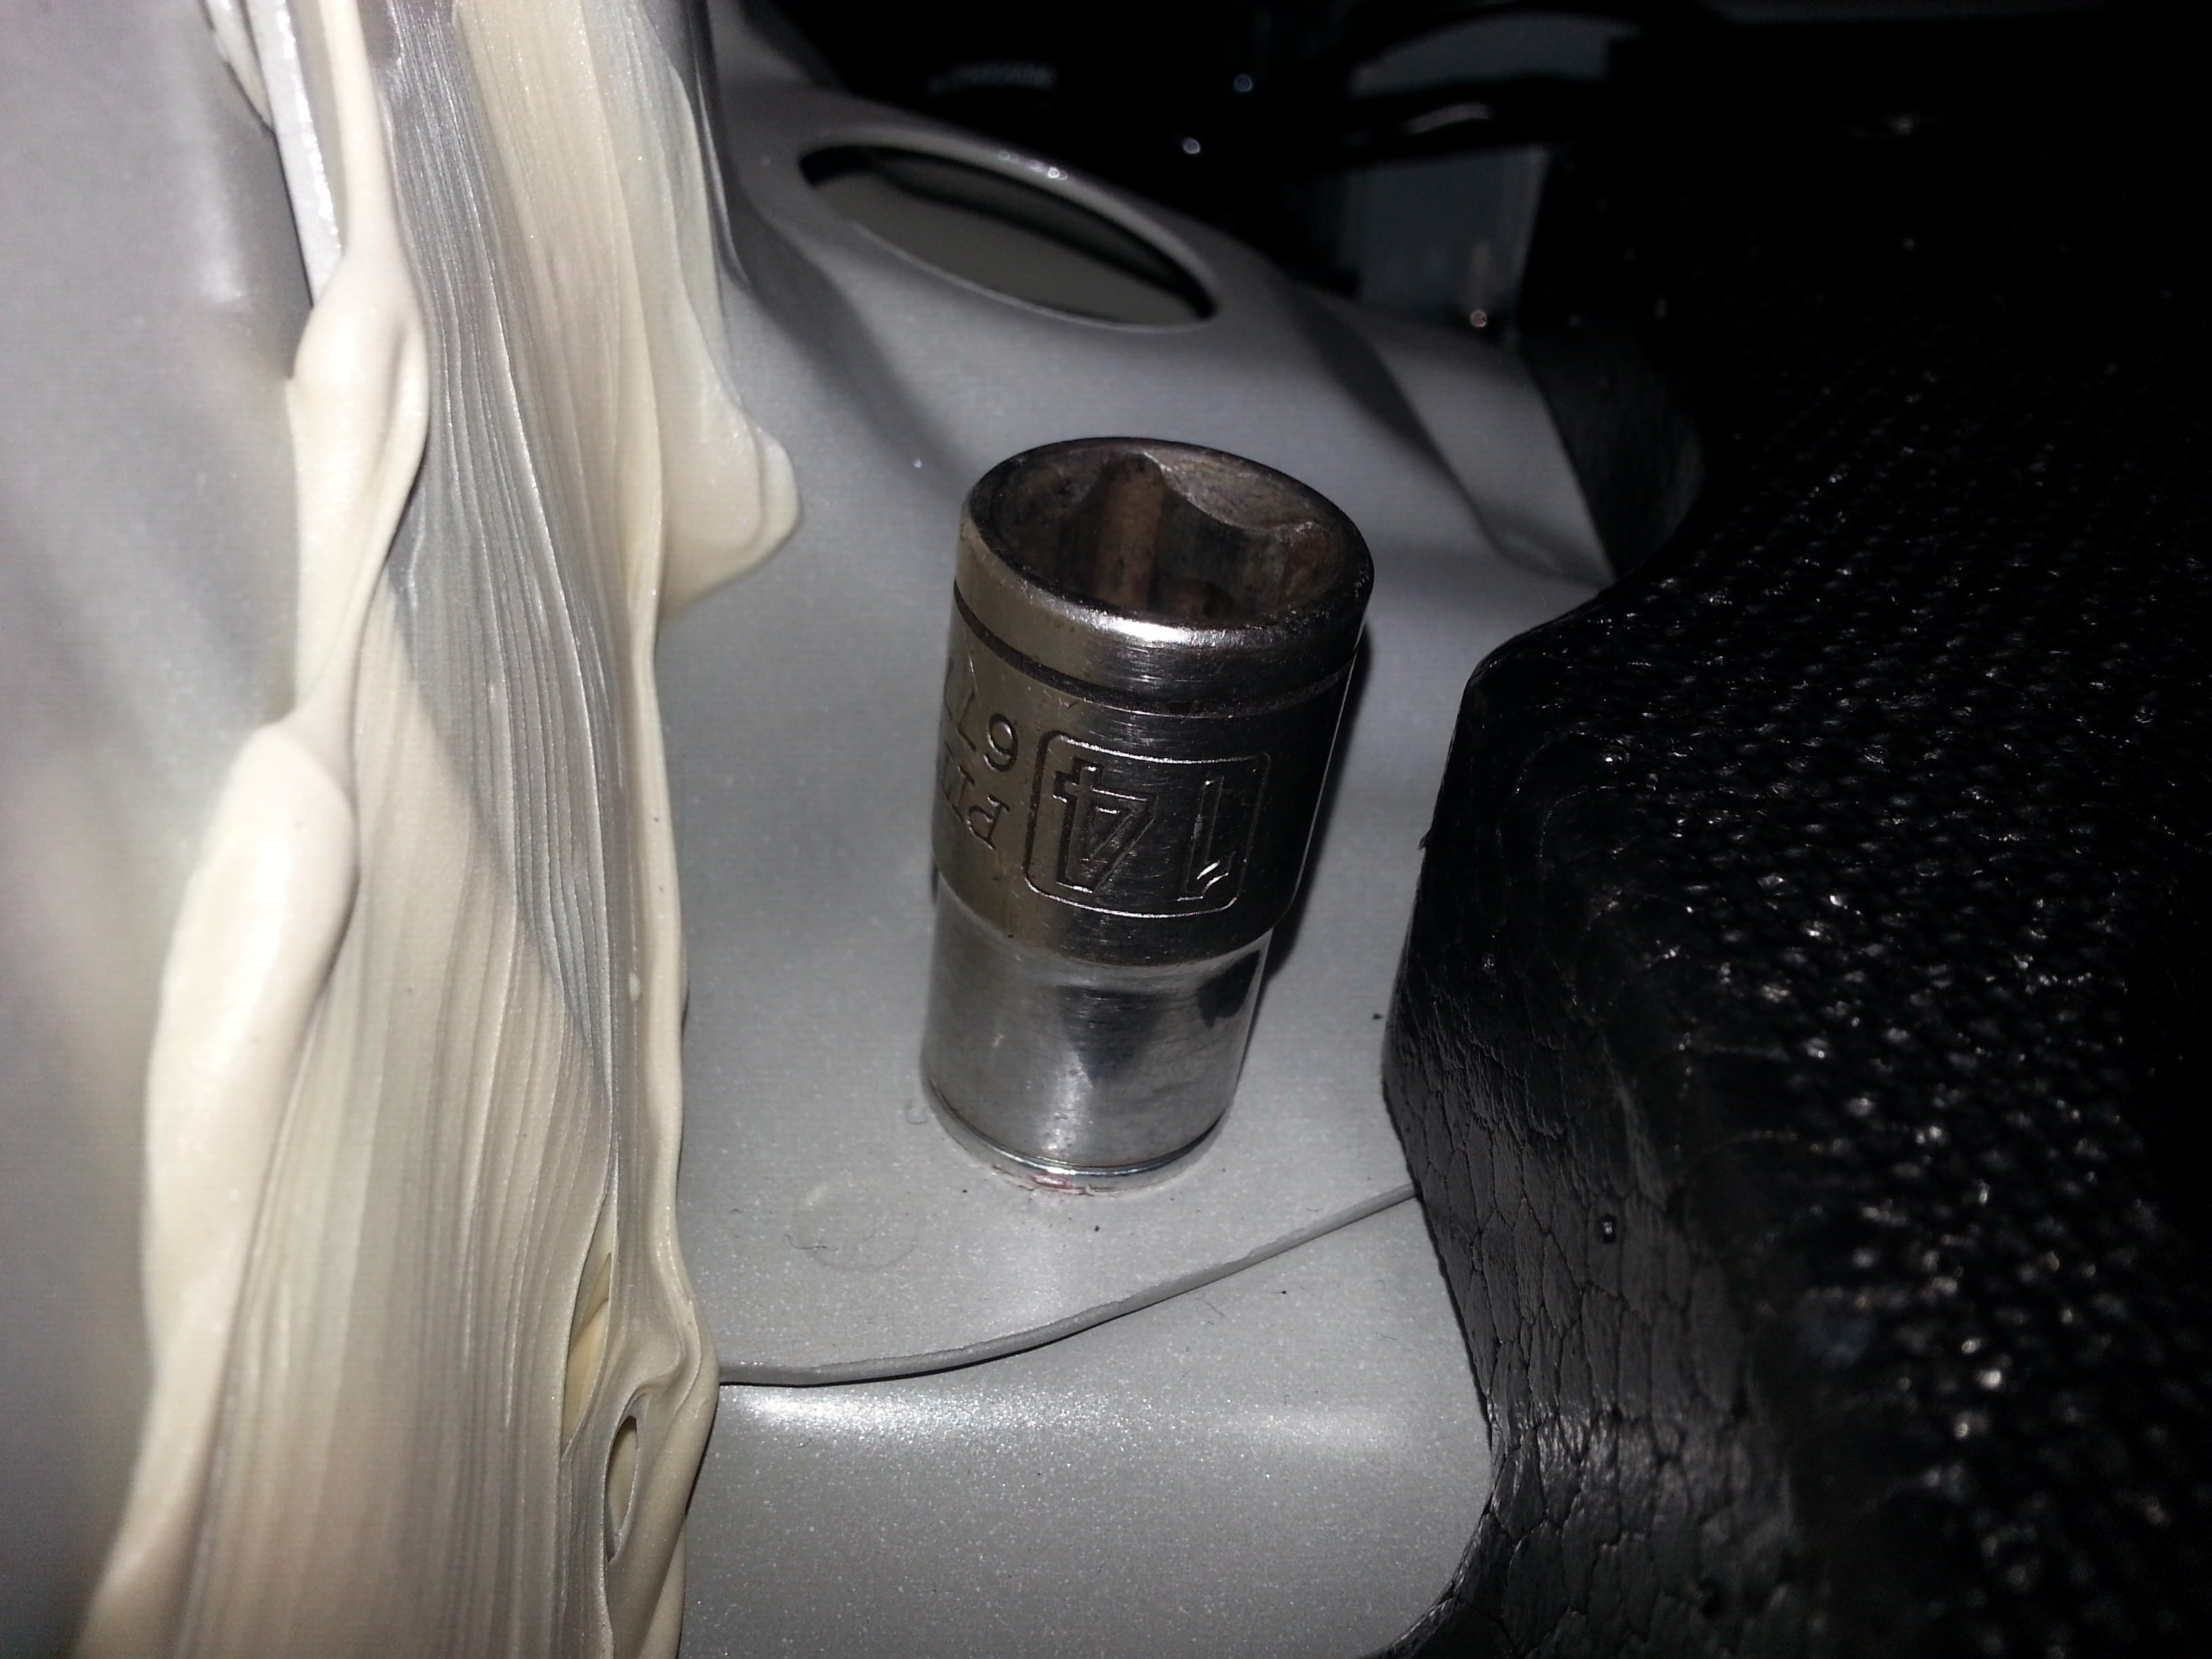
 14mm socket and ratchet, and pull the nuts all the way off.
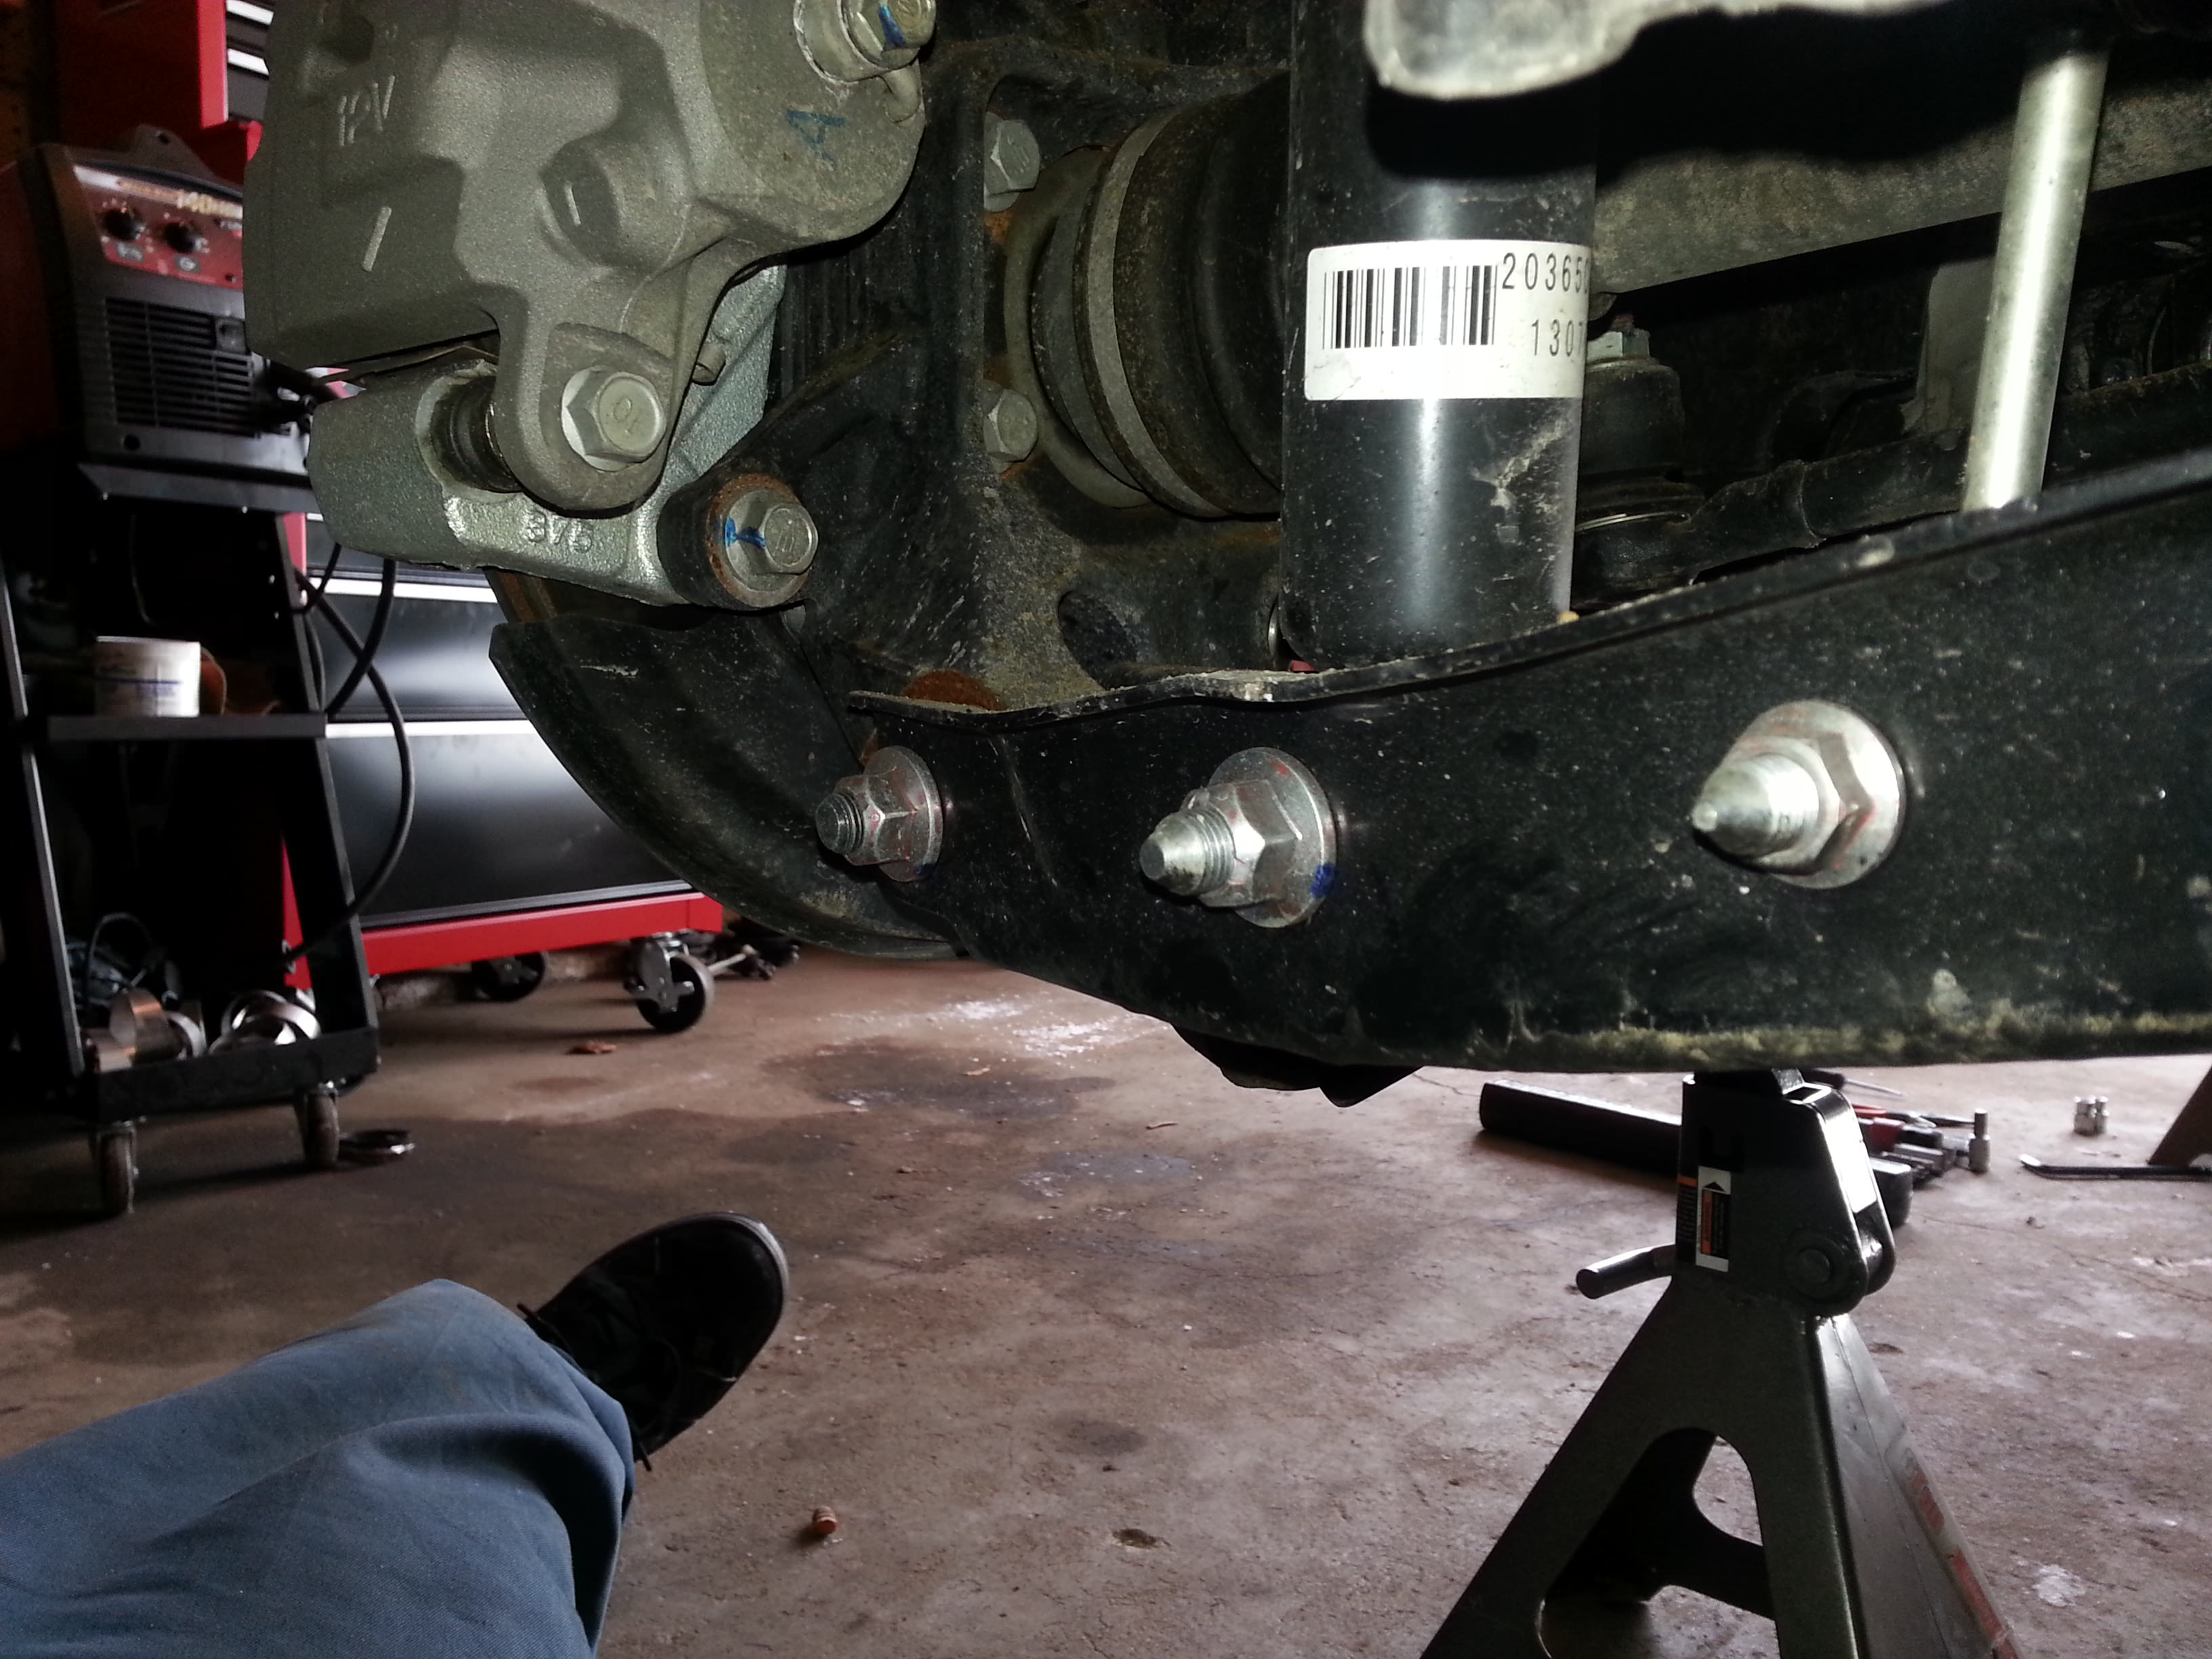
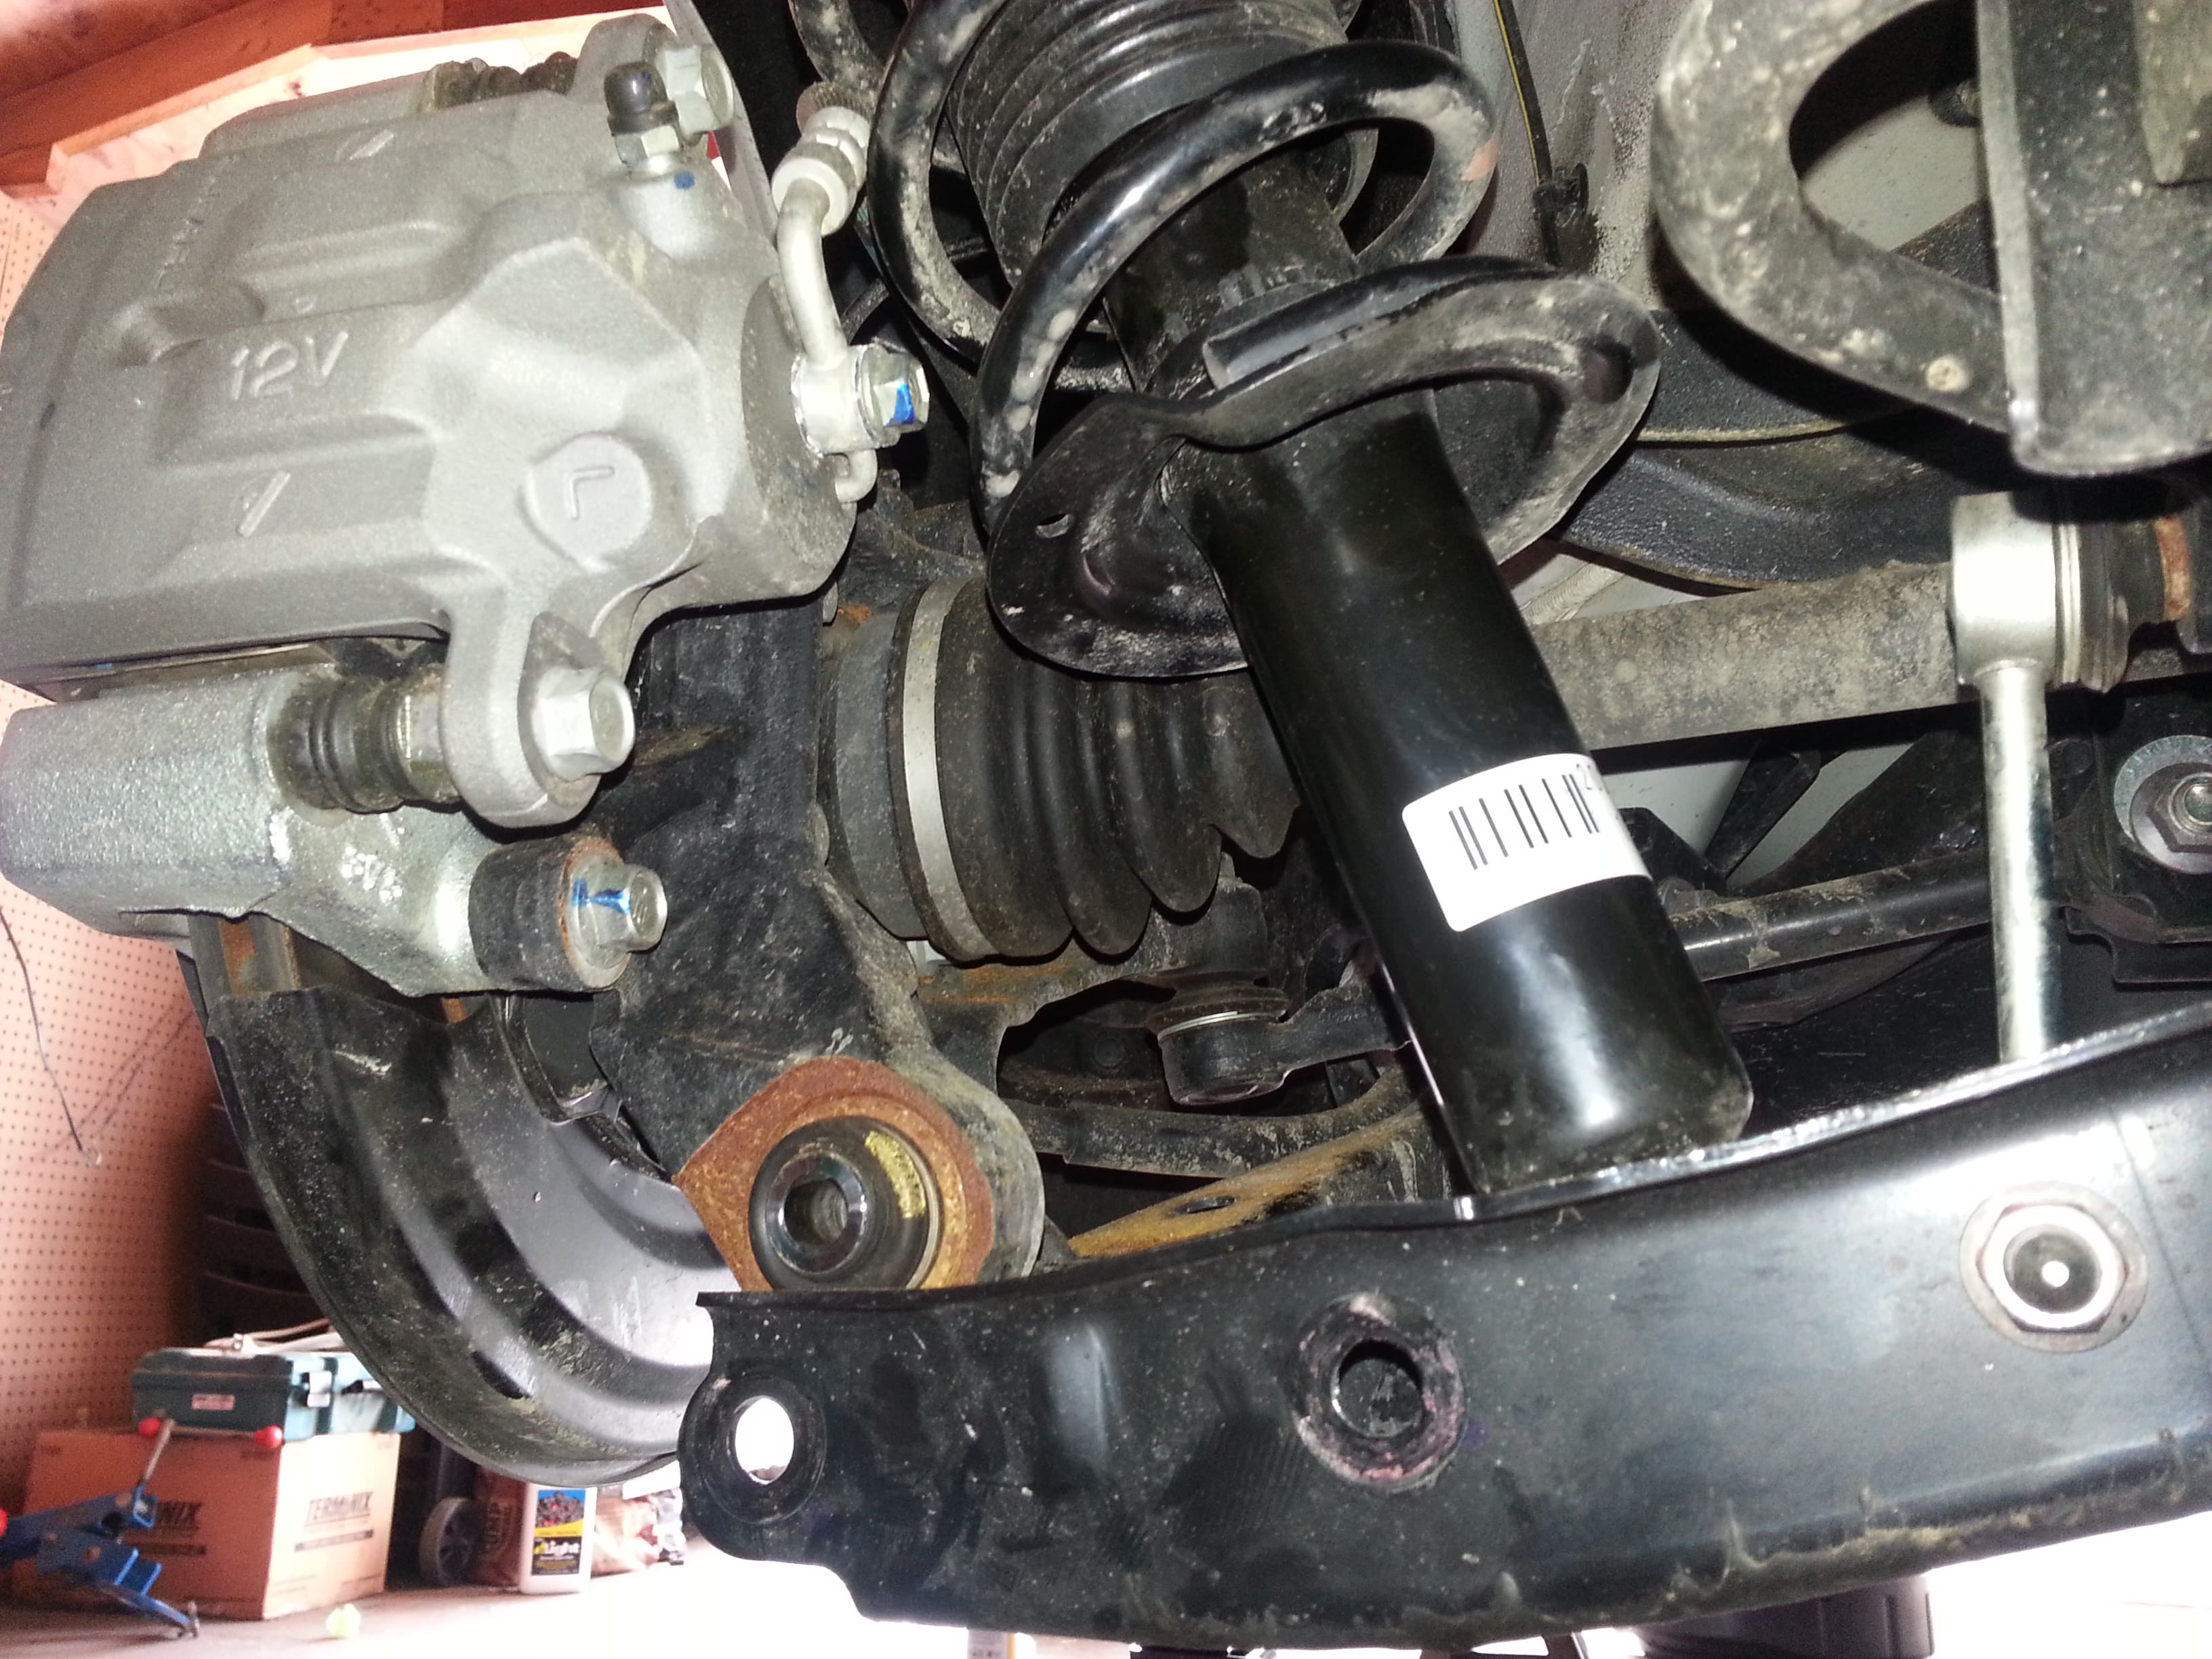
 Left (US Driver Side) lower control arm pictured. Working from left to right: LCA-to-knuckle bolt, strut bolt, sway bar end link bolt.
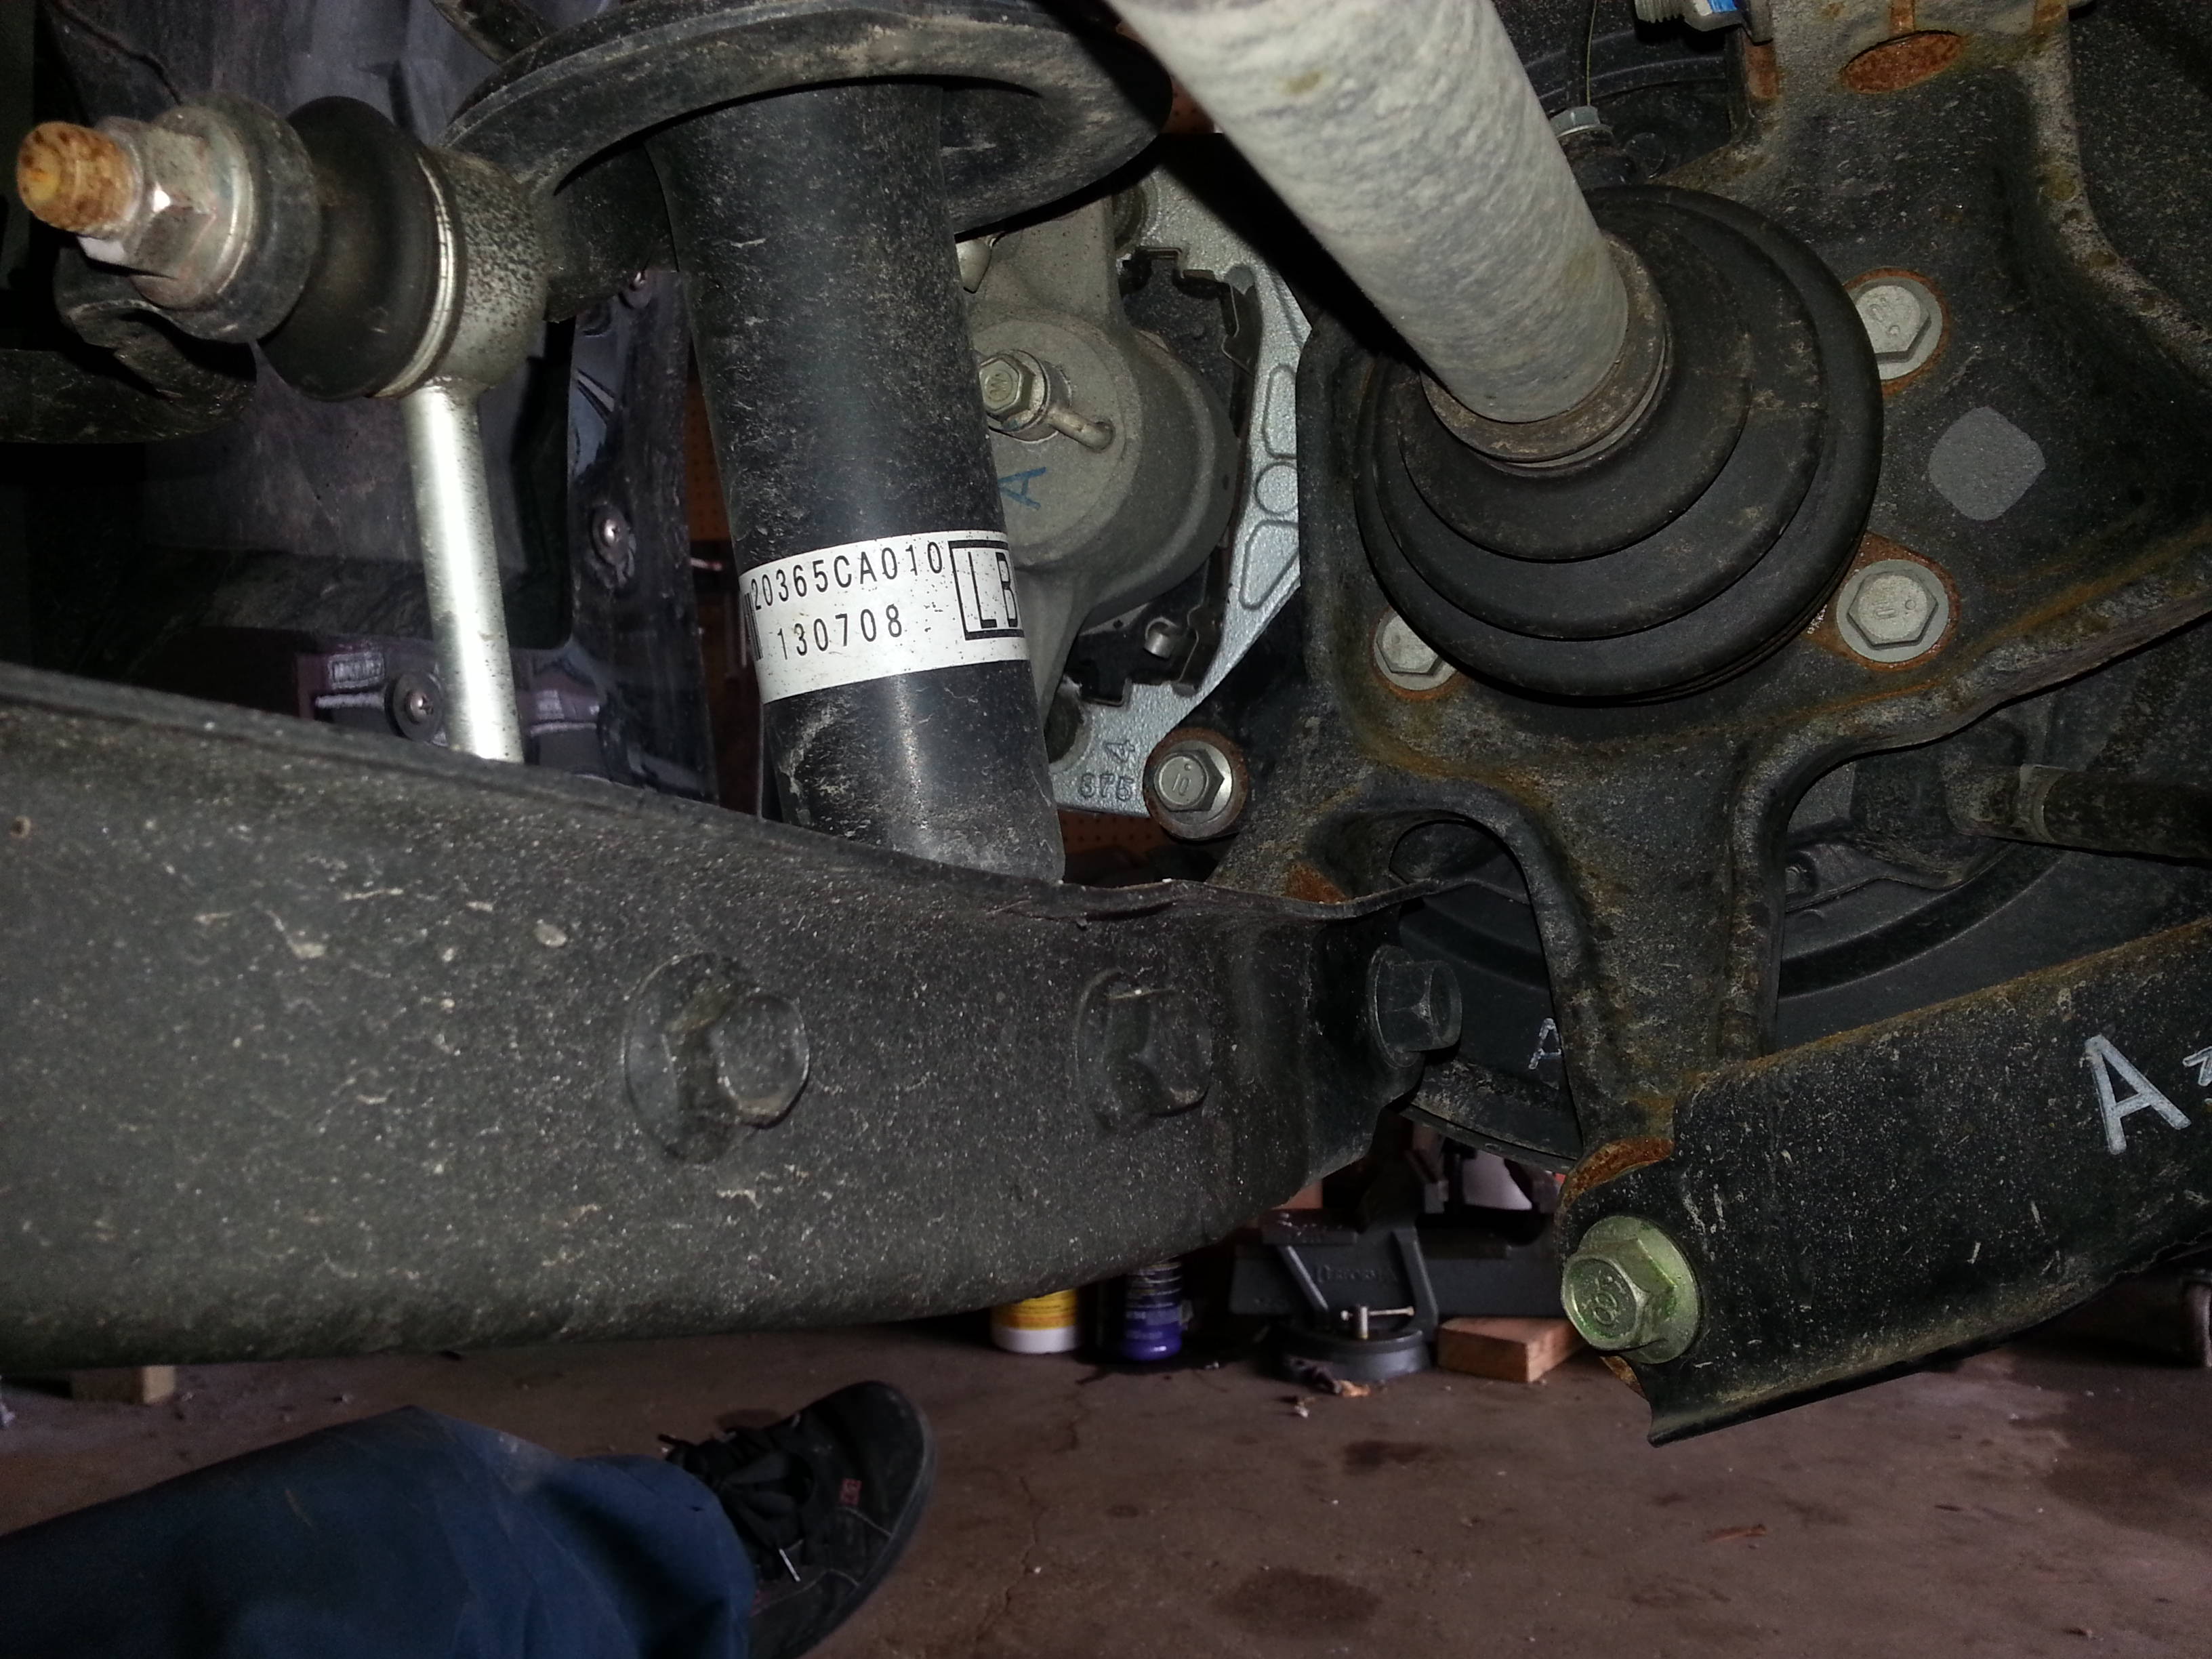
 Front of the same side/control arm.
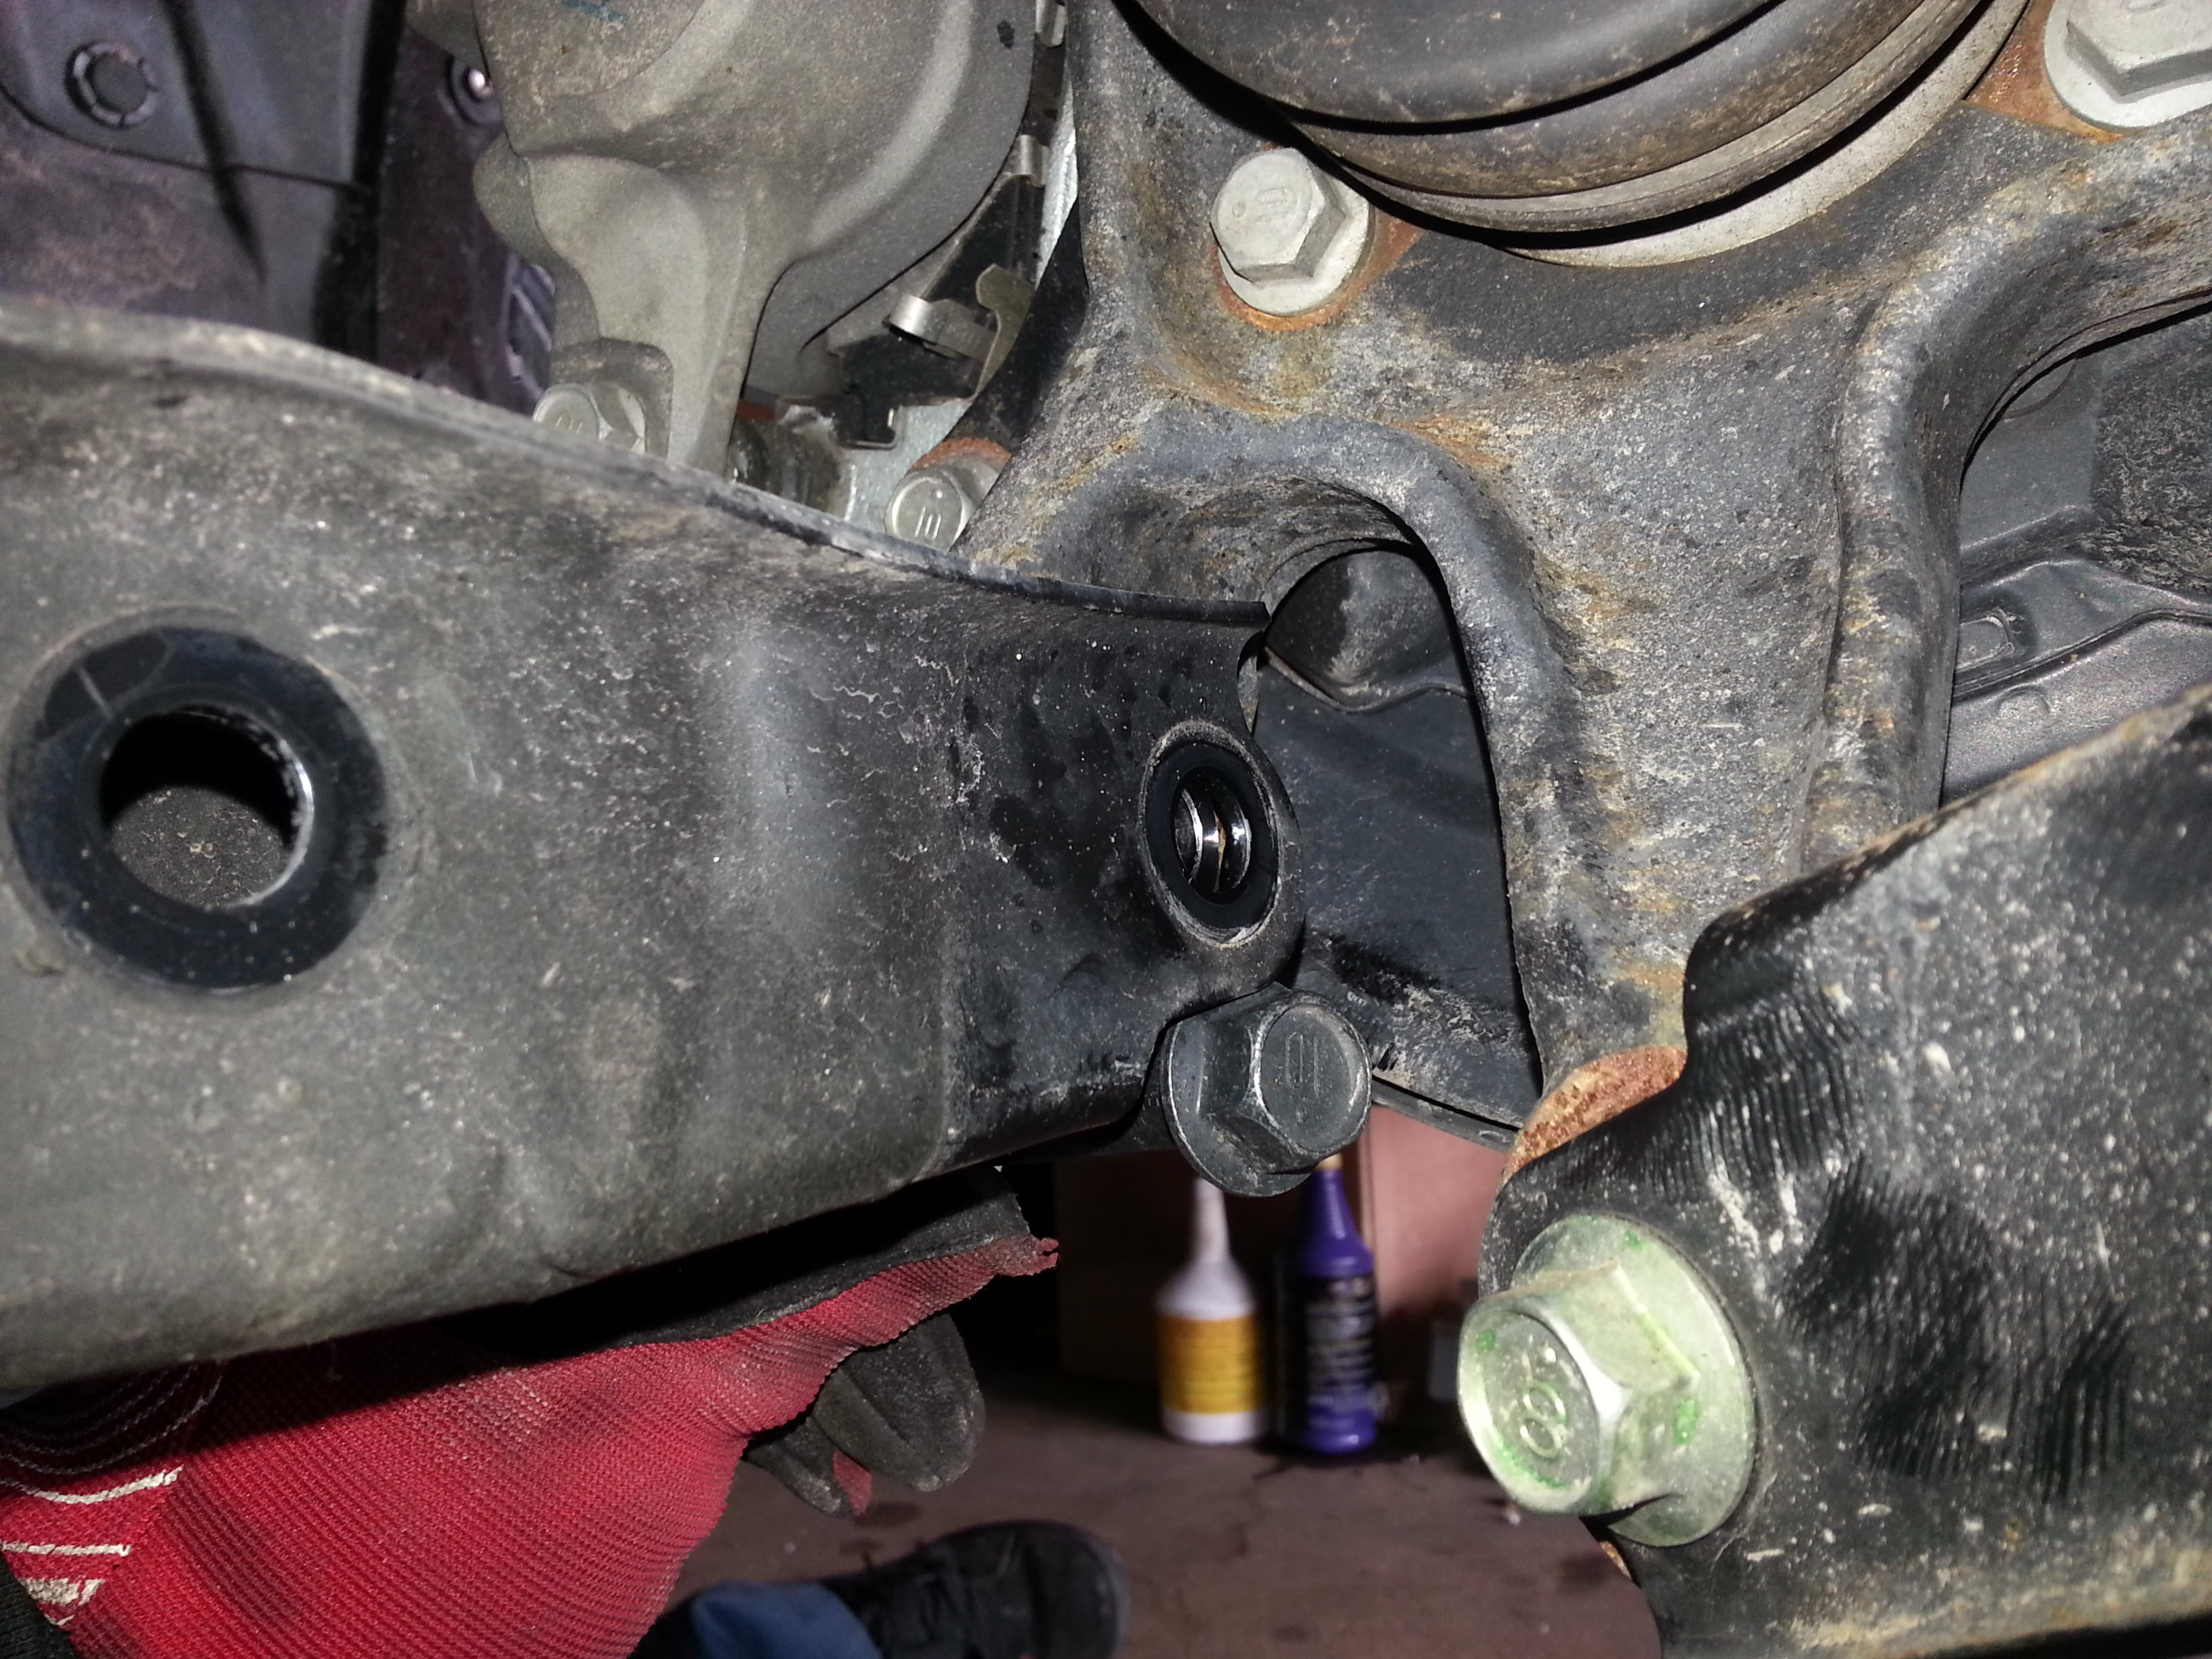
 17mm Socket on the nut side, 17mm wrench on the bolt side. Pull the nut off but leave the bolt in for now.
 The easiest way I found to get the coilovers in and out was to remove the LCA-to-knuckle bolt. 17mm, same as the coilover.
 You'll need to disconnect both sides equally to this point to get this to work. Working alone was not the easiest, but it is possible.
Pull down on the lower control arm and coilover enough to get the coilover outside of the wheel tub, in to the inner arch.
You'll need to disconnect both sides equally to this point to get this to work. Working alone was not the easiest, but it is possible.
Pull down on the lower control arm and coilover enough to get the coilover outside of the wheel tub, in to the inner arch.
 With that done, hold down on the LCA and push up on the coilover to get it out. Repeat for the opposite side.
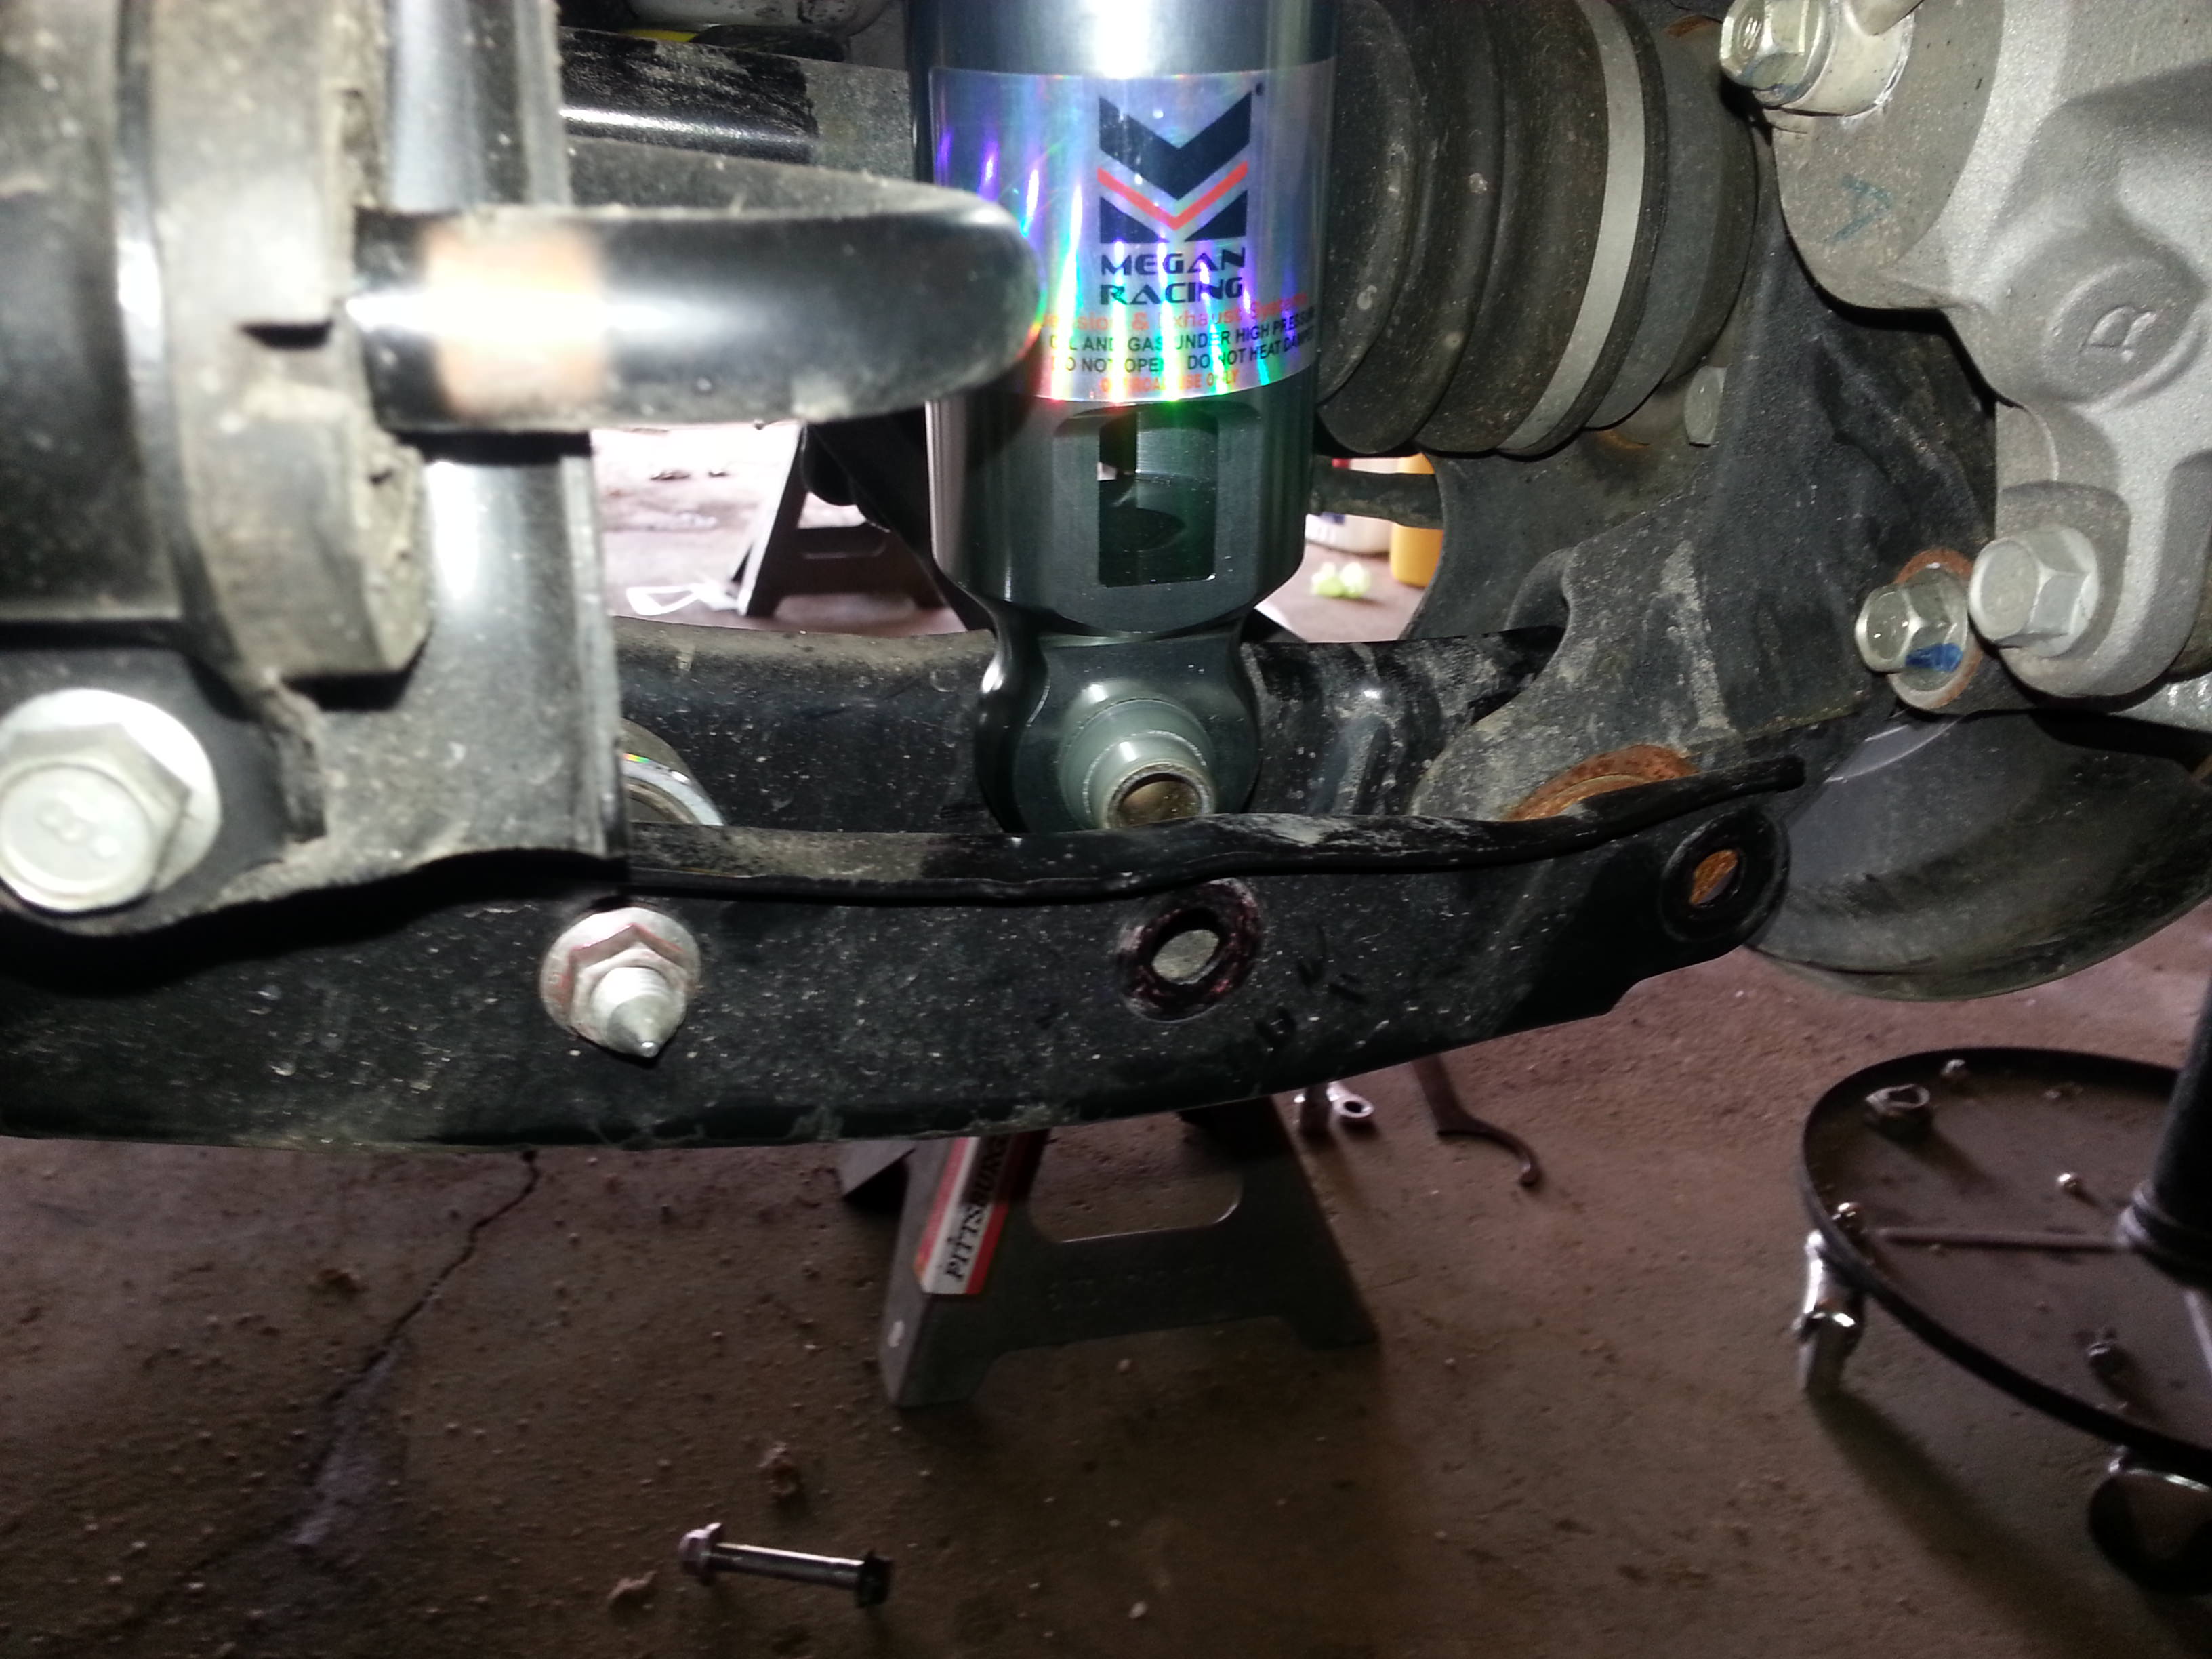
 Getting these things back in proved to be more challenging. My solution was to feed the tops in first, same as the front, then push the LCA's up to hold the coilovers where they needed to be so you could get topside and thread the nuts on. The bind in the suspension from the sway bar still hooked up is enough to support the weight of the coilovers.
 One nut started, get the other on but don't tighten it up fully, just snug for now. Now you can get back underneath, slide both bolts in for the LCA-to-knuckle and the coilover, and get the nuts started. With those in, you can tighten the nuts down in the trunk. You can tighten the coilover bolt to factory specs, but leave the LCA-to-knuckle bolt snugged up until the car is fully on the ground, otherwise the bushing will be in a constant state of bind. Once on the ground, tighten all bolts firmly/to factory spec.
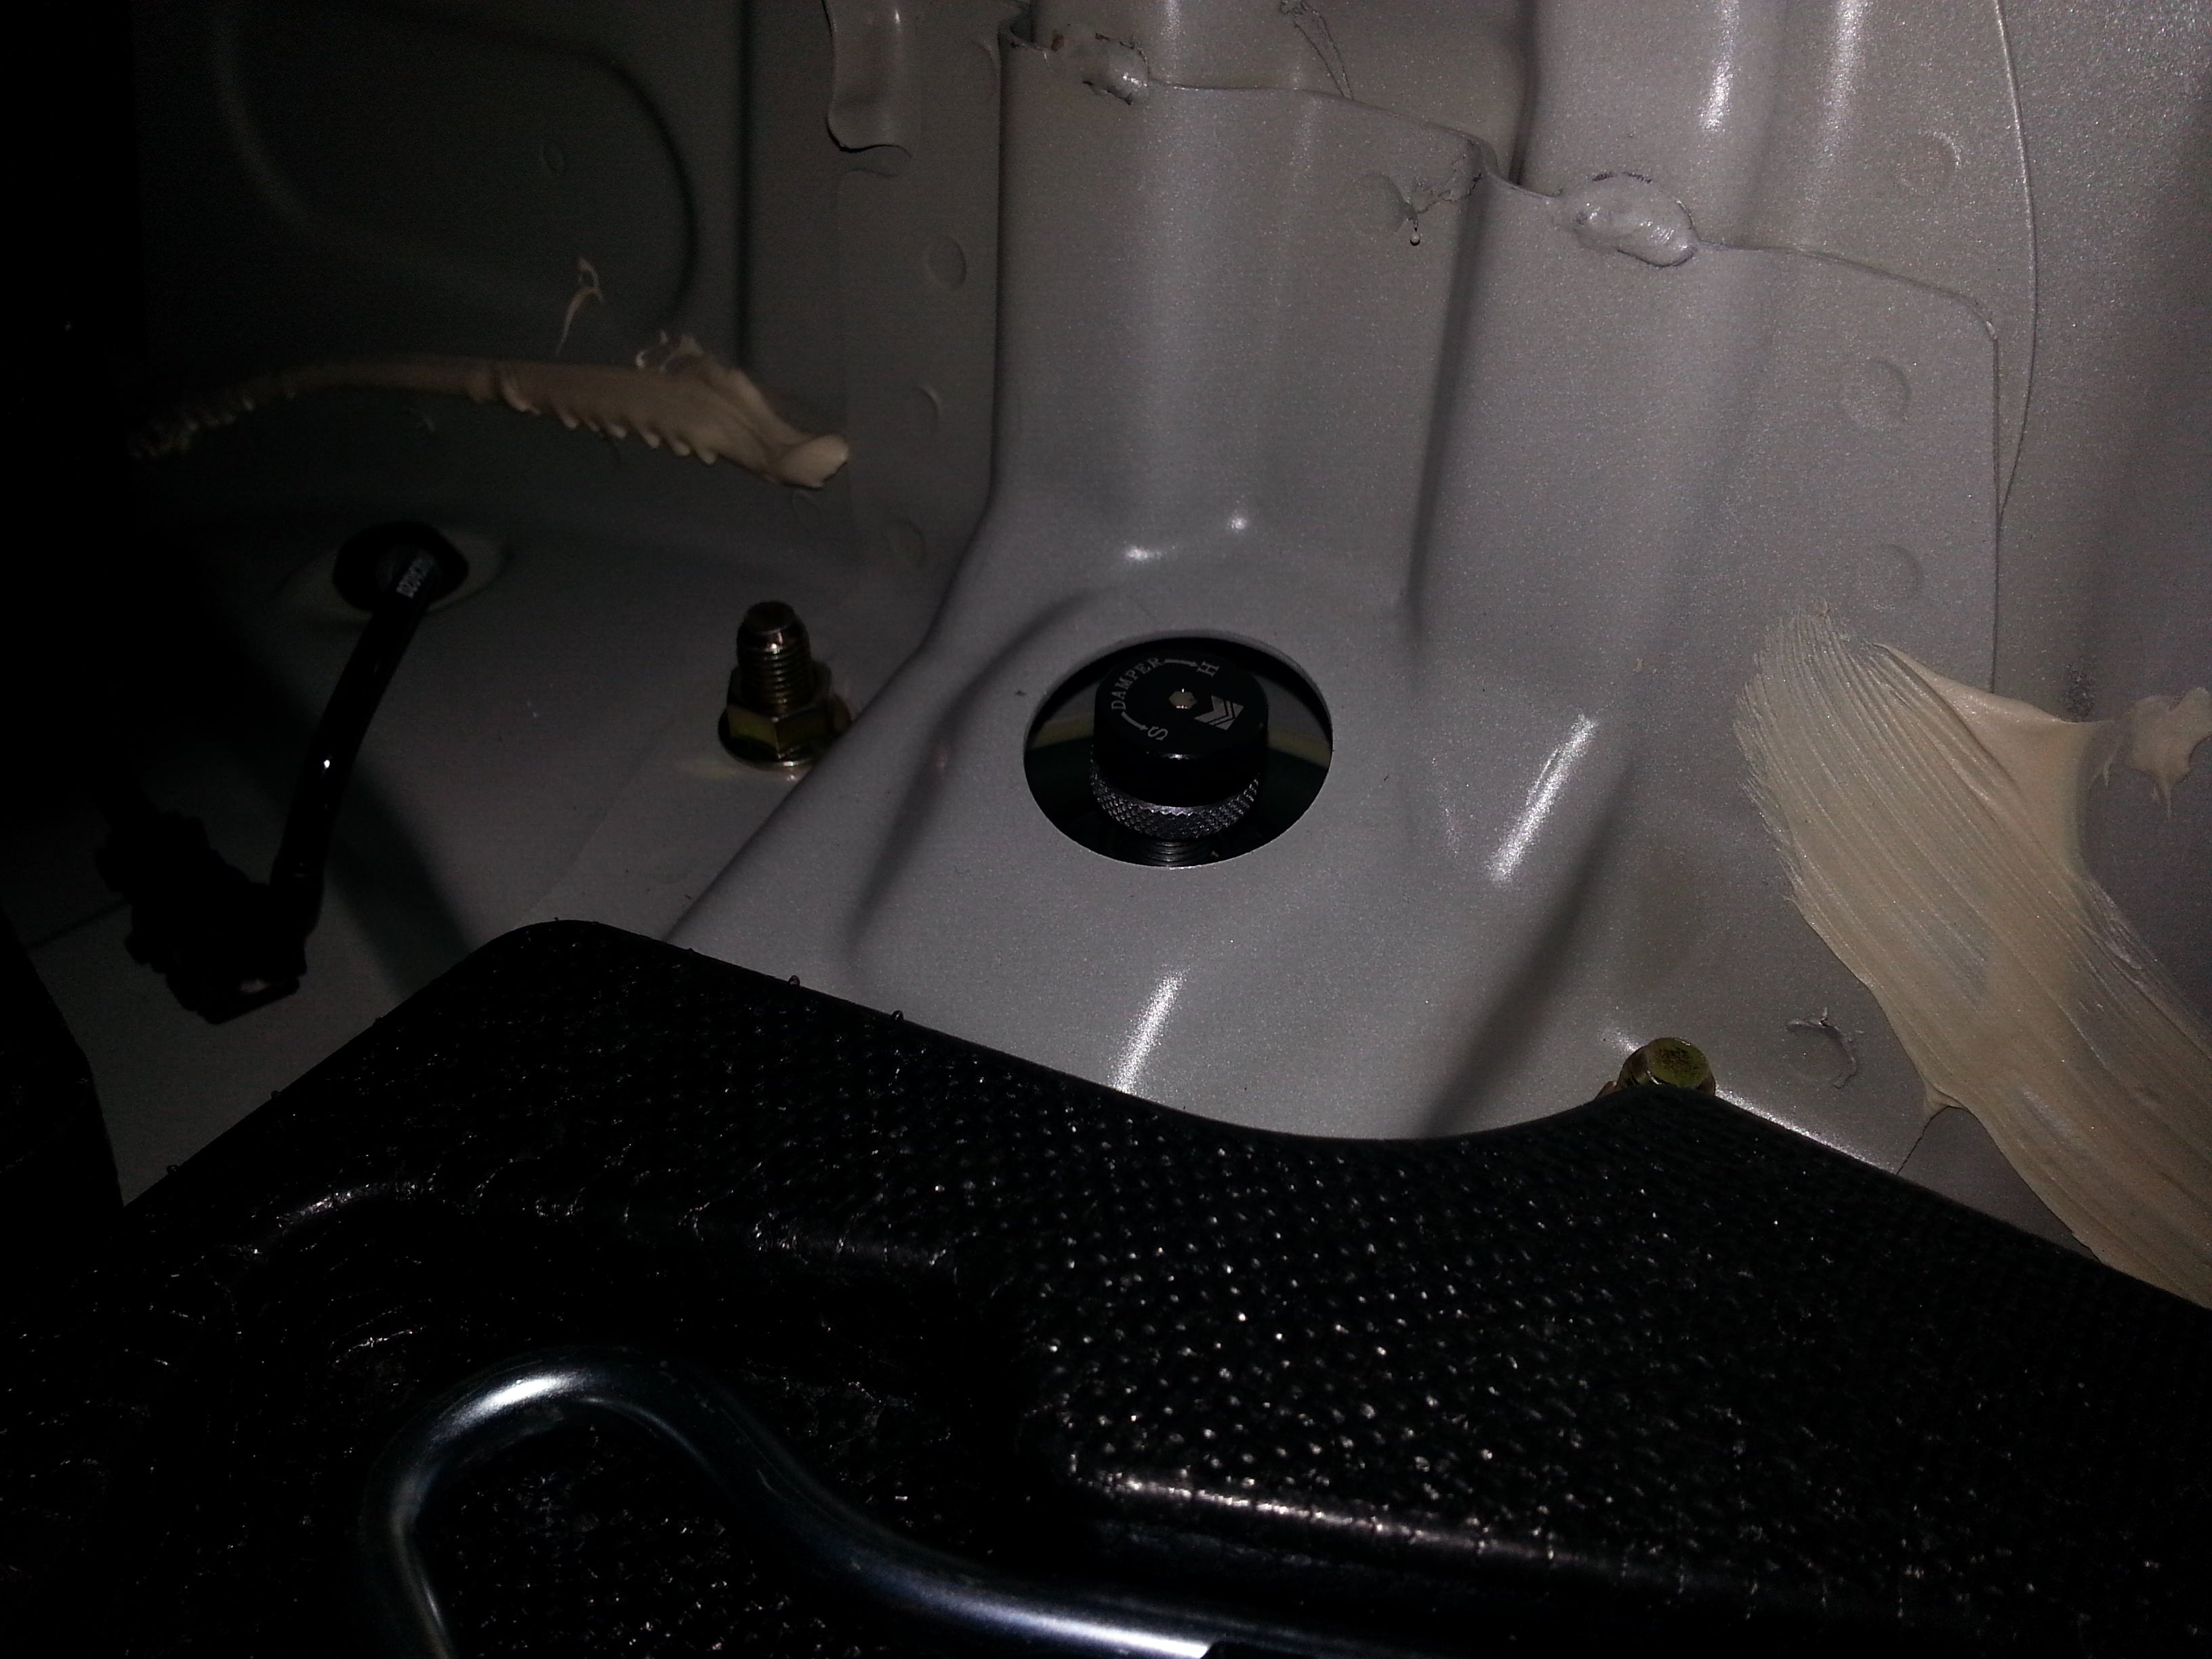
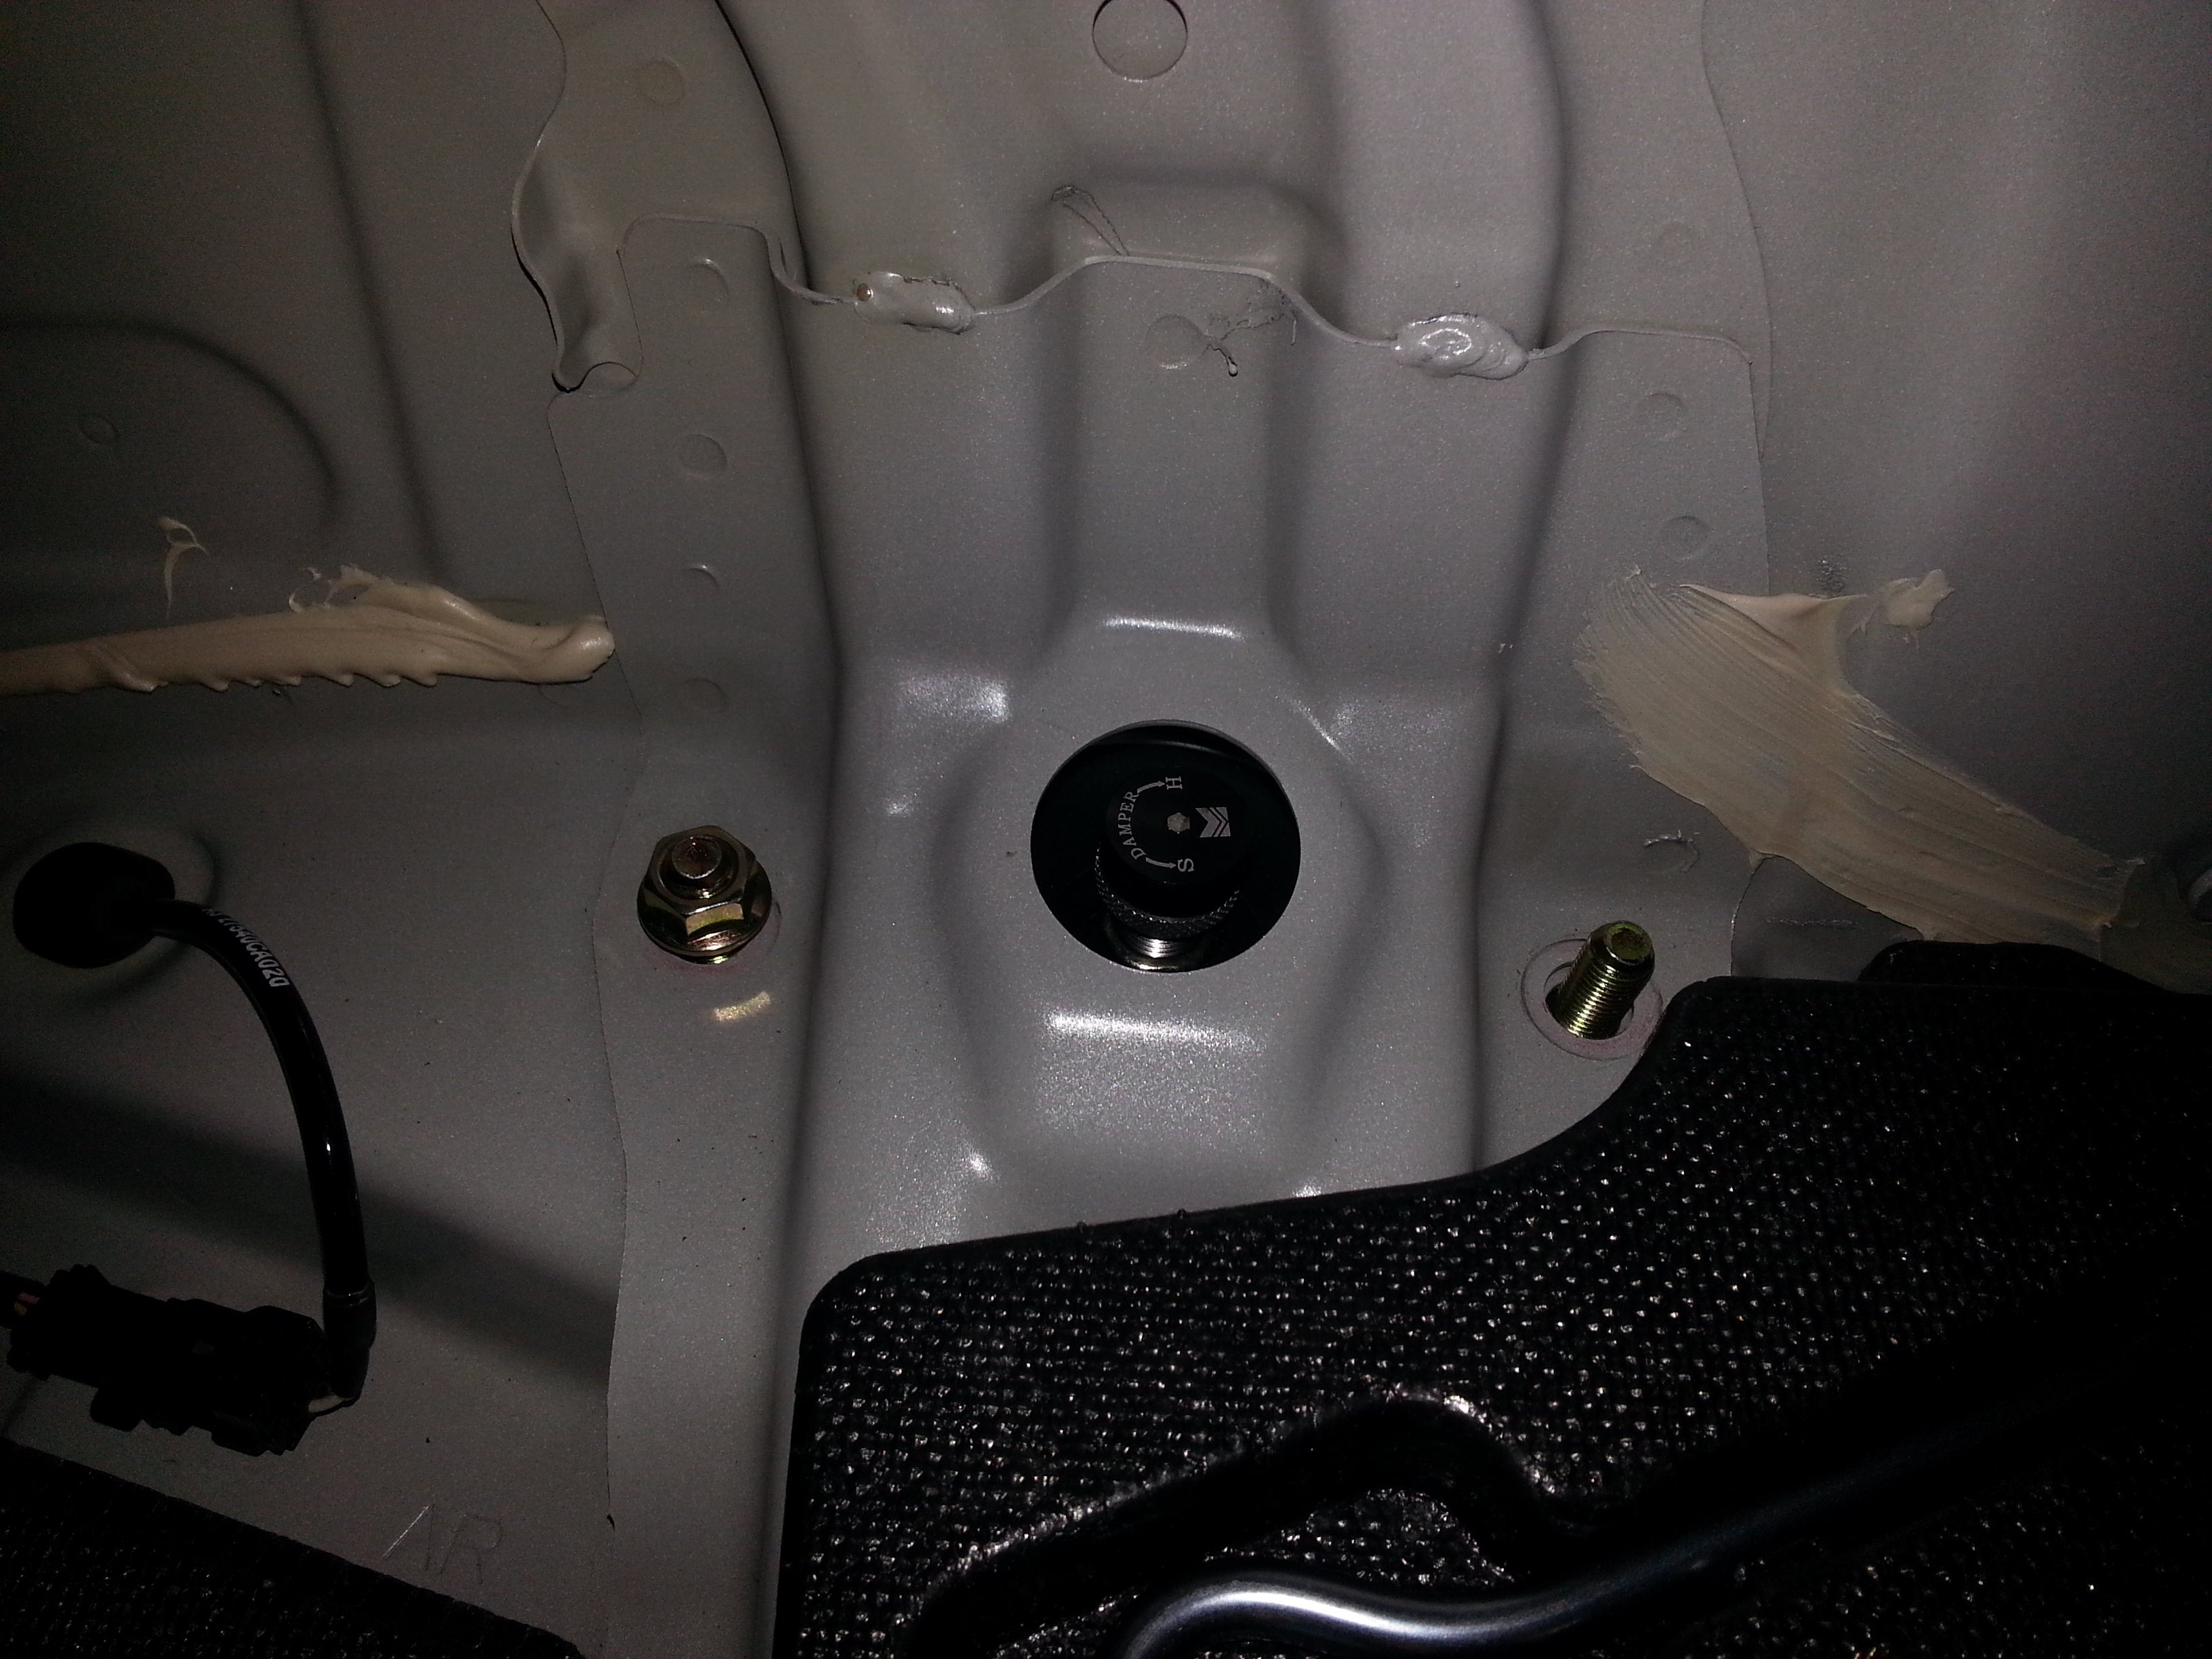 These coilovers have compression adjustment knobs, and the rears are going to be difficult to get to unless you leave the covers out. I suggest getting some mileage on your suspension (1-200 miles), checking ALL of your bolts again, and messing with your damping if you want to at all. After you're satisfied, just pop all of the covers back in so everything's a bit prettier.


Comments (0)
There are no comments for this article. Be the first one to leave a message!