Recently we had a customer bring in his shiny new EVO X for some upgrades, while discussing fuel system options the new DW65C 265lph compact pump came to mind. We have had great results from the Deatschwerks 300lph pumps which hit the streets last summer so needless to say we were excited to see what this new compact pump had to offer. Up until now a high flow, high pressure fuel pump that was a direct fit for the Evo X, Pontiac GTO, 2001-11 Honda Civic, R35 GT-r, 2008-12 Subaru WRX/STi and 2005-09 LGT was simply not available. Since we were already going to perform the install I figured why not document it and give a review of our first hands on experience with this new pump.
Click here to order yours today for only $149 Shipped!
The test subject: A 2011 Mitsubishi Evolution X GSR 
At first glance the DW65C appears to be a high quality product and it also comes with all of the necessary o-rings to complete the install.

First things first we need to remove the stock sending unit which contains the fuel pump. This will be located under the rear seat. There is an access cover on the drivers side which will need to be removed. Removing the cover reveals the sending unit, this is where your pump is mounted so lets get it out of the tank.
We need to start by disconnecting the fuel feed and return lines as well as the wiring that run to the sending unit.
Let start with the return line, it has a small spring clamp. Slide this back and remove the hose as pictured below.
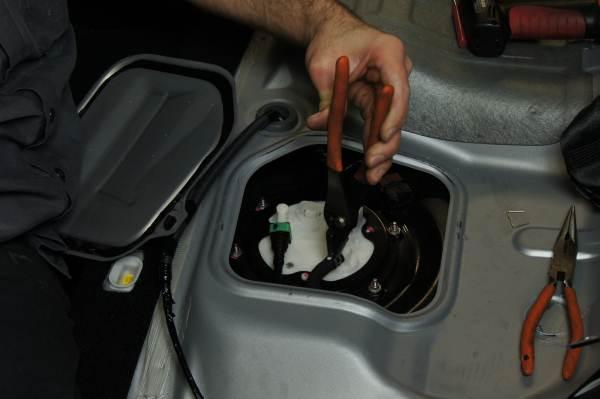
Next un-clip the feed line and wiring harness. Remove the six nuts that fasten the sending unit to the tank.
Its going to take some maneuvering to get the unit out of the tank so be patient. As you lift the unit from the tank you will see another rubber hose on the inside of the tank. This is attached with a spring clip much like the return line. You will need to remove this in order to get the sending unit out of the tank.
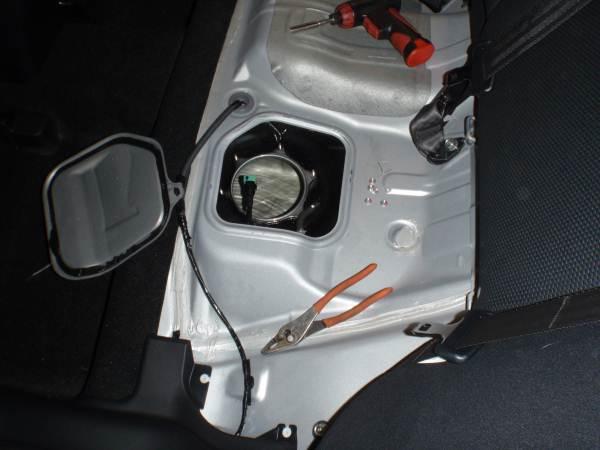
You should have something like this when the sending unit is removed.
Now lets concentrate on what was just removed...
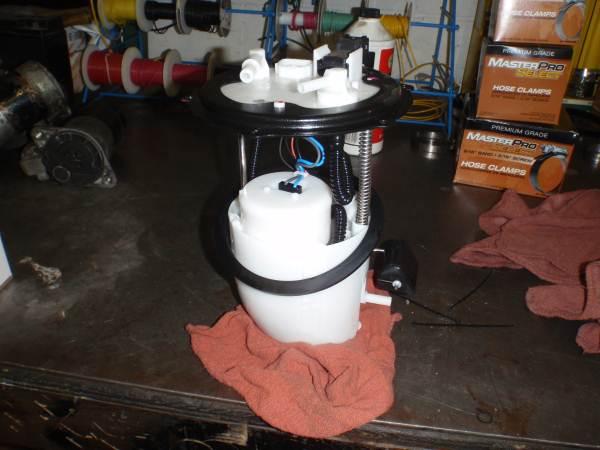
There is a c-clip that is located on the bottom of the rod with the spring on it. Flip the unit over to remove this.
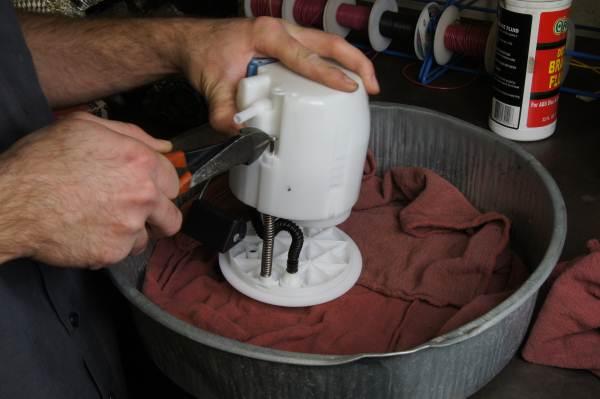
Disengage the clips with a small screw driver to split the assembly.

This will allow the sending unit to be separated. You will need to disconnect the wiring for the pump and sending unit.

Remove the pump assembly from the unit and disengage the clips that hold the fuel filter on.

Grab hold firmly to the bottom of the stock pump and remove it from the assembly.

Where the feed from the pump inserts into the assembly be sure to remove the stock o-ring. It is common for this to stay in the housing upon removal. We will be replacing this with new o-rings that came with the pump.

Here is a shot of the stock pump on the right and the new DW pump on the left. You can see they are identical in overall dimensions and appear very similar overall.

Now lets install our new DW65c pump. First install the two included o-ring over the pump feed. Also lubricate with included silicone lubricant. This will insure the o-rings are seated properly.

Now install the filter (removed earlier) onto our new pump.

Next install the assembled pump and filter back into the pump housing. Be sure to plug in the pumps power harness at this time as well.

Next reassemble your sending unit and pump housing. Please note you will need to use some force to clip the pump housing back into place.

Nest install your c-clip.

Now we can connect our sending unit and pump wiring.
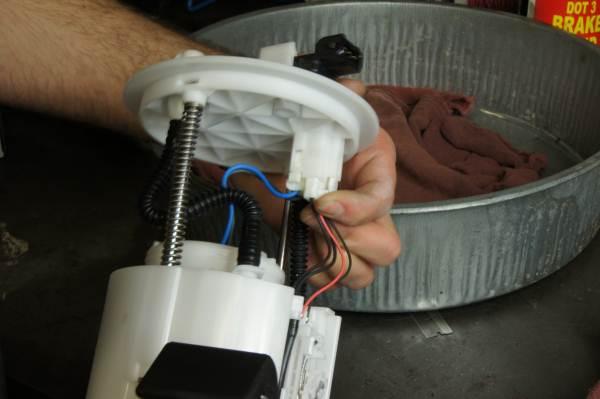
To complete the install we must reinstall our rubber seal.

Now we can install our fully assembled sending unit back into our fuel tank. Be sure to install sending unit retainer before reconnecting lines and wiring.

Tighten down the nuts and reconnect your fuel feed line / return line and wiring.

Finally install your fuel sending unit cover, press firmly and hold for a few moments to be sure it stays in place.
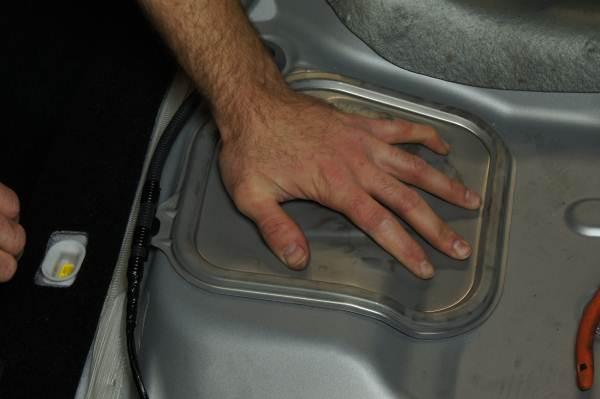
There, your all done! You will want to prime the pump and watch to make sure nothing is leaking before actually starting the vehicle. Do this by cycling to key to the on position a few times. If there are no leaks try and fire it up, assuming you have followed all of the above instructions everything should work and now your Evo X is ready for even more boost!





Comments (0)
There are no comments for this article. Be the first one to leave a message!